Pearson Edexcel · GCSE · Art and Design
Course version: Pearson-GCSE-Art-and-Design · Version from Mar 2026
Art, Craft and Design (Title Overview)
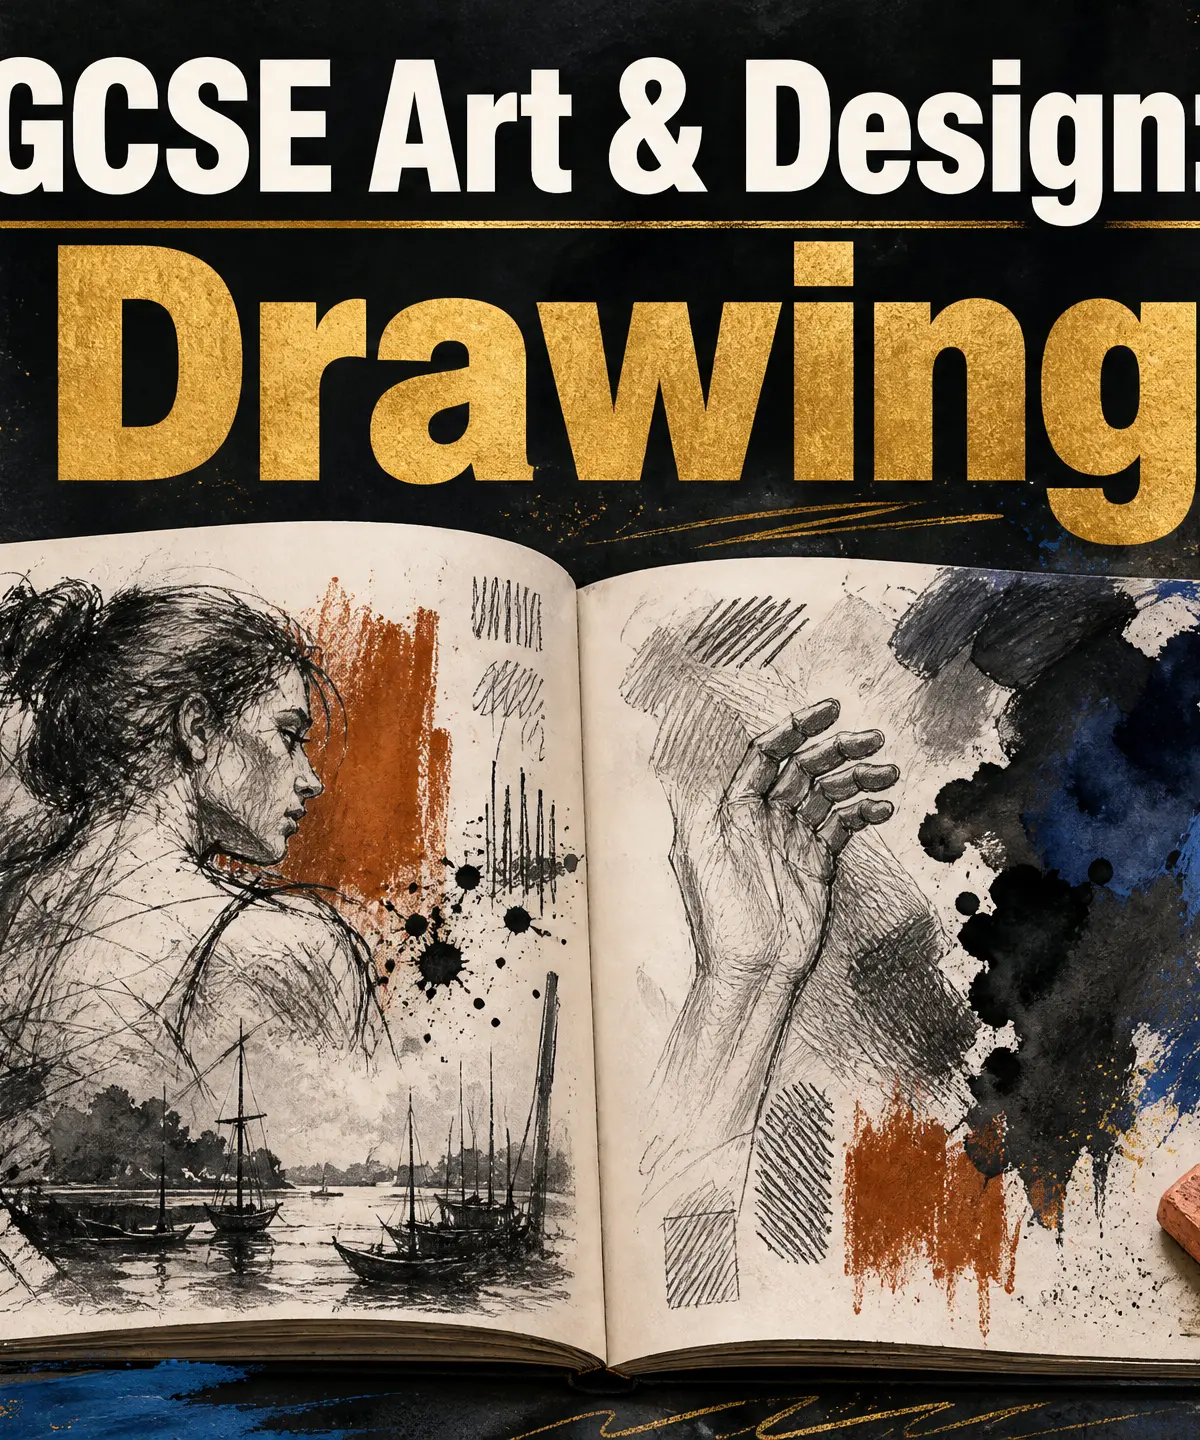
This study guide covers the core practice of Drawing within the GCSE Art and Design course. It explores how drawing is used not just to make images, but as a fundamental tool to record, explore, and communicate ideas across all four Assessment Objectives.
- 7 min read
- 3 worked examples
- 4 practice questions
- 6 key terms
Check what you remember
Read the wording for your board, then hide it and explain Primary Source in your own words. Rough notes are fine. This is a self-check, with no mark or grade.
Reference: Pearson Edexcel
Subject matter that is observed directly from life, first-hand, rather than from a photograph or screen.
Study Notes
Overview
Drawing is the foundation of almost all creative practice in GCSE Art and Design. It is not merely the act of rendering an image with a pencil; it is a vital mode of thinking, exploring, and communicating ideas. Whether you are working in Fine Art, Graphic Communication, Textile Design, or Three-Dimensional Design, drawing allows you to record observations, test concepts, and develop your visual language. Examiners look for drawing to be woven throughout your entire portfolio, serving as the connective tissue between your initial research and your final outcome.
Key Knowledge & Theory
Core Concepts
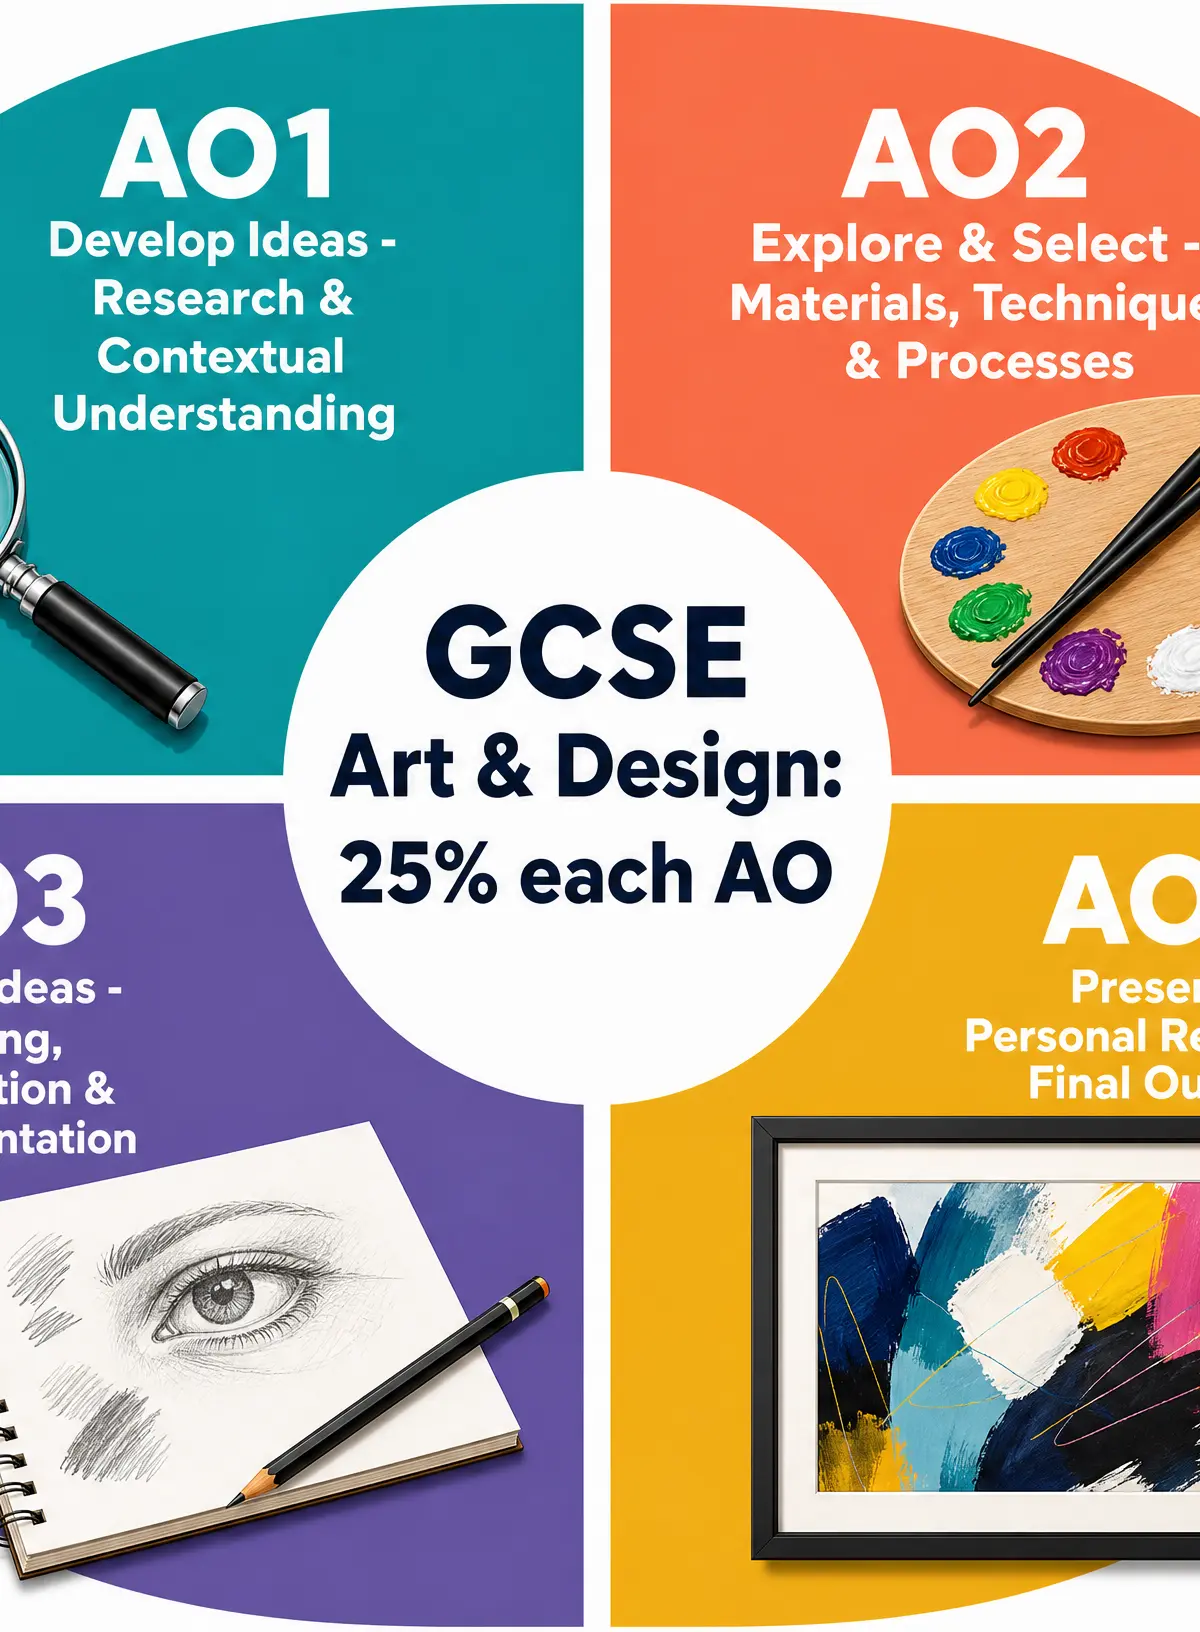
Drawing in the context of GCSE Art and Design encompasses a vast range of practices. It moves beyond simple two-dimensional mark-making to include expressive gestures, structural analysis, and even three-dimensional wire drawings. The core concept is purposeful mark-making. Every line, smudge, or cross-hatch should serve a deliberate intention—whether that is to describe the physical form of an object, capture the fleeting atmosphere of a space, or express an intense emotion. Drawing is intimately tied to the four Assessment Objectives (AOs), requiring you to use it for contextual research (AO1), material experimentation (AO2), recording insights (AO3), and presenting your personal response (AO4).
Key Practitioners/Artists
| Name | Period/Style | Key Works | Relevance |
|---|---|---|---|
| Leonardo da Vinci | High Renaissance | Anatomical studies, Vitruvian Man | Demonstrates drawing as a tool for intense observation and scientific inquiry. |
| Egon Schiele | Expressionism | Self-portraits, figure studies | Master of expressive, distorted contour lines that convey deep psychological tension. |
| Käthe Kollwitz | Expressionism / Realism | Charcoal studies of the working class | Shows how drawing (especially charcoal) can communicate heavy emotional weight and social narrative. |
| Henry Moore | Modernism | Shelter Drawings (WWII) | Exemplifies how drawing can capture atmosphere and support three-dimensional sculptural thinking. |
| Bridget Riley | Op Art | Preparatory sketches for optical paintings | Illustrates drawing as a meticulous planning tool for complex geometric and optical effects. |
Technical Vocabulary
To achieve the highest grades, candidates must use specialist vocabulary in their annotations to critically analyse their own work and the work of others. Key terms include:
- Mark-making: The different lines, dots, marks, patterns, and textures created in an artwork.
- Tonal range: The spectrum of lightness and darkness in a drawing, from the brightest highlight to the deepest shadow.
- Contour line: A line drawn to represent the edge or outline of a form, defining its volume.
- Gestural drawing: A quick, energetic drawing that captures the essential movement, action, or feeling of a subject rather than its details.
- Chiaroscuro: The strong contrast between light and dark to give the illusion of volume and three-dimensionality.
Practical Skills
Techniques & Processes
Developing a strong drawing practice requires mastering various techniques to suit different creative intentions:
- Observational Drawing (from life): Drawing directly from a primary source (an object, person, or landscape in front of you). This is highly rewarded by examiners as it demonstrates a higher order of looking and understanding form, light, and space compared to drawing from a photograph.
- Hatching and Cross-Hatching: Building tone and texture using parallel lines (hatching) or intersecting sets of parallel lines (cross-hatching). This is essential for ink and hard graphite work.
- Continuous Line Drawing: Drawing an entire subject without lifting the pen or pencil from the paper. This forces the artist to look closely at the subject and builds hand-eye coordination.
- Expressive Mark-Making: Using the drawing tool dynamically—varying pressure, speed, and angle—to convey emotion or energy rather than precise realism.
Materials & Equipment
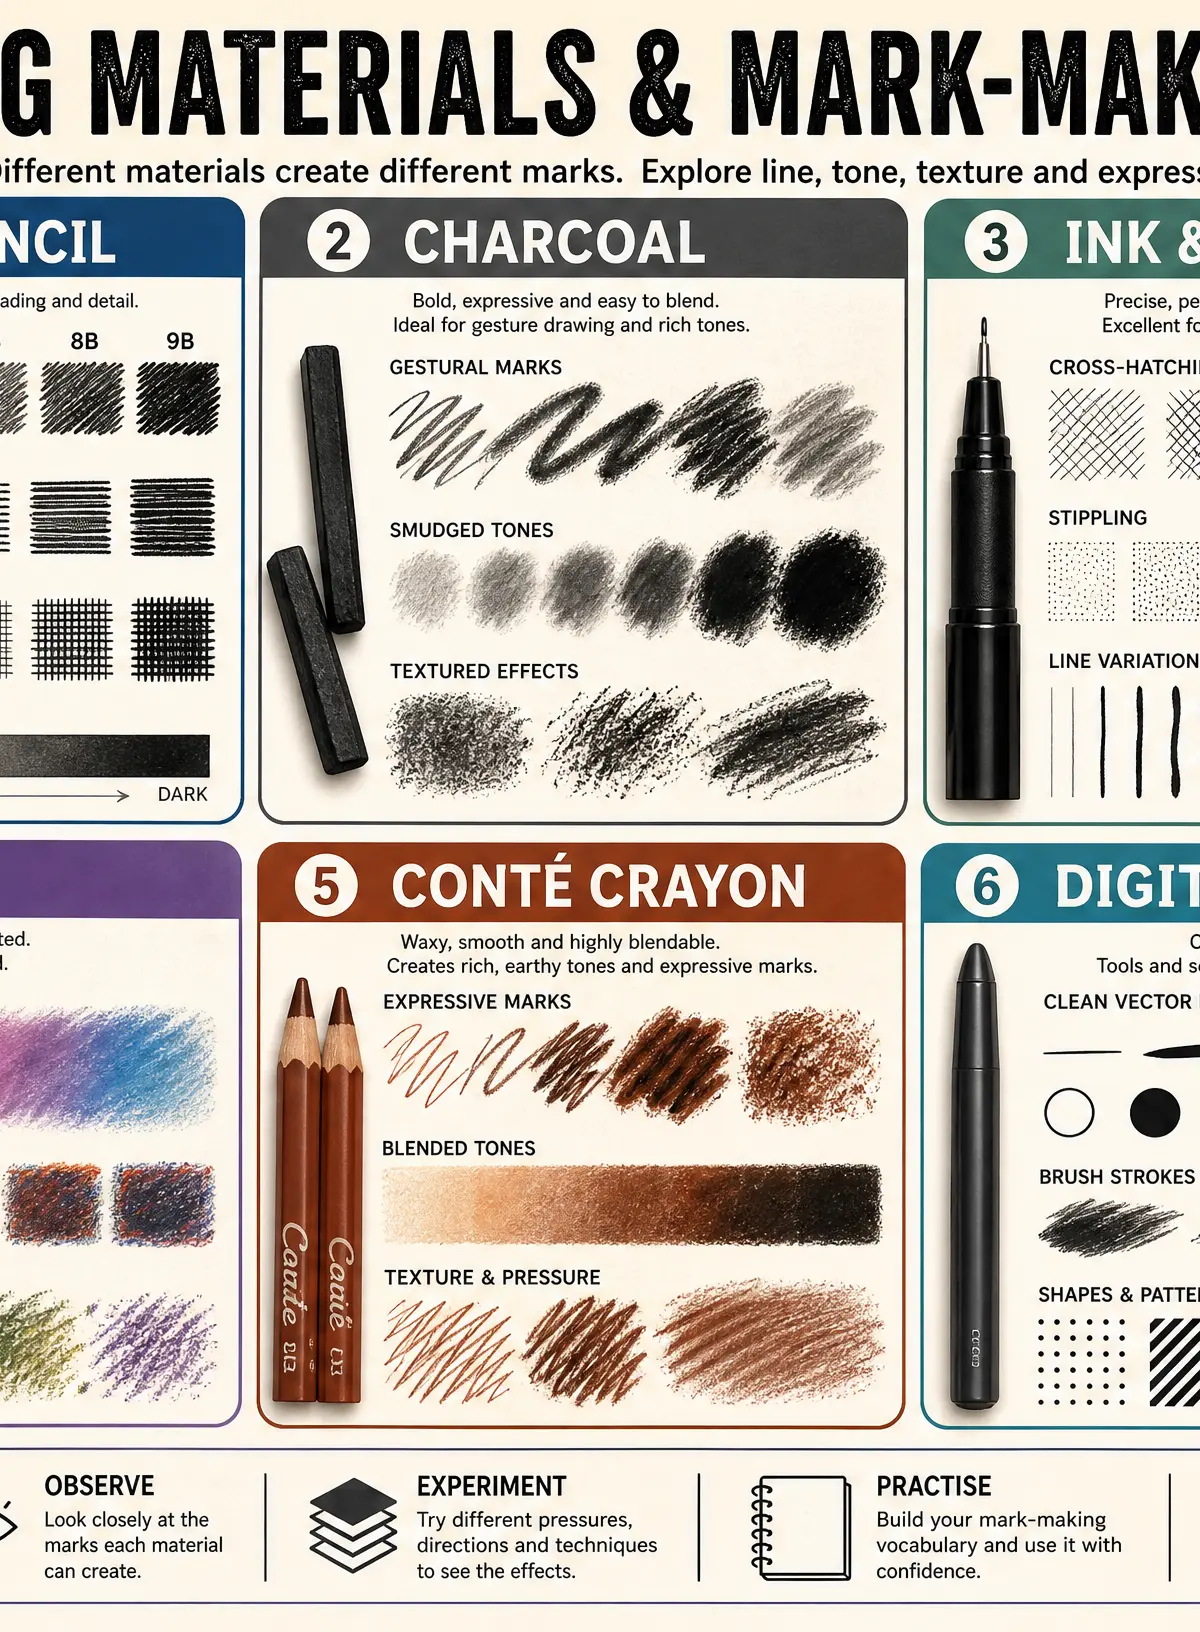
Candidates must explore a range of media (AO2). The choice of material should align with the artist's intention:
- Graphite Pencil: Highly controllable. Hard grades (H, 2H) are for precise, light lines; soft grades (2B-9B) are for rich, dark tones and blending.
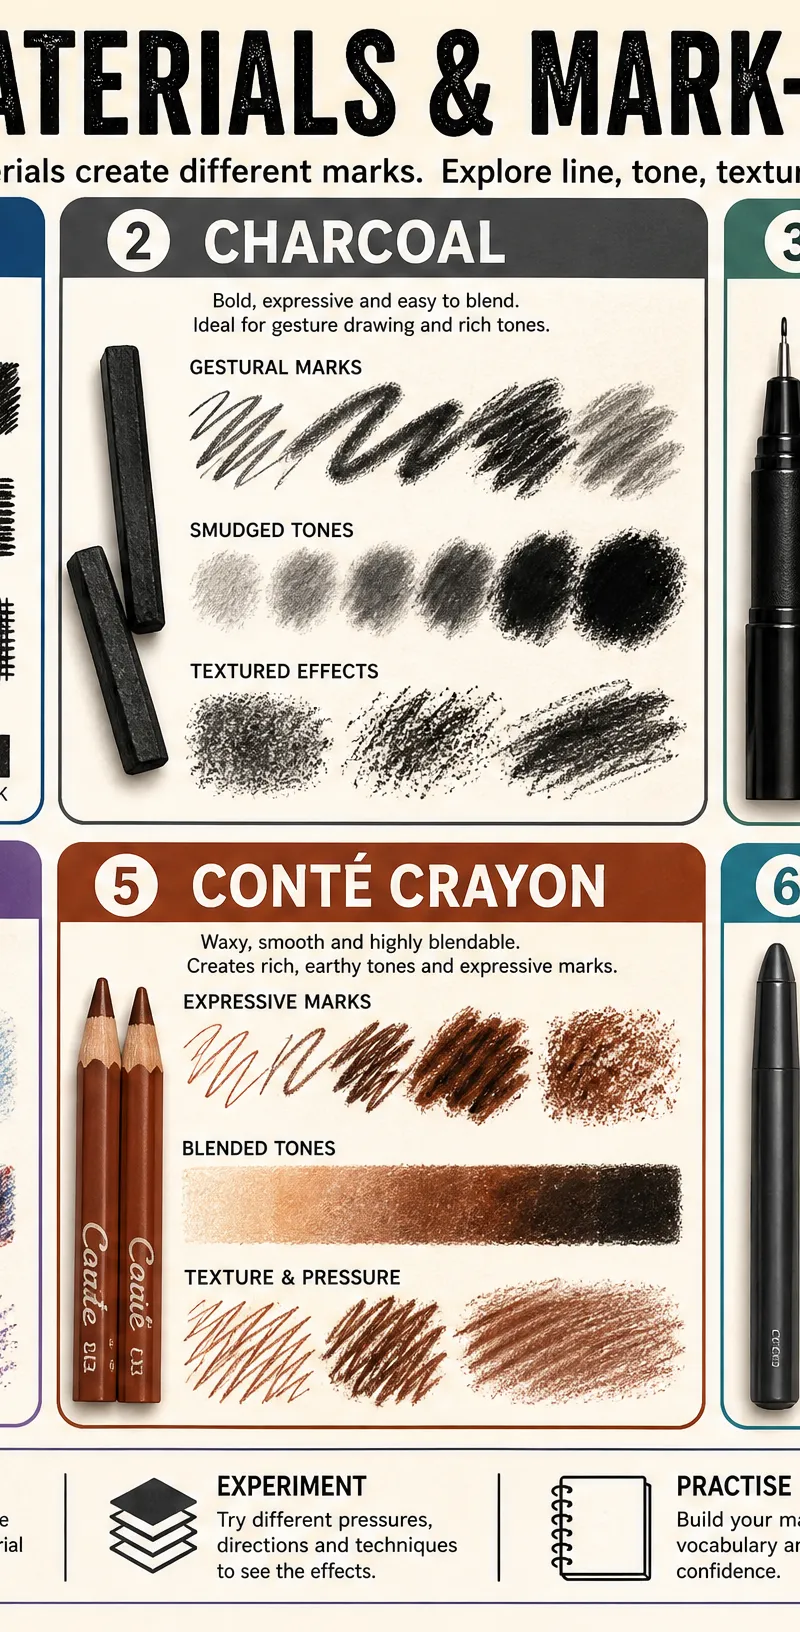
- Charcoal (Willow and Compressed): Excellent for large-scale, gestural work. It blends easily and is perfect for capturing dramatic lighting and mood.
- Ink and Dip Pen/Fine Liner: Unforgiving and permanent. Ideal for high-contrast, detailed work using stippling or cross-hatching.
- Pastels and Conté Crayon: Allow for the introduction of colour and soft, blended tonal transitions. Great for atmospheric studies.
- Digital Drawing: Using tablets and styluses (e.g., Procreate). A valid medium that allows for infinite layering, undoing, and experimentation with synthetic brushes.
Portfolio/Coursework Guidance
Assessment Criteria
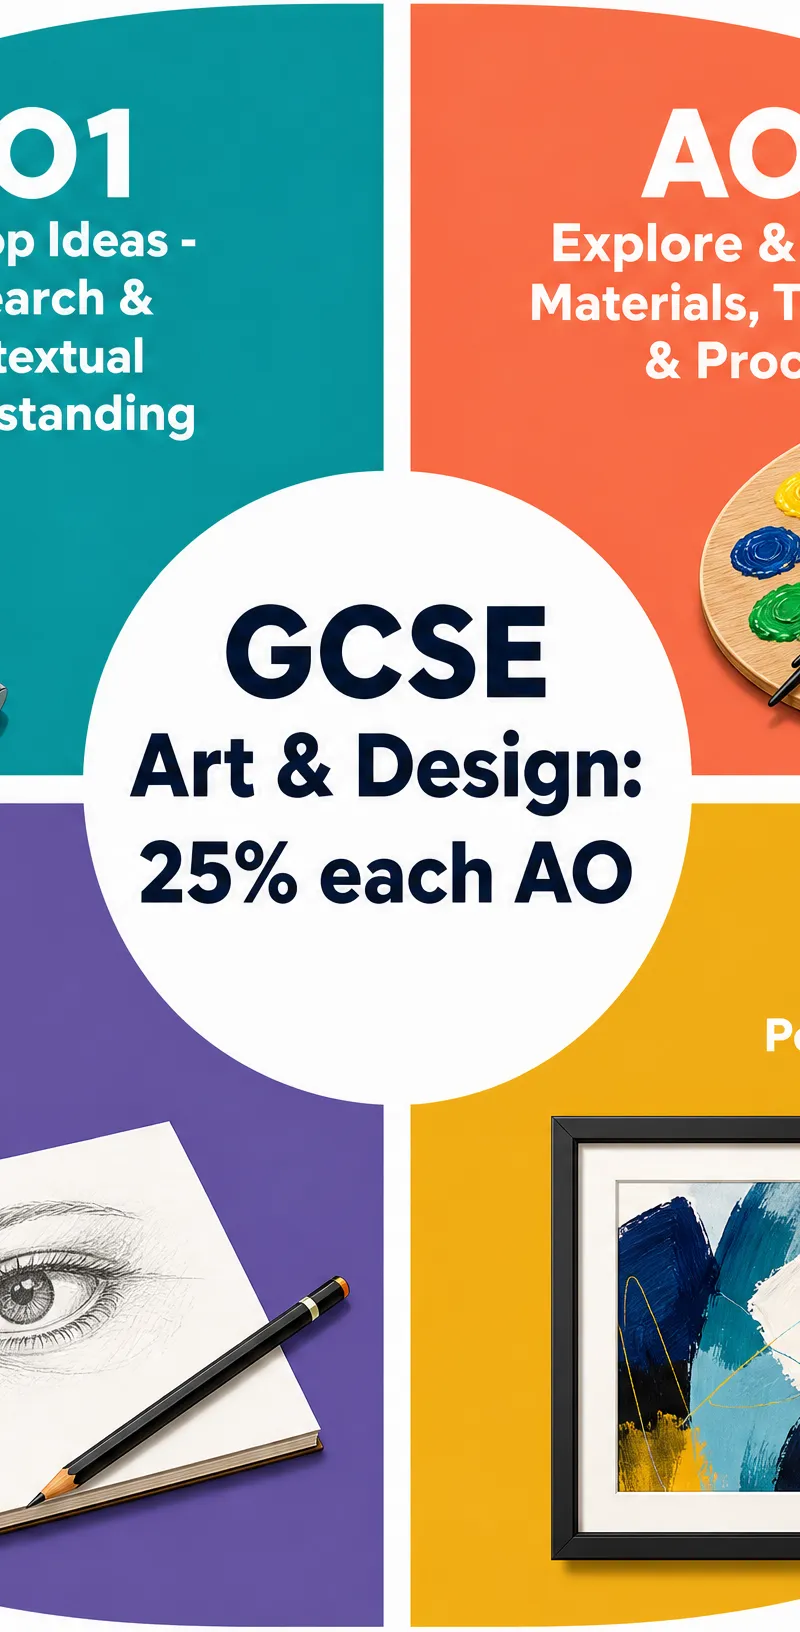
Examiners mark your portfolio across four Assessment Objectives (25% each):
- AO1 (Develop): How well you research artists and develop ideas inspired by them.
- AO2 (Explore): Your experimentation with different drawing materials and techniques, and your ability to refine your work.
- AO3 (Record): The quality of your observational drawings and how effectively you annotate your insights and intentions.
- AO4 (Present): Your final outcome and how clearly it connects to the drawing and research in your sketchbook.
Building a Strong Portfolio
To build a strong portfolio, drawing must be a continuous thread. Do not treat drawing as a task to be completed at the start of a project and then abandoned. Use your sketchbook as a visual diary. When you research an artist (AO1), do a transcription or a drawing in their style. When testing compositions for your final piece (AO4), draw multiple thumbnail sketches. Most importantly, annotate your drawings. Explain why you used charcoal instead of pencil, what you were trying to capture, and how successful you think the mark-making is.
Exam Component
Externally Set Task (Practical Exam)
The GCSE Art and Design exam is an Externally Set Task (EST) culminating in a 10-hour supervised practical period. You will receive a paper with several starting points (themes or prompts).
Practical Exam Preparation
During the preparatory period (usually several weeks before the 10-hour exam), you must produce a sketchbook of supporting studies. This is where your drawing skills are heavily assessed. You must rapidly demonstrate your ability to record from observation (AO3), explore materials (AO2), and develop ideas linked to artists (AO1) based on the exam theme. In the 10-hour exam, you will produce your final outcome (AO4). Ensure your final piece clearly evolves from the drawings in your preparatory work.
Listen to the Revision Podcast
Review the core concepts, artists, and exam tips by listening to our dedicated audio guide:
Visual Resources
2 diagrams and illustrations
Interactive Diagrams
1 interactive diagram to visualise key concepts
Conceptual Flow Outline
The Iterative Drawing Development Process across Assessment Objectives
Worked Examples
3 worked examples — open one to explore the question and available guidance.
Practice Questions
Try the question, then reveal an answer plan or example response
Select an object with a complex texture (e.g., a crumpled piece of foil, a piece of bark, or a woven basket). Produce a tonal drawing using only a 2B and 4B pencil. Annotate your drawing explaining how you achieved the texture.
Hint: Focus on the direction of your pencil strokes and the contrast between the lightest highlights and darkest shadows.
Compare and contrast the drawing techniques of Leonardo da Vinci and Egon Schiele. How do their different approaches to mark-making reflect their different intentions?
Hint: Think about the purpose of the drawing: is it for scientific understanding (anatomy/structure) or for emotional expression (psychology/tension)?
Explain why it is important to use drawing to document your development process, rather than just producing a final piece.
Hint: Think about the four Assessment Objectives and what the examiner needs to see to award you marks.
Practical Task: Set up a still life of three overlapping objects. Draw the arrangement using continuous line technique in pen. Do not look at your paper while drawing (blind contour). Evaluate the result.
Hint: The goal here is not realism, but intense observation and hand-eye coordination. Your evaluation should focus on the quality of the line.
Exam technique
How to turn what you know into marks
How to approach the question
For the Externally Set Task, choose a starting point immediately. Spend the first week purely on AO3 (observational drawing from life related to the theme) and AO1 (finding artists who link to your drawings).
How to structure your answer
When annotating in your sketchbook, use the 'What, How, Why' structure: WHAT did you draw? HOW did you draw it (materials/techniques)? WHY did you draw it that way (artist influence/emotional intention)?
Timing
In the 10-hour practical exam, time management is crucial. Allocate roughly 2-3 hours for final preparatory sketches and underpainting/mapping out, 5-6 hours for the main execution of the outcome, and the final 1-2 hours for refinement and detailing.
Common pitfalls
- Treating drawing as a chore done only at the beginning of a project.
- Describing the drawing ('This is a drawing of an apple') rather than analysing the process ('I used cross-hatching to define the volume of the apple').
- Relying entirely on secondary sources (drawing from Pinterest) instead of primary observation (drawing from life).
- Using only one material (e.g., HB pencil) throughout the entire sketchbook, limiting AO2 marks.
What the command words want
- Analyse
- Break down how the visual elements (line, tone, composition) work together to create an effect.
- Compare
- Discuss the similarities and differences in mark-making or material use between two different drawings.
- Explain
- Give reasons for artistic choices (e.g., 'I used charcoal because it allows for rapid, expressive blending').
- Describe
- Detail the visual elements of a drawing (e.g., 'The drawing uses heavy, dark lines').
- Evaluate
- Judge the success of your drawing or an artist's drawing against the original intentions.
- Identify
- Recognise a specific technique or material used in an artwork.
Watch or listen (optional)
Test your understanding of Art, Craft and Design (Title Overview)
Active recall beats re-reading. Take an instant quiz now to test what you’ve learned and lock it into long-term memory.
A week of Premium from your first lesson · Then the free plan continues · No card, no charge