Pearson Edexcel · A-Level · Art and Design
Art and Design titles
This study guide explores drawing as a fundamental skill in GCSE Art and Design. It covers essential techniques, the purpose of drawing in your creative process, and how to effectively use mark-making to meet assessment objectives and secure high marks.
- 7 min read
- 3 worked examples
- 2 practice questions
- 6 key terms
Study Notes
Overview
Drawing is the foundational language of GCSE Art and Design. It is not merely the act of putting pencil to paper to create a finished picture; rather, it is a dynamic tool for recording the observed world, exploring ideas visually, and experimenting with a wide range of materials. Whether you are working on your coursework portfolio or preparing for the externally set task, drawing must be integrated throughout your creative journey. Examiners look for evidence that you use drawing to think, to investigate, and to communicate your intentions.
Listen to our comprehensive revision podcast to get expert tips on drawing for your GCSE:

Key Knowledge & Theory
Core Concepts
At GCSE level, drawing serves four primary purposes that align directly with your Assessment Objectives:
- Recording the Observed World (AO3): This involves drawing from direct observation—looking closely at primary sources (objects, people, environments) and capturing what you actually see, not what you assume is there. This provides the raw data for your creative development.
- Exploring Ideas Visually (AO1 & AO2): Drawing is a way of thinking. You use it to generate initial concepts, plan compositions, and test out different visual arrangements before committing to a final piece.
- Investigating Drawing Media (AO2): This involves testing how different tools (e.g., charcoal, ink, pastel) can express different moods, feelings, or textures. It is about understanding the properties of your materials.
- Experimentation (AO2): Examiners reward risk-taking. This means stepping away from the standard HB pencil and trying unconventional tools, varied surfaces, and mixed media approaches to see what happens.
Key Practitioners/Artists
| Name | Period/Style | Key Works | Relevance |
|---|---|---|---|
| Leonardo da Vinci | High Renaissance | Anatomical studies, botanical sketches | Demonstrates drawing as a tool for rigorous scientific investigation and profound observation. |
| Egon Schiele | Austrian Expressionism | Self-portraits, figure studies | Shows how contour line can be used to convey intense psychological tension and emotion. |
| Käthe Kollwitz | German Expressionism | Charcoal portraits, social realism | A masterclass in using dark media (charcoal, graphite) to communicate deep emotional and social weight. |
| Henri Matisse | Fauvism / Modern Art | Late line drawings, cut-outs | Illustrates the power of economy—how a single, confident, continuous line can describe form perfectly. |
| David Hockney | Contemporary / Pop Art | iPad drawings, Yorkshire landscapes | Shows how drawing evolves with technology, proving that traditional observational skills apply to digital media. |
Technical Vocabulary
- Mark-making: The different lines, dots, marks, patterns, and textures created in an artwork.
- Contour: The outline or bounding edge of a form.
- Tone: The relative lightness or darkness of a colour or shade.
- Composition: The arrangement of visual elements within a work of art.
- Media/Medium: The materials used to create an artwork (e.g., charcoal, ink, graphite).
- Primary Source: Original material or objects observed first-hand, rather than from a photograph.
Practical Skills
Techniques & Processes
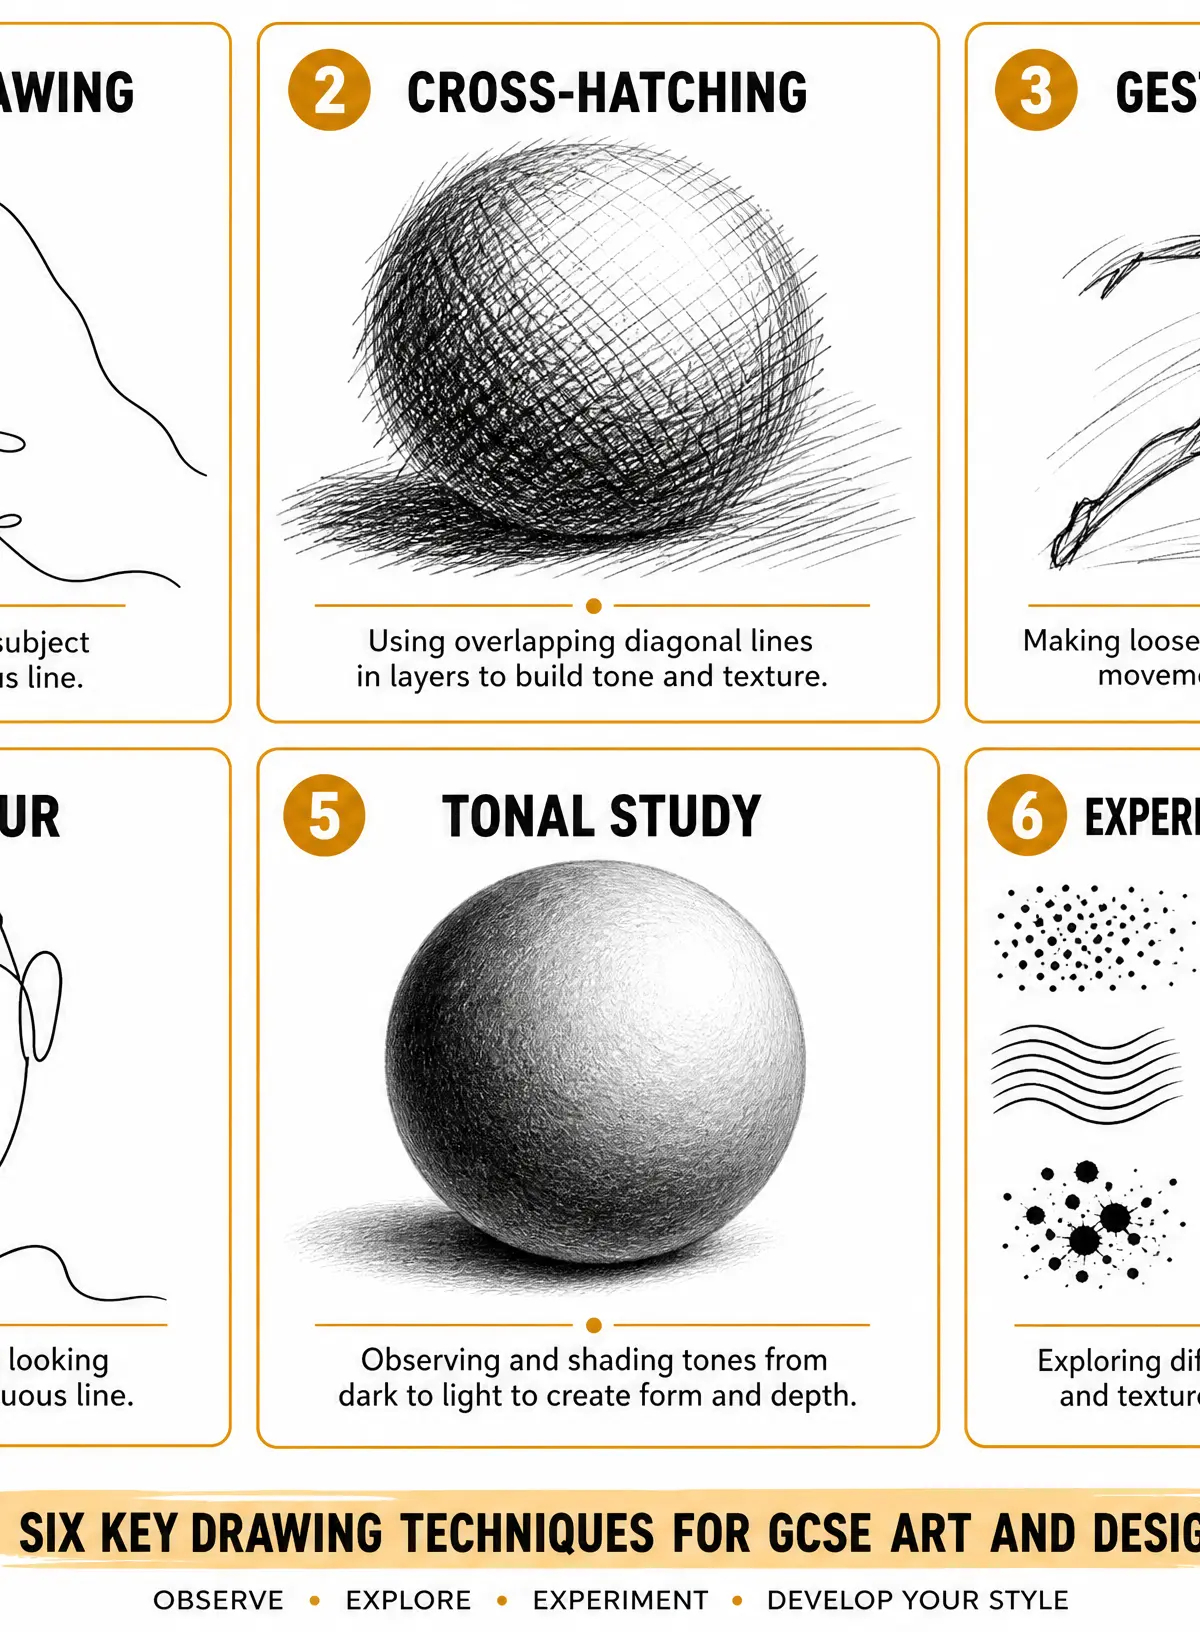
To build a strong portfolio, you need a diverse toolkit of drawing techniques:
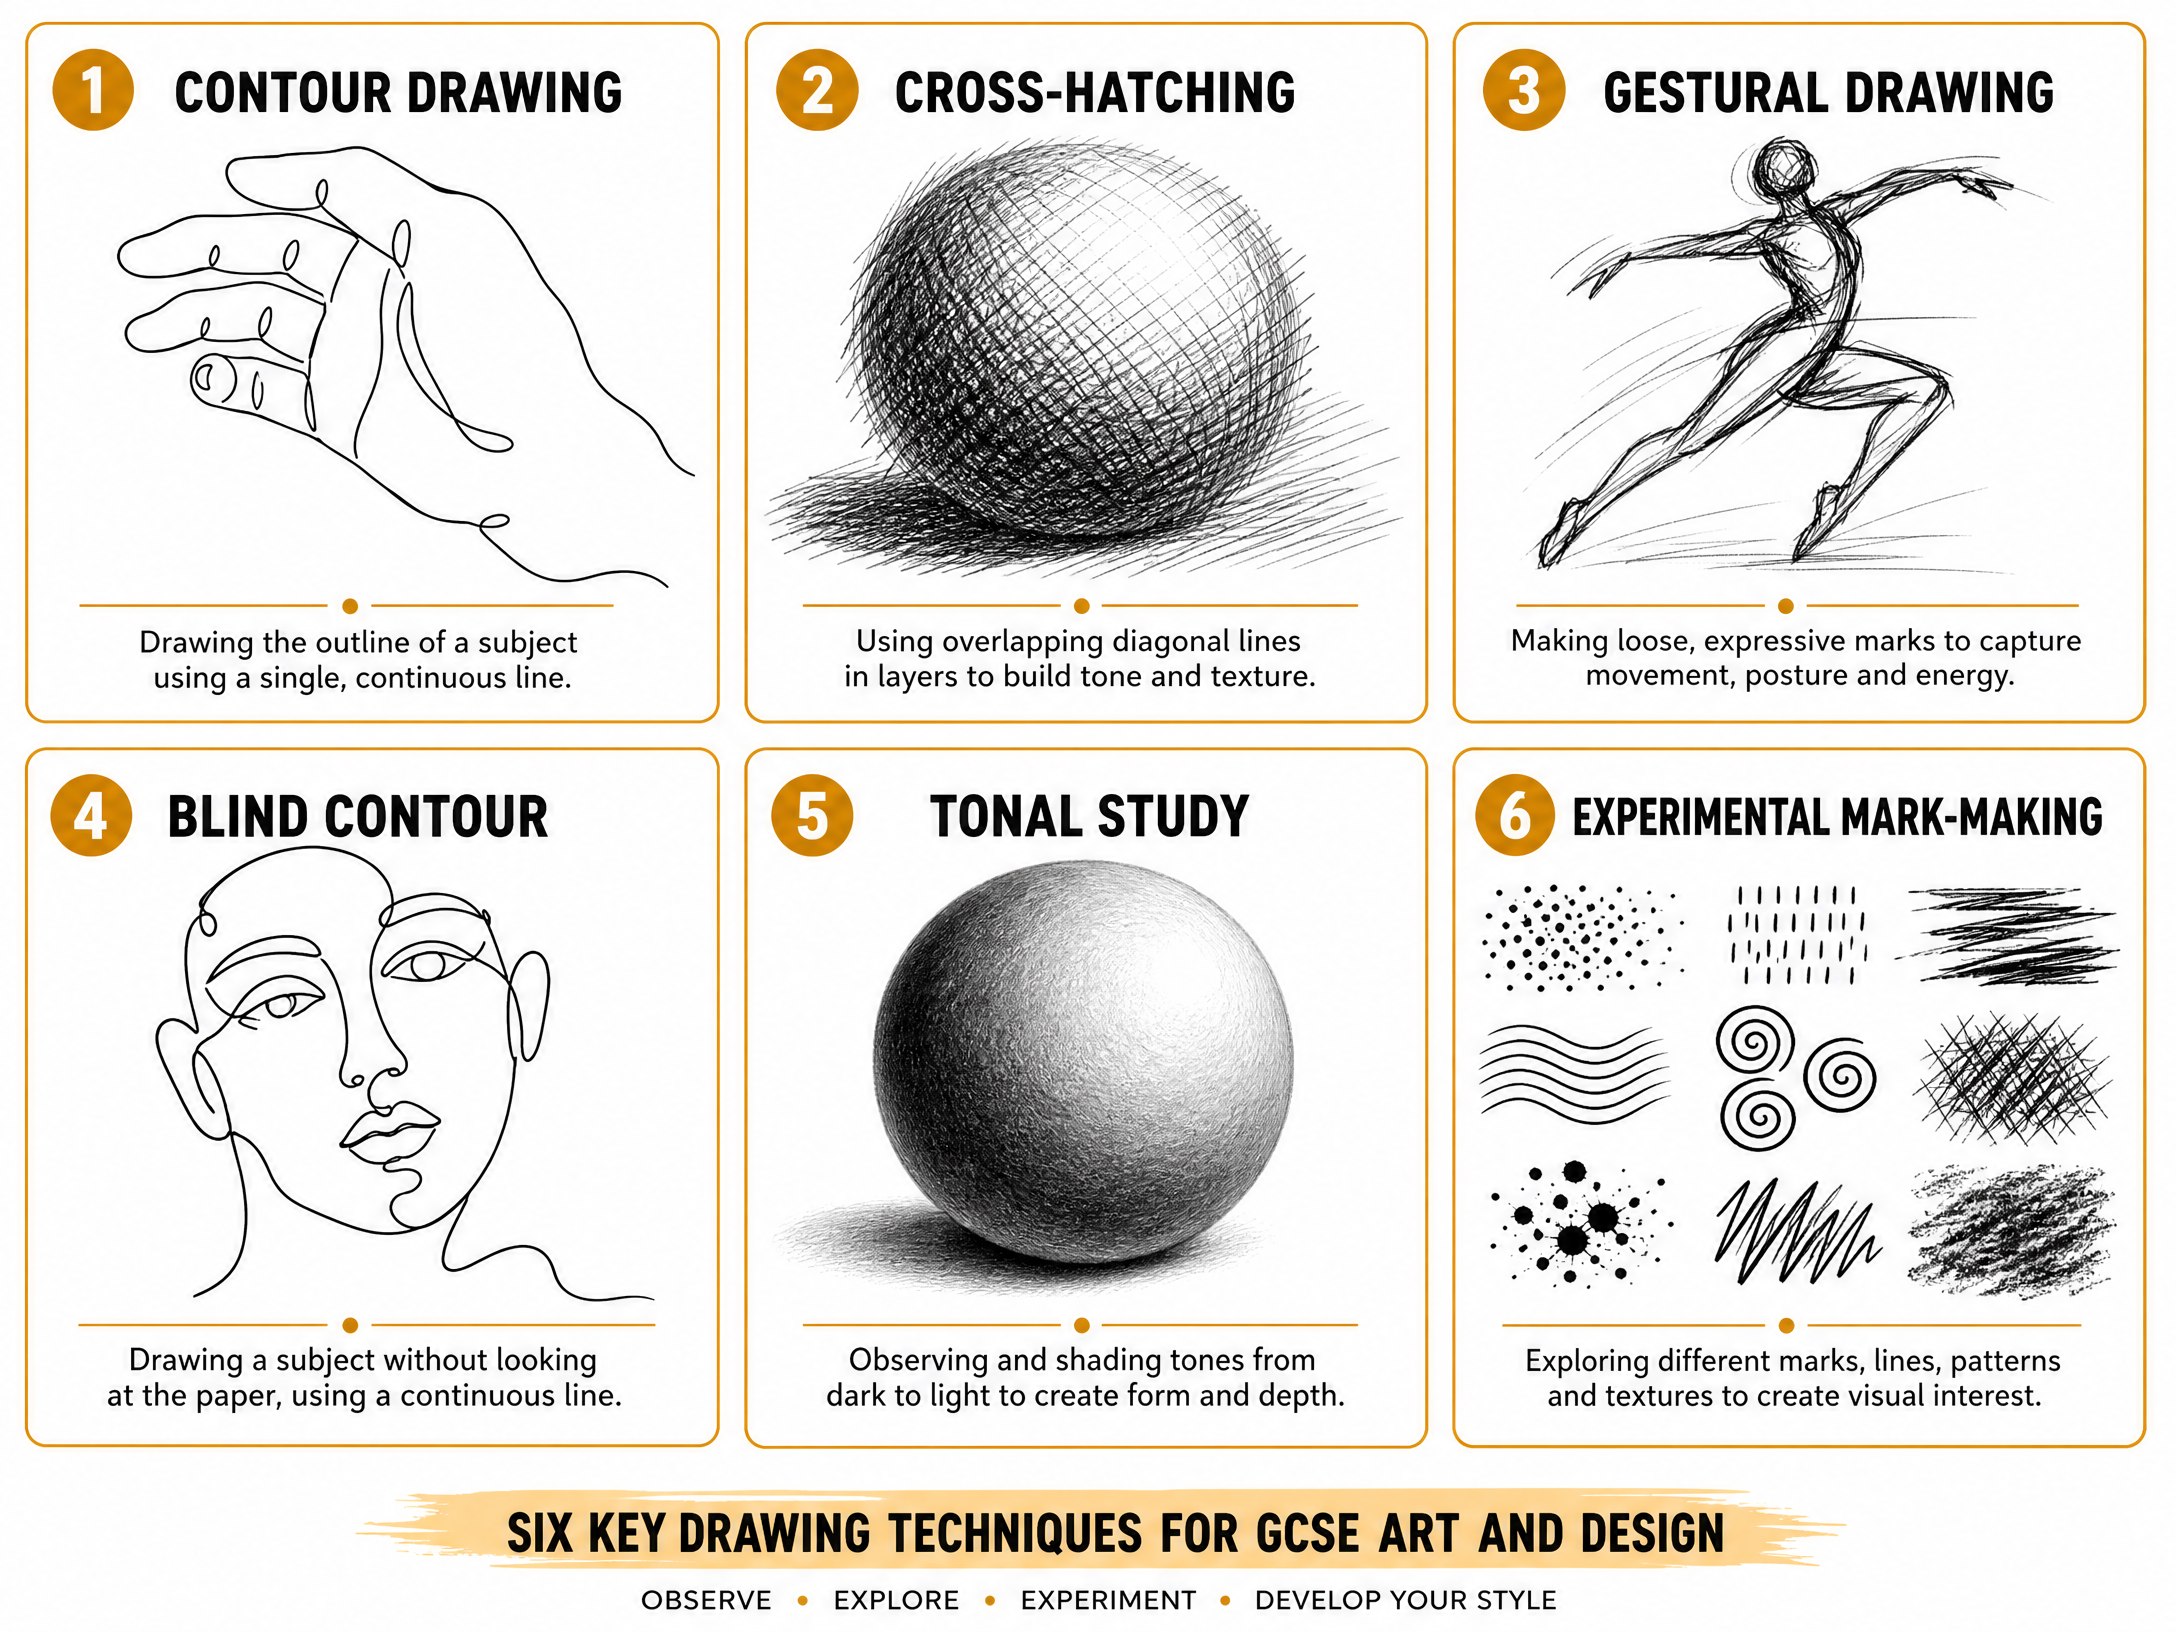
- Contour Drawing: Drawing the outline of a subject using a single, continuous line. It forces you to look closely at the edges of forms.
- Blind Contour: Drawing the subject without ever looking down at your paper. It produces distorted but highly energetic and honest lines, excellent for hand-eye coordination.
- Cross-Hatching: Using overlapping sets of parallel lines to build up tone and texture. The closer the lines, the darker the tone.
- Gestural Drawing: Rapid, loose mark-making used to capture the energy, movement, or posture of a subject, rather than fine details.
- Tonal Study: Carefully observing and rendering the subtle gradations of light and shadow on a form to create a sense of three-dimensional volume.
- Experimental Mark-Making: Using tools in unconventional ways (e.g., drawing with a stick dipped in ink, using an eraser to draw into charcoal) to create unique textures.
Materials & Equipment
Do not limit yourself to graphite pencils. Your sketchbook should show evidence of:
- Charcoal (Willow and Compressed): Excellent for rapid, expressive tonal work and large-scale drawings.
- Ink and Fine-liners: Good for permanent, high-contrast line work and cross-hatching.
- Pastels (Chalk and Oil): Useful for introducing colour and blending soft tones.
- Varied Surfaces: Draw on textured paper, coloured sugar paper, newspaper, or cardboard. The surface changes how the medium behaves.
Portfolio/Coursework Guidance
Assessment Criteria
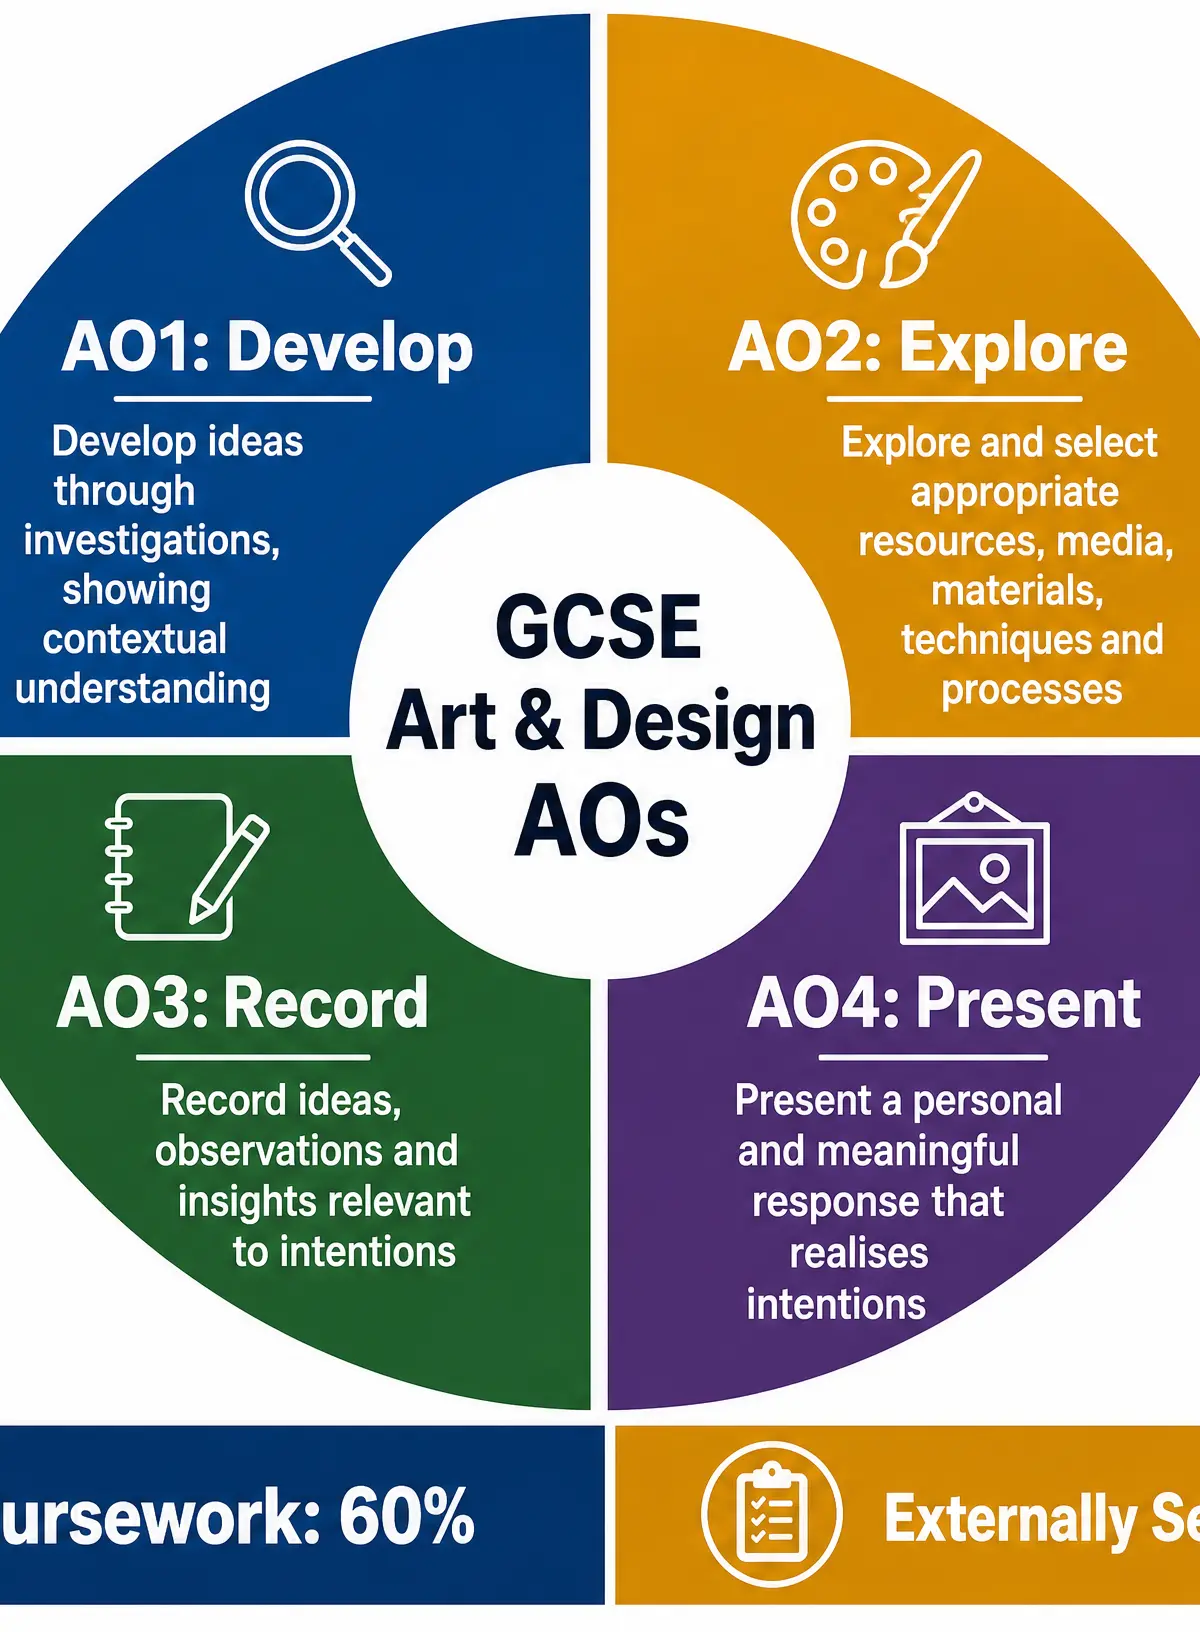
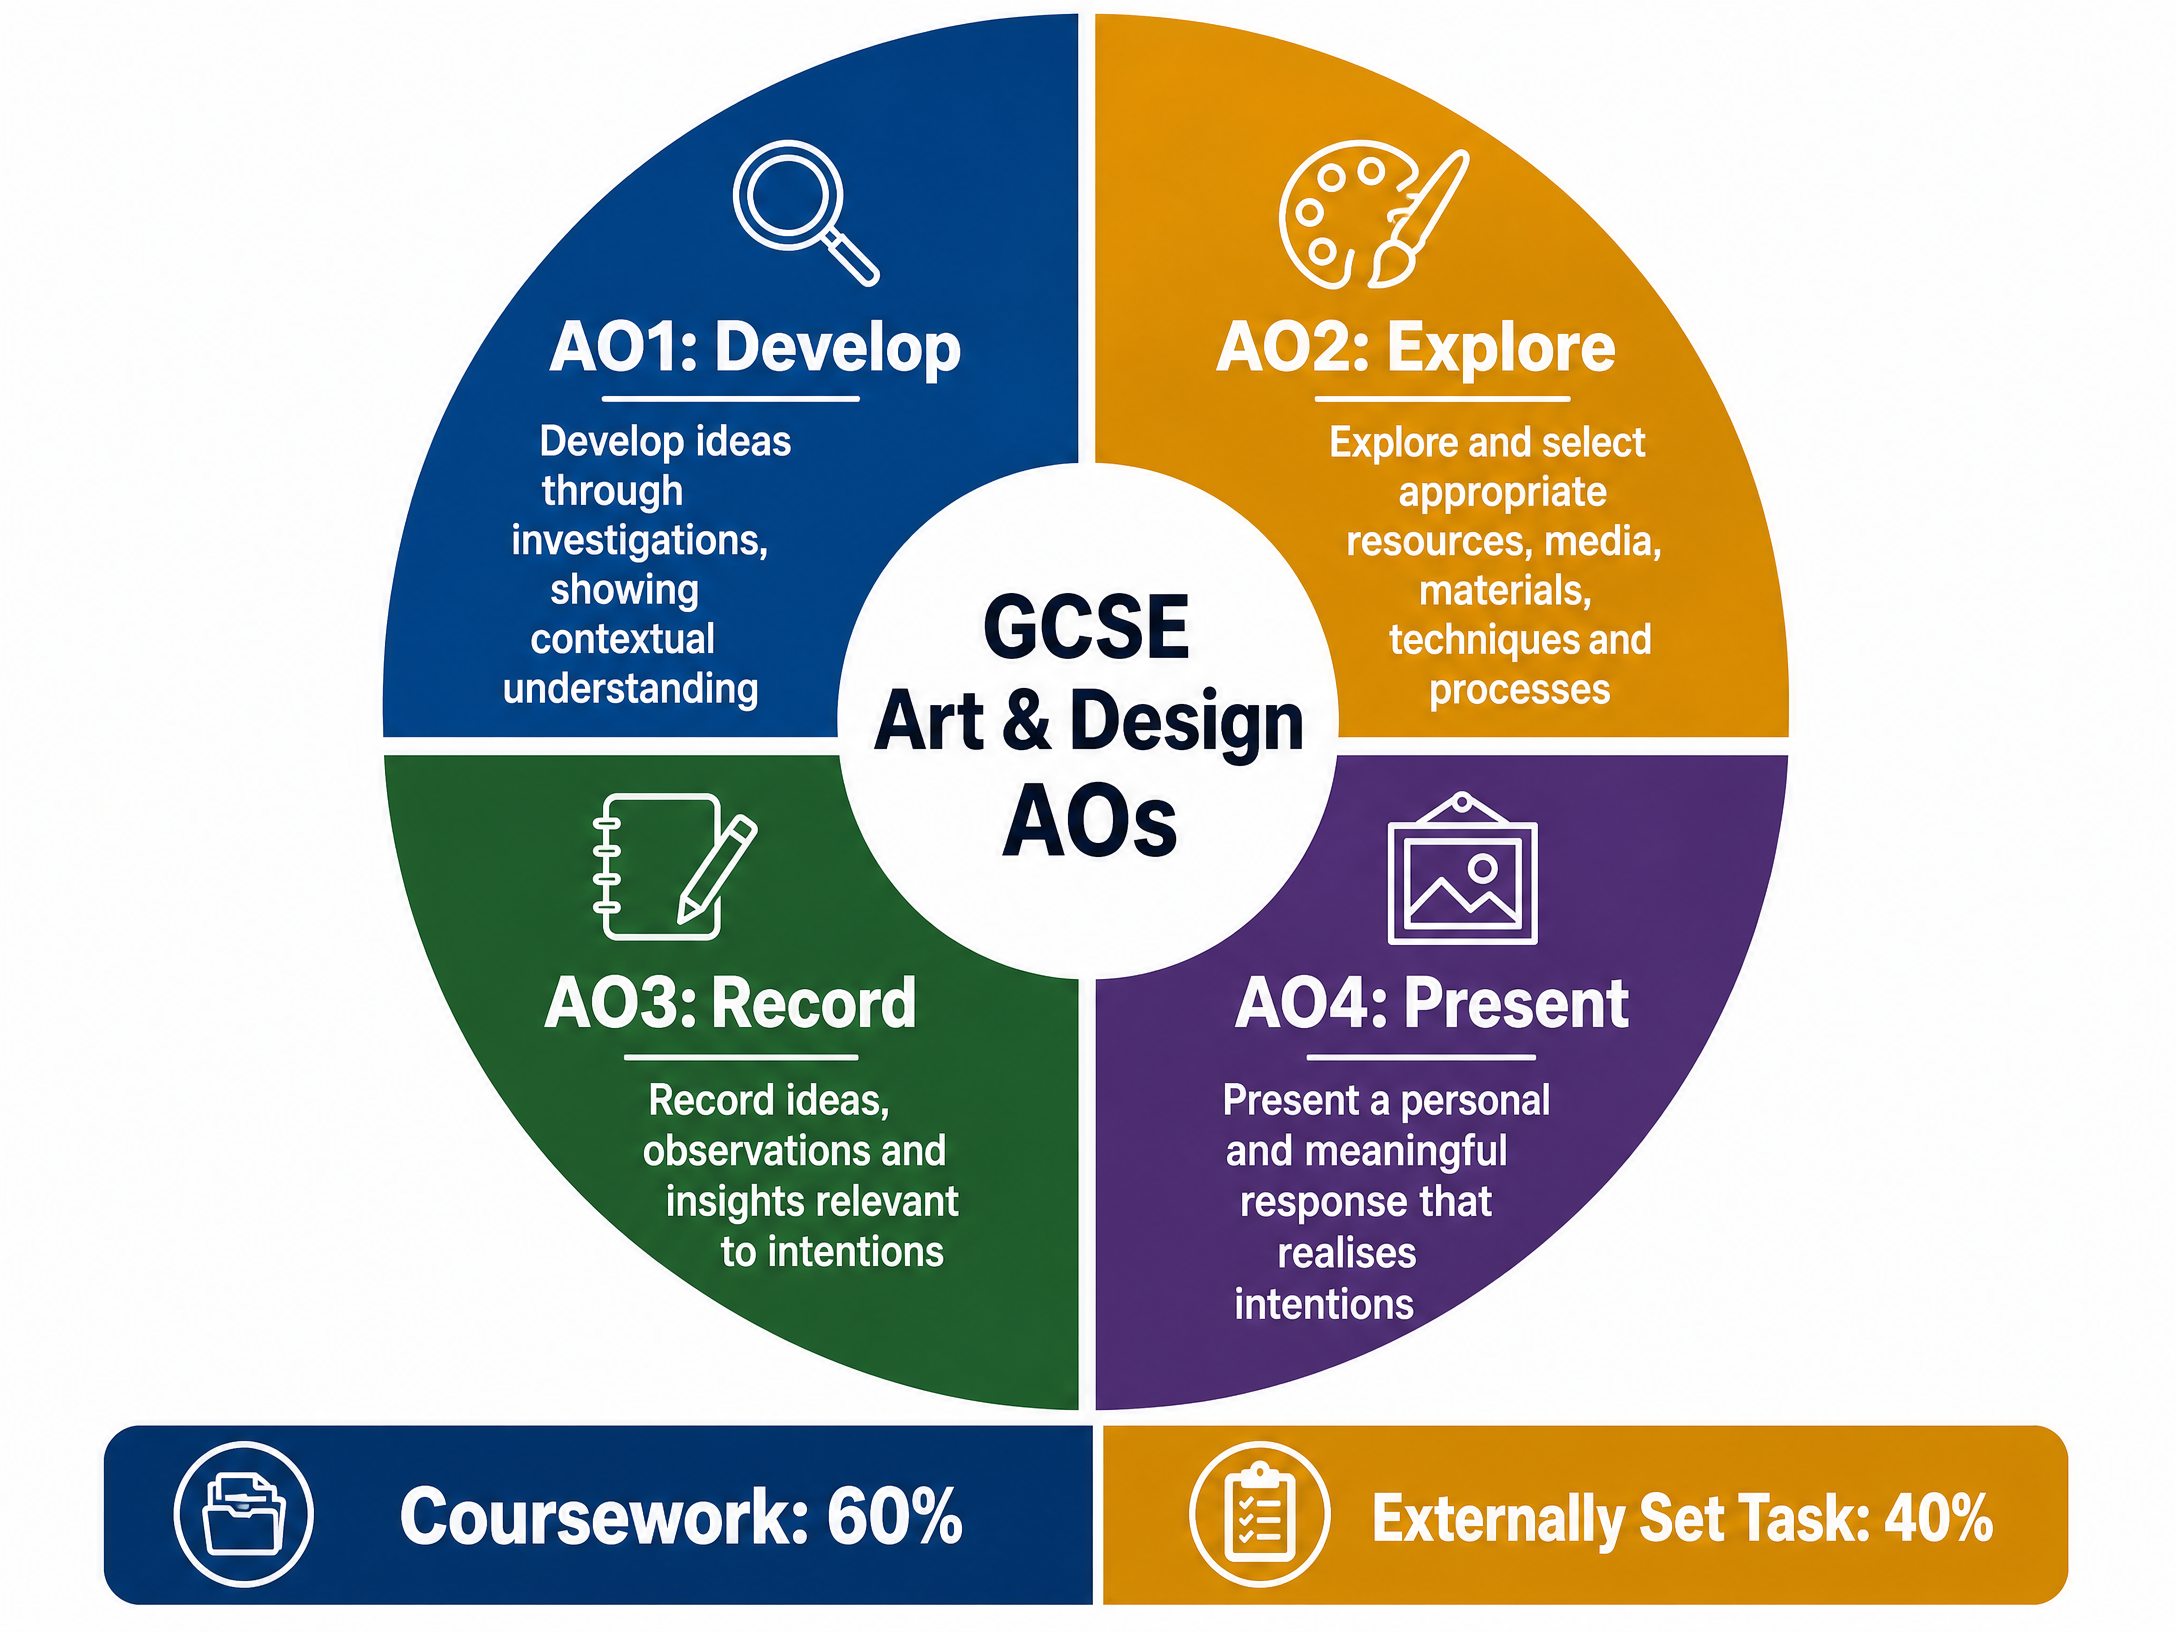
Your coursework (60% of your GCSE) and Externally Set Task (40%) are marked against four Assessment Objectives (AOs):
- AO1: Develop ideas through investigations, demonstrating critical understanding of sources.
- AO2: Explore and select appropriate resources, media, materials, techniques, and processes.
- AO3: Record ideas, observations, and insights relevant to intentions as work progresses.
- AO4: Present a personal and meaningful response that realises intentions and demonstrates understanding of visual language.
Drawing is crucial for AO2 (exploring media) and AO3 (recording observations).
Building a Strong Portfolio
- Show the Process: Do not just present finished masterpieces. Include the rough sketches, the mistakes, and the experiments. Examiners want to see how you arrived at your final piece.
- Annotate Everything: Written notes are essential. Explain why you chose a specific medium, what you learned from an experiment, and how an artist inspired your technique.
- Vary Your Scale: Include tiny thumbnail sketches for planning compositions, alongside larger, more sustained A3 or A2 studies.
Exam Component
Practical Exam Preparation (Externally Set Task)
You will receive an exam paper with starting points (themes or prompts). You have a preparatory period followed by a 10-hour supervised practical exam.
- Preparatory Period: Use drawing immediately to brainstorm ideas based on your chosen prompt. Create mind maps, quick sketches, and observational drawings of relevant primary sources.
- During the 10 Hours: While you will likely be producing a final piece, drawing can still be part of this outcome. Ensure your final piece clearly connects back to the developmental drawings in your preparatory work.
Visual Resources
2 diagrams and illustrations
Interactive Diagrams
1 interactive diagram to visualise key concepts
Conceptual Flow Outline
The Creative Development Process in GCSE Art & Design
Worked Examples
3 worked examples — open one to explore the question and available guidance.
Practice Questions
Test your understanding — click to reveal model answers
Select an object from your pencil case. Create three 5-minute sketches of it using three completely different drawing tools.
Hint: Don't just use different coloured pencils. Try a biro, a highlighter, and a piece of charcoal. Focus on how the tool changes the way you make marks.
Write a 100-word annotation evaluating a drawing that 'went wrong'. Explain why it failed and how you will fix the issue in your next attempt.
Hint: Use S.M.A.R.T. annotations. Be specific about the medium and the technique.