OCR · A-Level · Physics
Course version: H556 · Version from Sept 2015
Dynamics: (e) free-body diagrams
A free-body diagram shows a single object isolated from its surroundings, with all external forces acting on it represented as arrows.
Checked against the OCR H556 specification (opens in a new tab) on .
- Point 5 of 10
- 2 key terms
Study notes
From the checked teaching notes for this specification point.
The idea
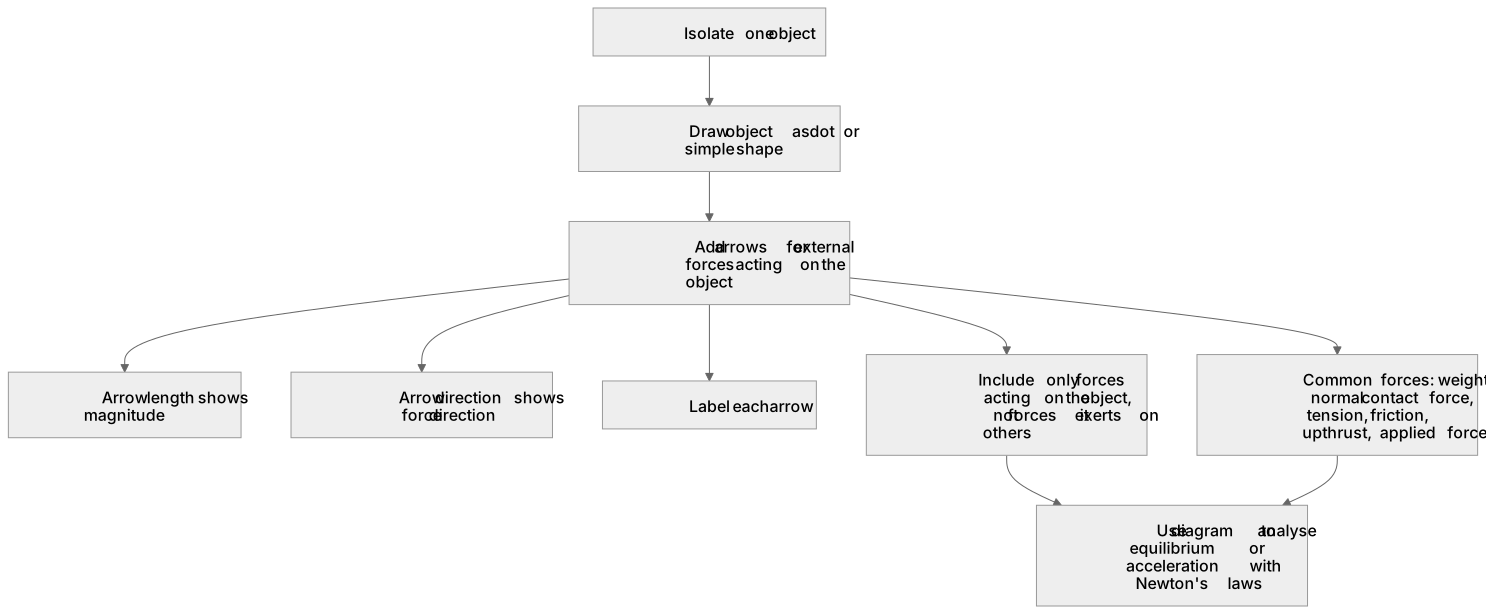
A free-body diagram shows a single object isolated from its surroundings, with all external forces acting on it represented as arrows. Each arrow's length indicates magnitude and its direction shows the force's direction. The object is drawn as a simple shape or dot. Forces to include: weight, normal contact force, tension, friction, upthrust, applied forces. Do not include forces the object exerts on other things. For example, a block on a rough slope has weight downwards, normal contact force perpendicular to the slope, and friction along the slope. In MCQs, you may select the correct diagram or identify a missing force. Ensure arrows start from the object and are labelled.
What earns the marks
- A free-body diagram shows one object isolated with all external forces acting on it.
- Forces are represented by arrows; length indicates magnitude, direction indicates direction.
- Only forces acting on the object are included, not forces it exerts on other objects.
- Common forces: weight, normal contact force, tension, friction, upthrust, applied force.
- The diagram helps analyse equilibrium or acceleration using Newton's laws.
Common mistakes and how to put them right
Including forces that the object exerts on other objects.
Put it right by showing only forces acting on the chosen object.
Drawing weight as a line from the centre but forgetting to label it.
Put it right by labelling each arrow with the type of force.
Omitting the normal contact force when an object rests on a surface.
Put it right by including a force perpendicular to the surface.
Drawing arrows with incorrect relative lengths when magnitudes are known.
Put it right by scaling arrow lengths to represent relative magnitudes.
Exam tips
- Draw the object as a dot or simple box and draw all forces starting from it.
- Label each arrow clearly (e.g. W, N, T, F) and ensure directions are correct.
- Check that you have not included any internal forces or forces on other objects.
Try the lesson
The start of the Dynamics: (e) free-body diagrams lesson, made from checked teaching notes for this specification point.
Listen
A free-body diagram shows a single object isolated from its surroundings, with all external forces acting on it represented as arrows. Each arrow's length indicates magnitude and its direction shows the force's direction. The object is drawn as a simple shape or dot. Forces to include: weight, normal contact force, tension, friction, upthrust, applied forces. Do not include forces the object exerts on other things. For example, a block on a rough slope has weight downwards, normal contact force perpendicular to the slope, and friction along the slope. In MCQs, you may select the correct diagram or identify a missing force. Ensure arrows start from the object and are labelled. A strong answer earns marks for these points. A free-body diagram shows one object isolated with all external forces acting on it. Forces are represented by arrows; length indicates magnitude, direction indicates direction. Only forces acting on the object are included, not forces it exerts on other objects. Common forces: weight, normal contact force, tension, friction, upthrust, applied force. A common slip: Including forces that the object exerts on other objects. Instead, showing only forces acting on the chosen object. Exam tip: Draw the object as a dot or simple box and draw all forces starting from it.
See it
Key words
Say what each word means before you turn the card.
Force representation
Try answering aloud or in your head before turning the card.
Isolating objects
Try answering aloud or in your head before turning the card.
See every definition
- Force representation
- Forces are represented by arrows, where length indicates magnitude and direction indicates the force's direction.
- Isolating objects
- A single object is shown isolated from its surroundings, drawn as a simple shape or dot, with all external forces acting on it.
Label the diagram
Some boxes have lost their names. Pick the right name for each number.
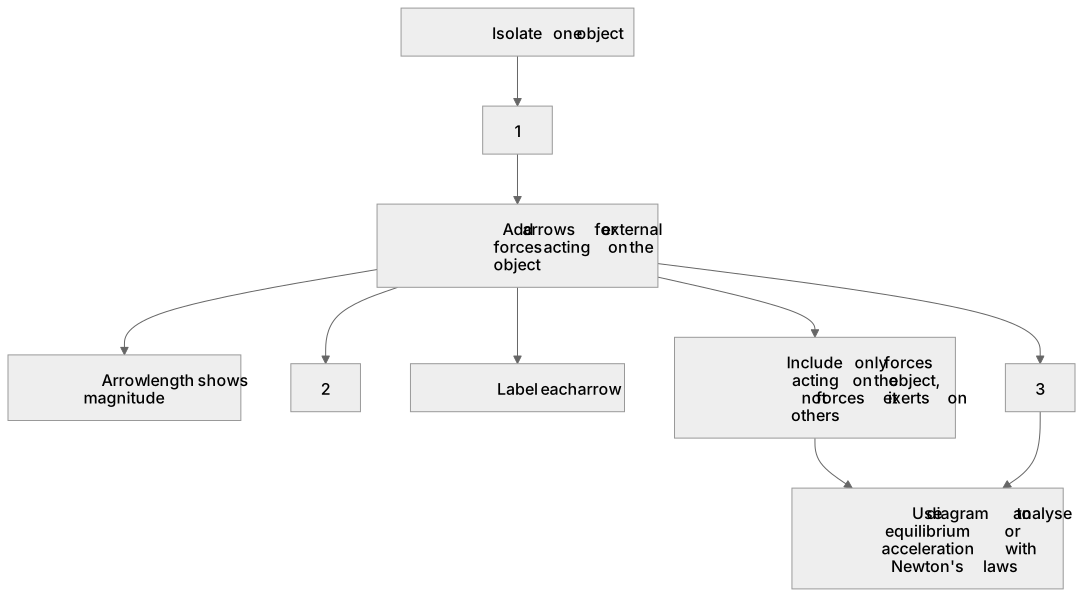
1Box 1
2Box 2
3Box 3
There is more to this lesson
The full lesson goes on to check your understanding and help you earn the marks. Create a free account to carry on, with your progress saved.
A week of Premium from your first lesson · Then the free plan continues · No card, no charge
Test your understanding of Dynamics: (e) free-body diagrams
Active recall beats re-reading. Take an instant quiz now to test what you’ve learned and lock it into long-term memory.
A week of Premium from your first lesson · Then the free plan continues · No card, no charge