Pearson Edexcel · A-Level · Design and Technology
Part 3: Making a final prototype
This topic covers the essential performance characteristics of materials and the practical steps required to make a high-quality final prototype. Understanding material properties is crucial for justifying design decisions in your Non-Exam Assessment (NEA) and answering technical questions in the written exam.
- 7 min read
- 3 worked examples
- 3 practice questions
- 6 key terms
Study Notes
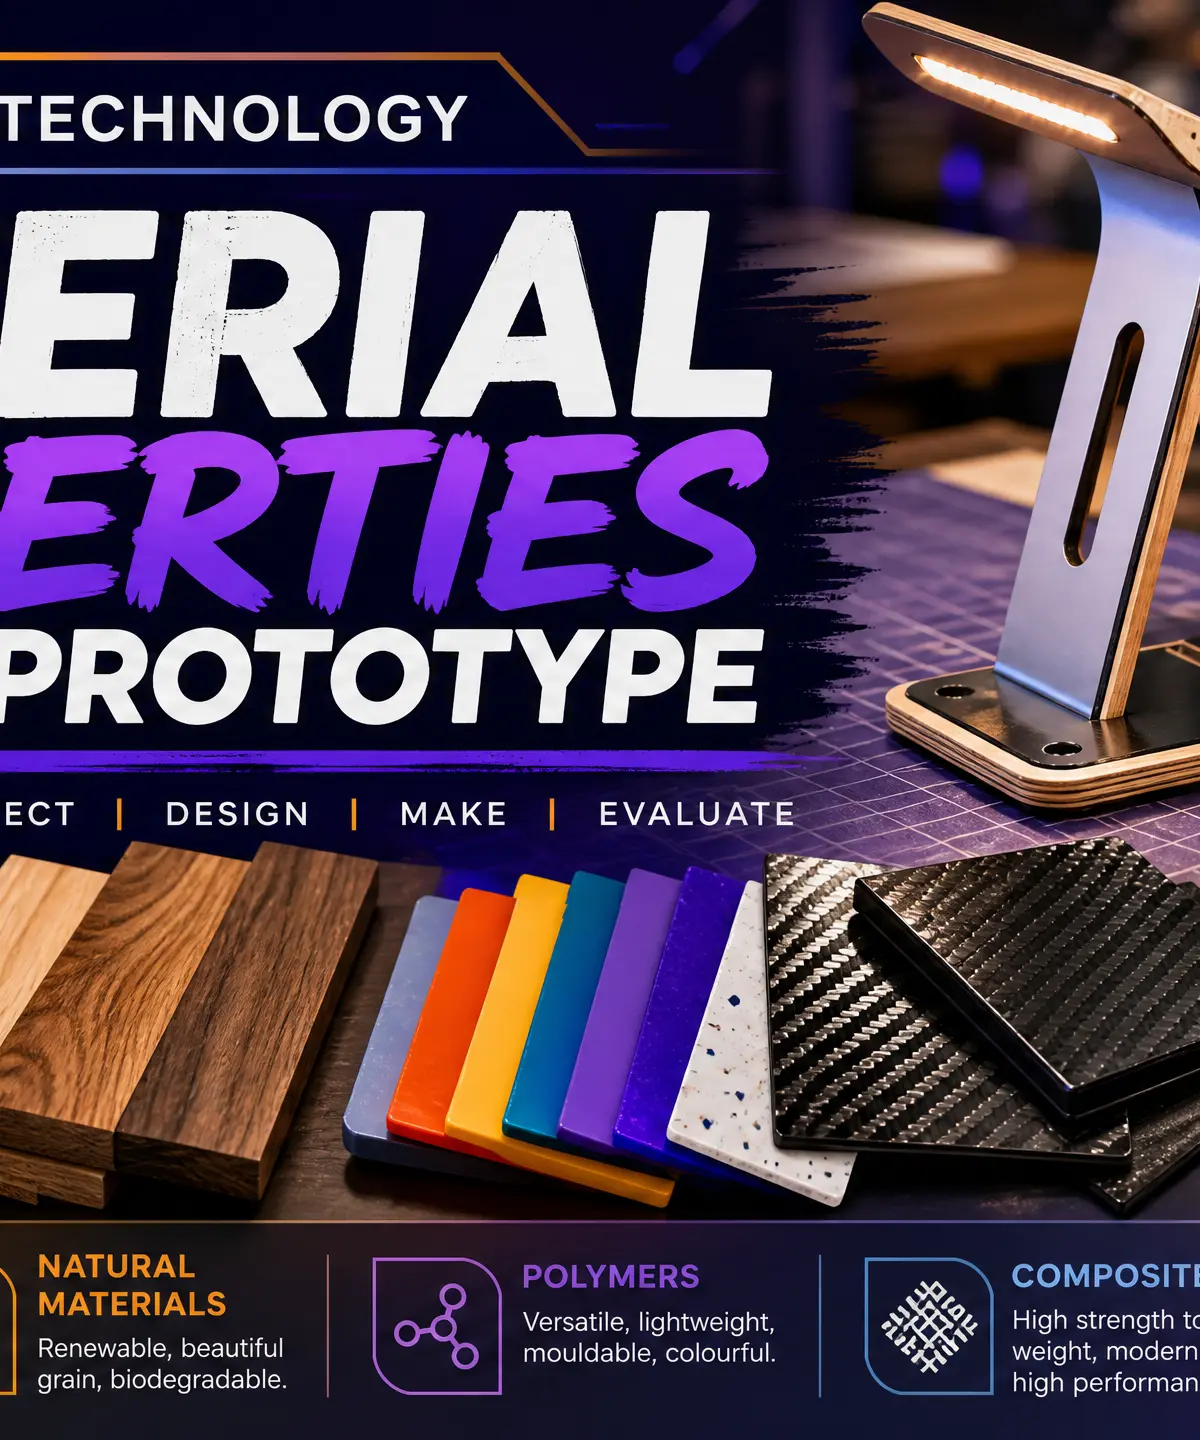
Overview
In GCSE Design and Technology, making a final prototype is the culmination of your design journey. However, before you cut a single piece of material, you must understand material properties. Every design decision—whether choosing oak for a table or high-density polyethylene for a safety helmet—must be justified by the performance characteristics of that material. Examiners award the highest marks to candidates who can clearly explain why a material is the right choice for a specific application based on its properties.
Listen to our revision podcast to reinforce your learning:

Key Knowledge & Theory
Core Concepts: Material Performance Characteristics
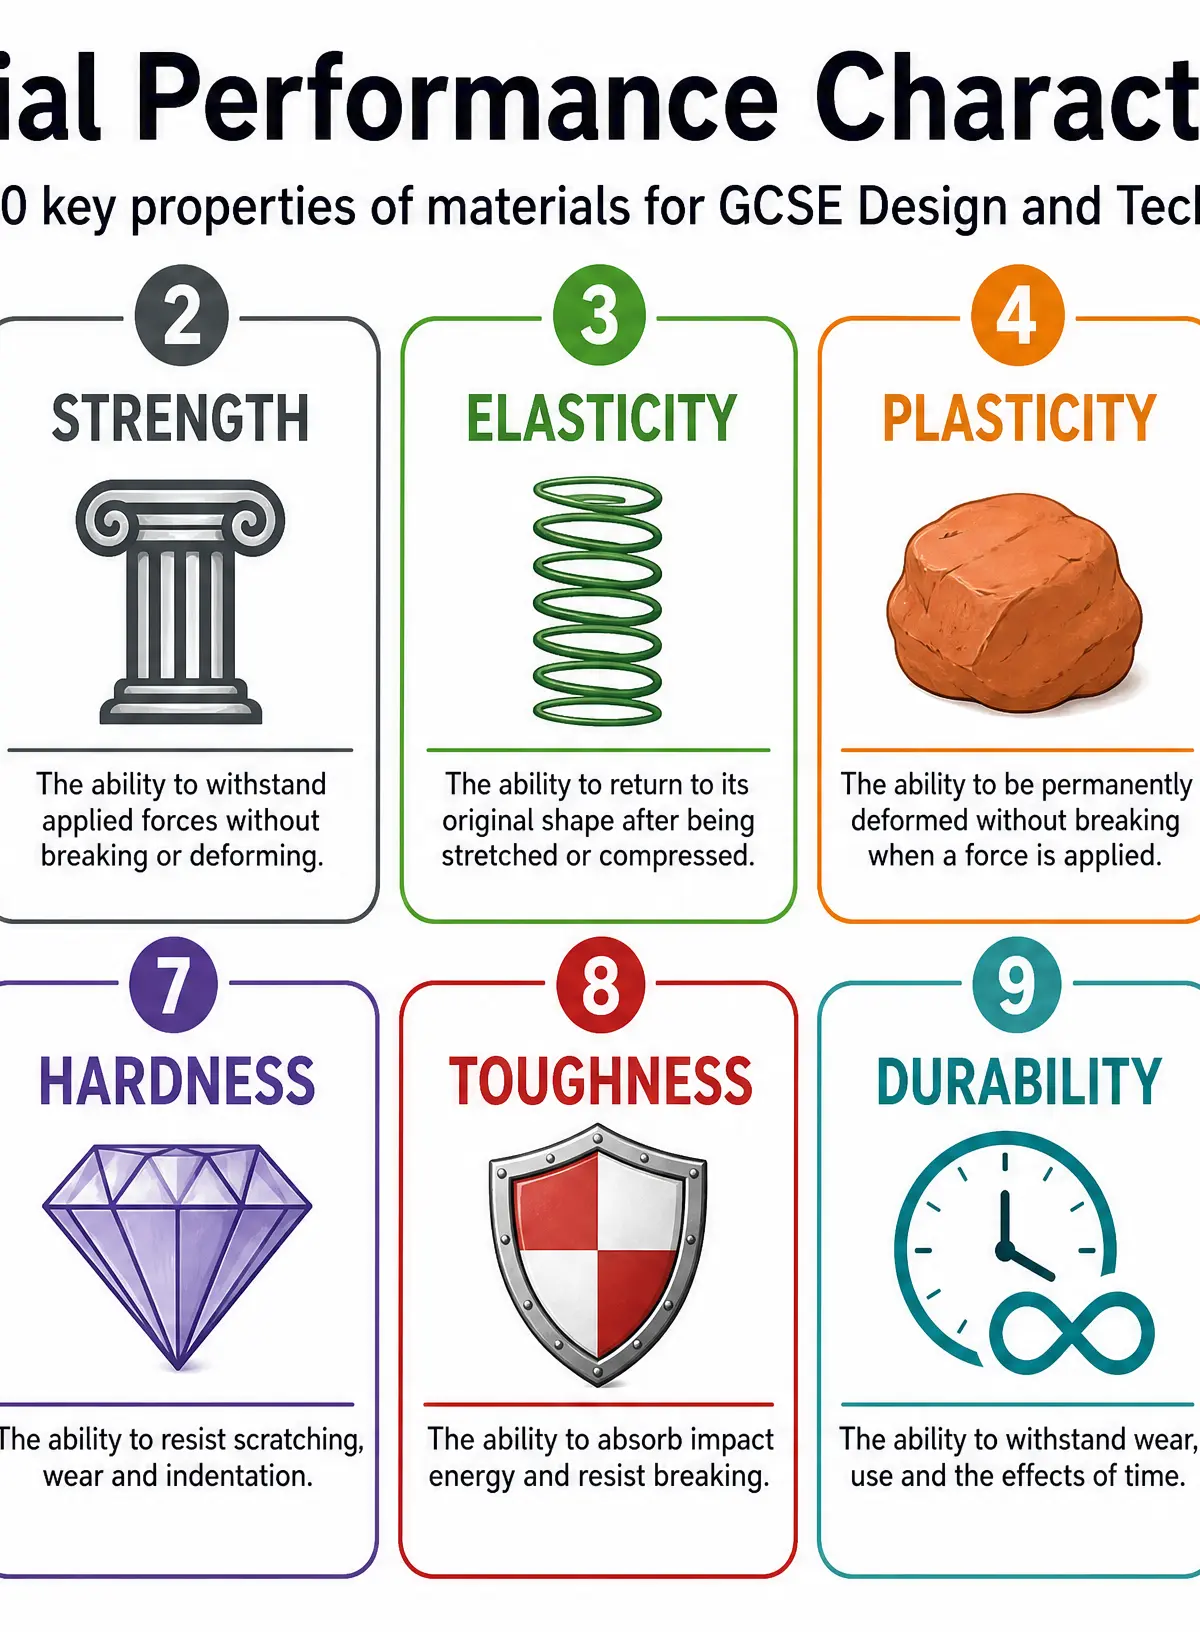
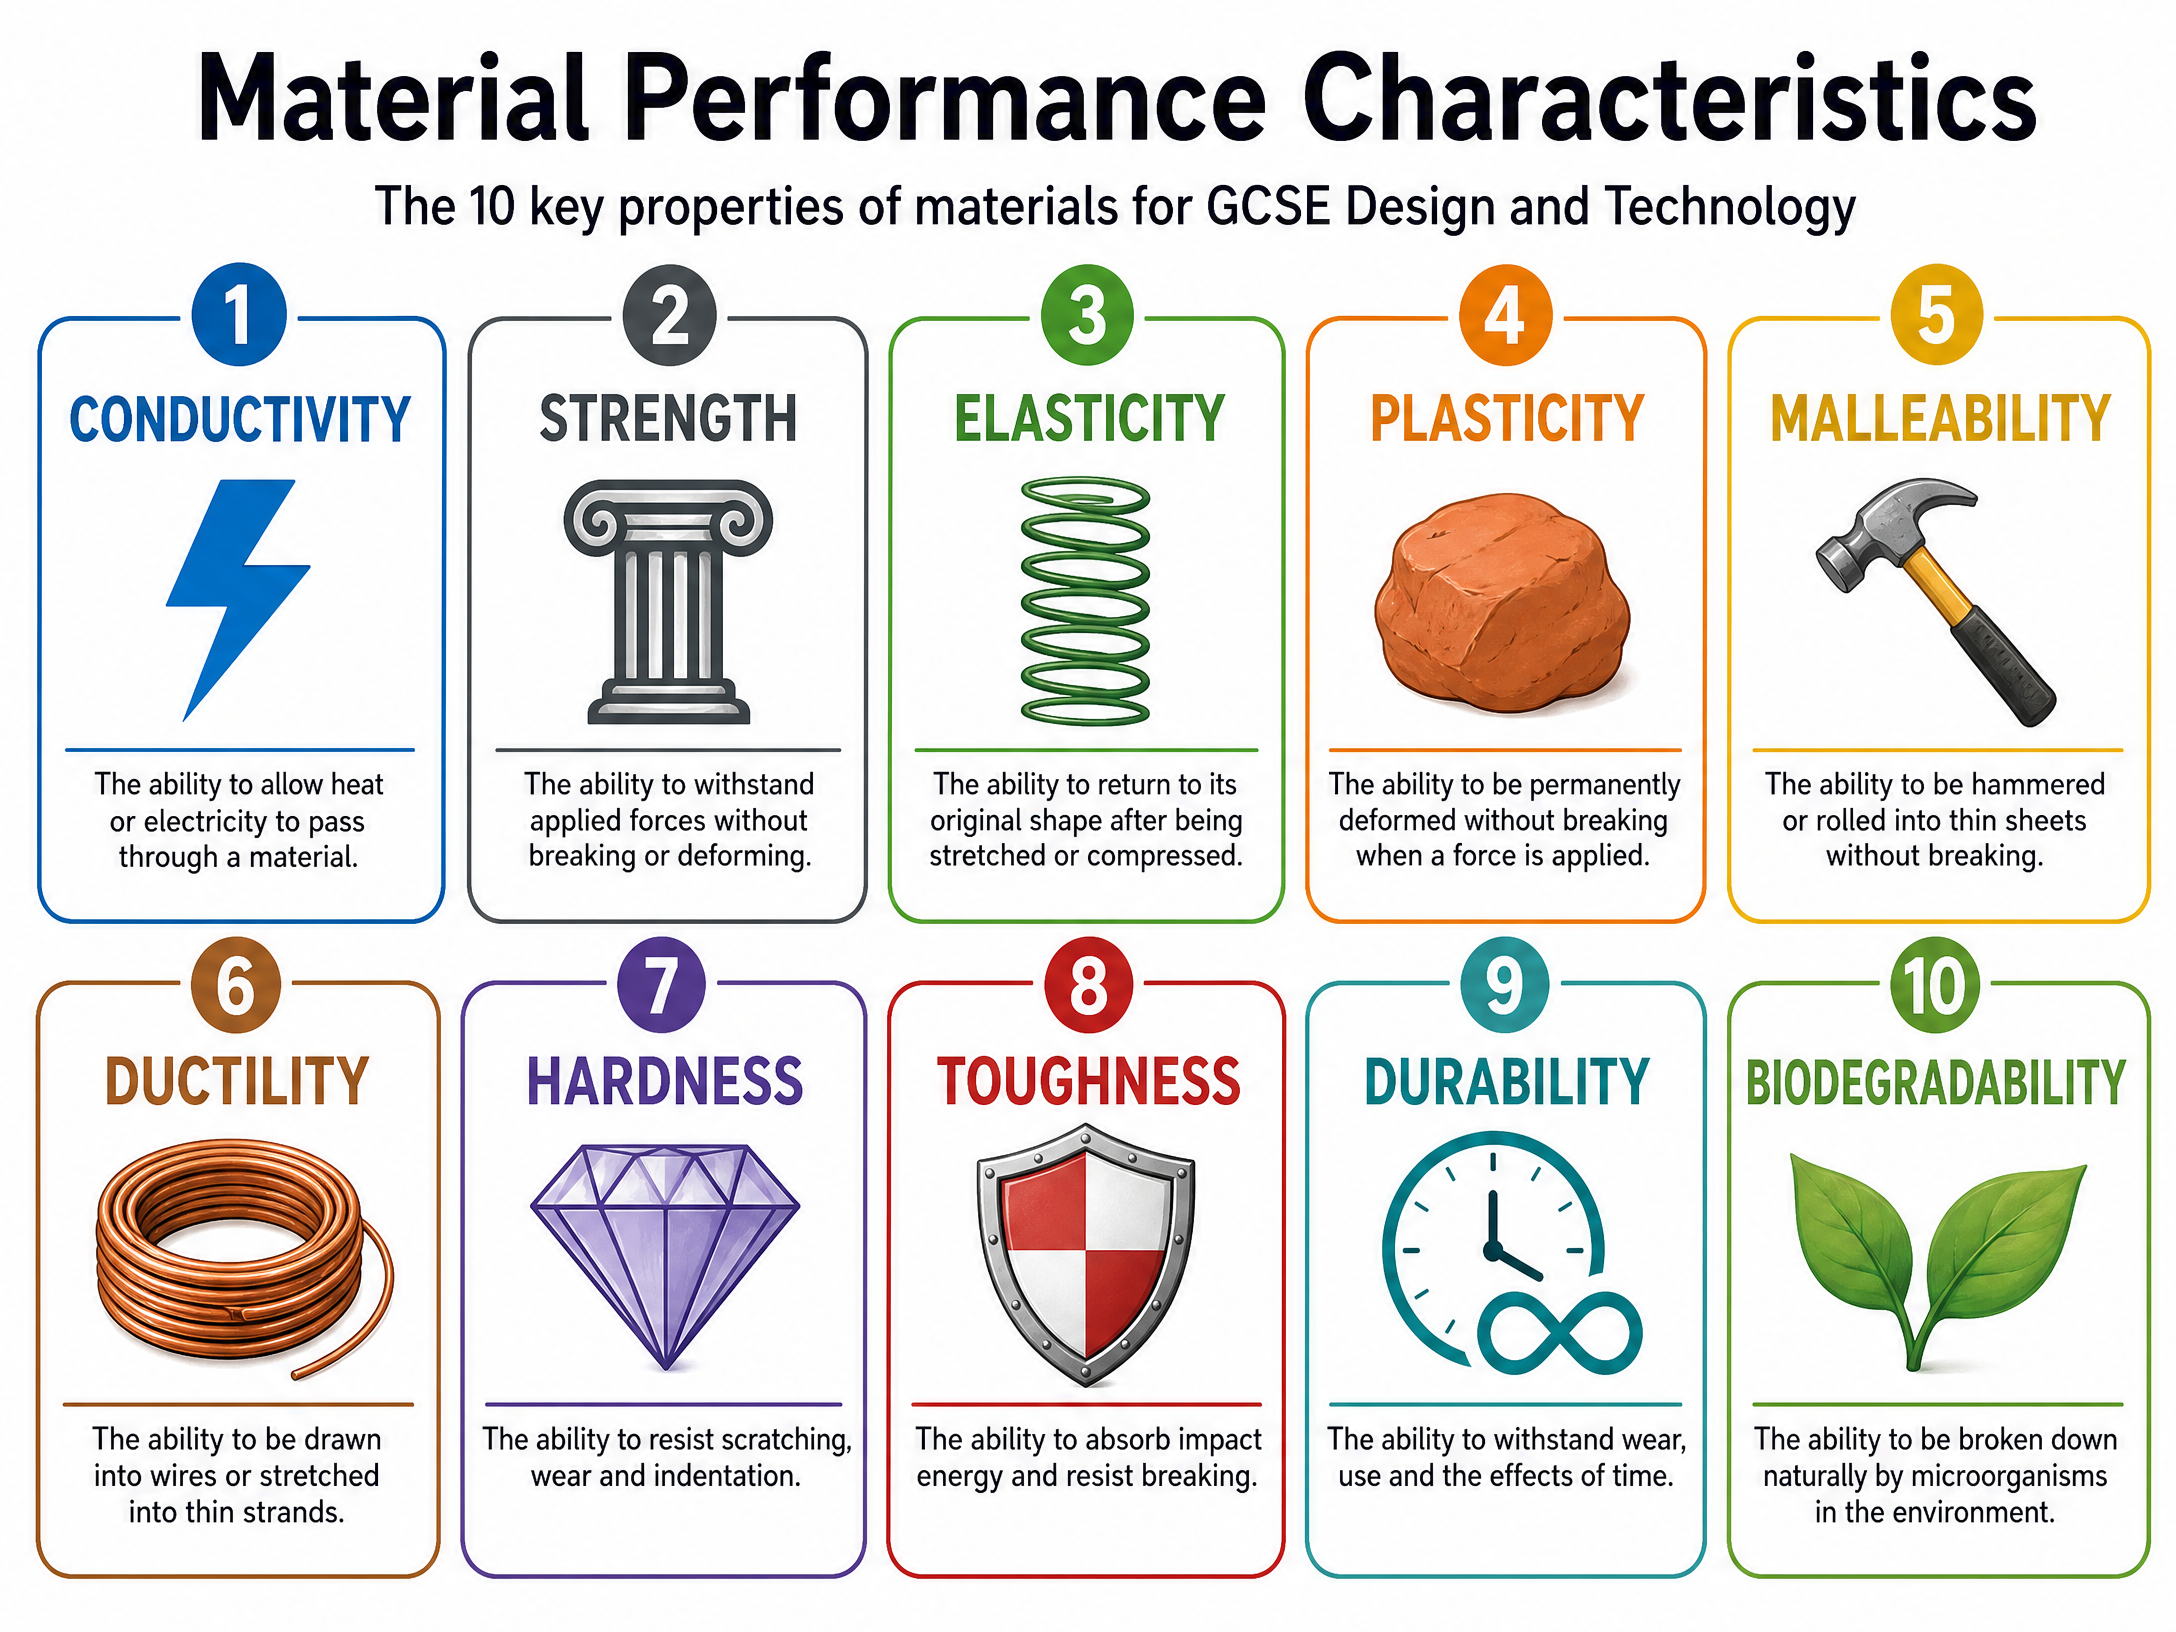
To succeed in this topic, you must master the ten key performance characteristics. Think of these as your 'material toolkit'.
- Conductivity: The ability to allow heat or electricity to pass through a material. (e.g., Copper is used in wiring due to high electrical conductivity).
- Strength: The ability to withstand applied forces without breaking or deforming. Includes tensile (pulling), compressive (squashing), and shear (opposing forces).
- Elasticity: The ability to return to the original shape after a force is removed. (e.g., Rubber in shock absorbers).
- Plasticity: The ability to be permanently deformed without breaking. (e.g., Thermoplastics when heated for vacuum forming).
- Malleability: The ability to be hammered or rolled into thin sheets without breaking. (e.g., Aluminium foil).
- Ductility: The ability to be drawn into wires. (e.g., Copper wire).
- Hardness: The ability to resist scratching, wear, and indentation. (e.g., Hardened steel in cutting tools).
- Toughness: The ability to absorb impact energy without fracturing. (e.g., High-density polyethylene in hard hats).
- Durability: The ability to withstand wear and the effects of time/environment. (e.g., Stainless steel resisting corrosion).
- Biodegradability: The ability to be broken down naturally by microorganisms. (e.g., Wood and paper vs. synthetic polymers).
Material Categories
| Category | Examples | Key Properties | Common Applications |
|---|---|---|---|
| Hardwoods | Oak, Mahogany | Dense, durable, aesthetically pleasing grain | High-quality furniture, veneers |
| Softwoods | Pine, Spruce | Lighter, faster-growing, sustainable | Construction, interior joinery |
| Ferrous Metals | Low carbon steel, Cast iron | Strong, magnetic, prone to rusting | Structural beams, car bodies |
| Non-Ferrous Metals | Aluminium, Copper | Non-magnetic, excellent corrosion resistance | Drink cans, electrical wiring |
| Thermoplastics | Acrylic, ABS, PET | Recyclable, shows plasticity when heated | Vacuum-formed casings, Lego bricks |
| Thermosetting Plastics | Epoxy resin, Urea formaldehyde | Heat resistant, cannot be re-melted | Adhesives, electrical plugs |
| Smart Materials | Shape memory alloys (Nitinol), Thermochromic pigments | Reacts to environmental changes (heat, light, pressure) | Glasses frames, temperature indicators |
Technical Vocabulary
- Tolerances: The acceptable margin of error in a manufactured part.
- Alloy: A mixture of two or more elements, where at least one is a metal, to improve properties.
- Composite: A material made from two or more constituent materials with significantly different physical or chemical properties.
- Sustainability: Designing to meet the needs of the present without compromising the ability of future generations to meet their own needs.
Practical Skills
Making Your Final Prototype
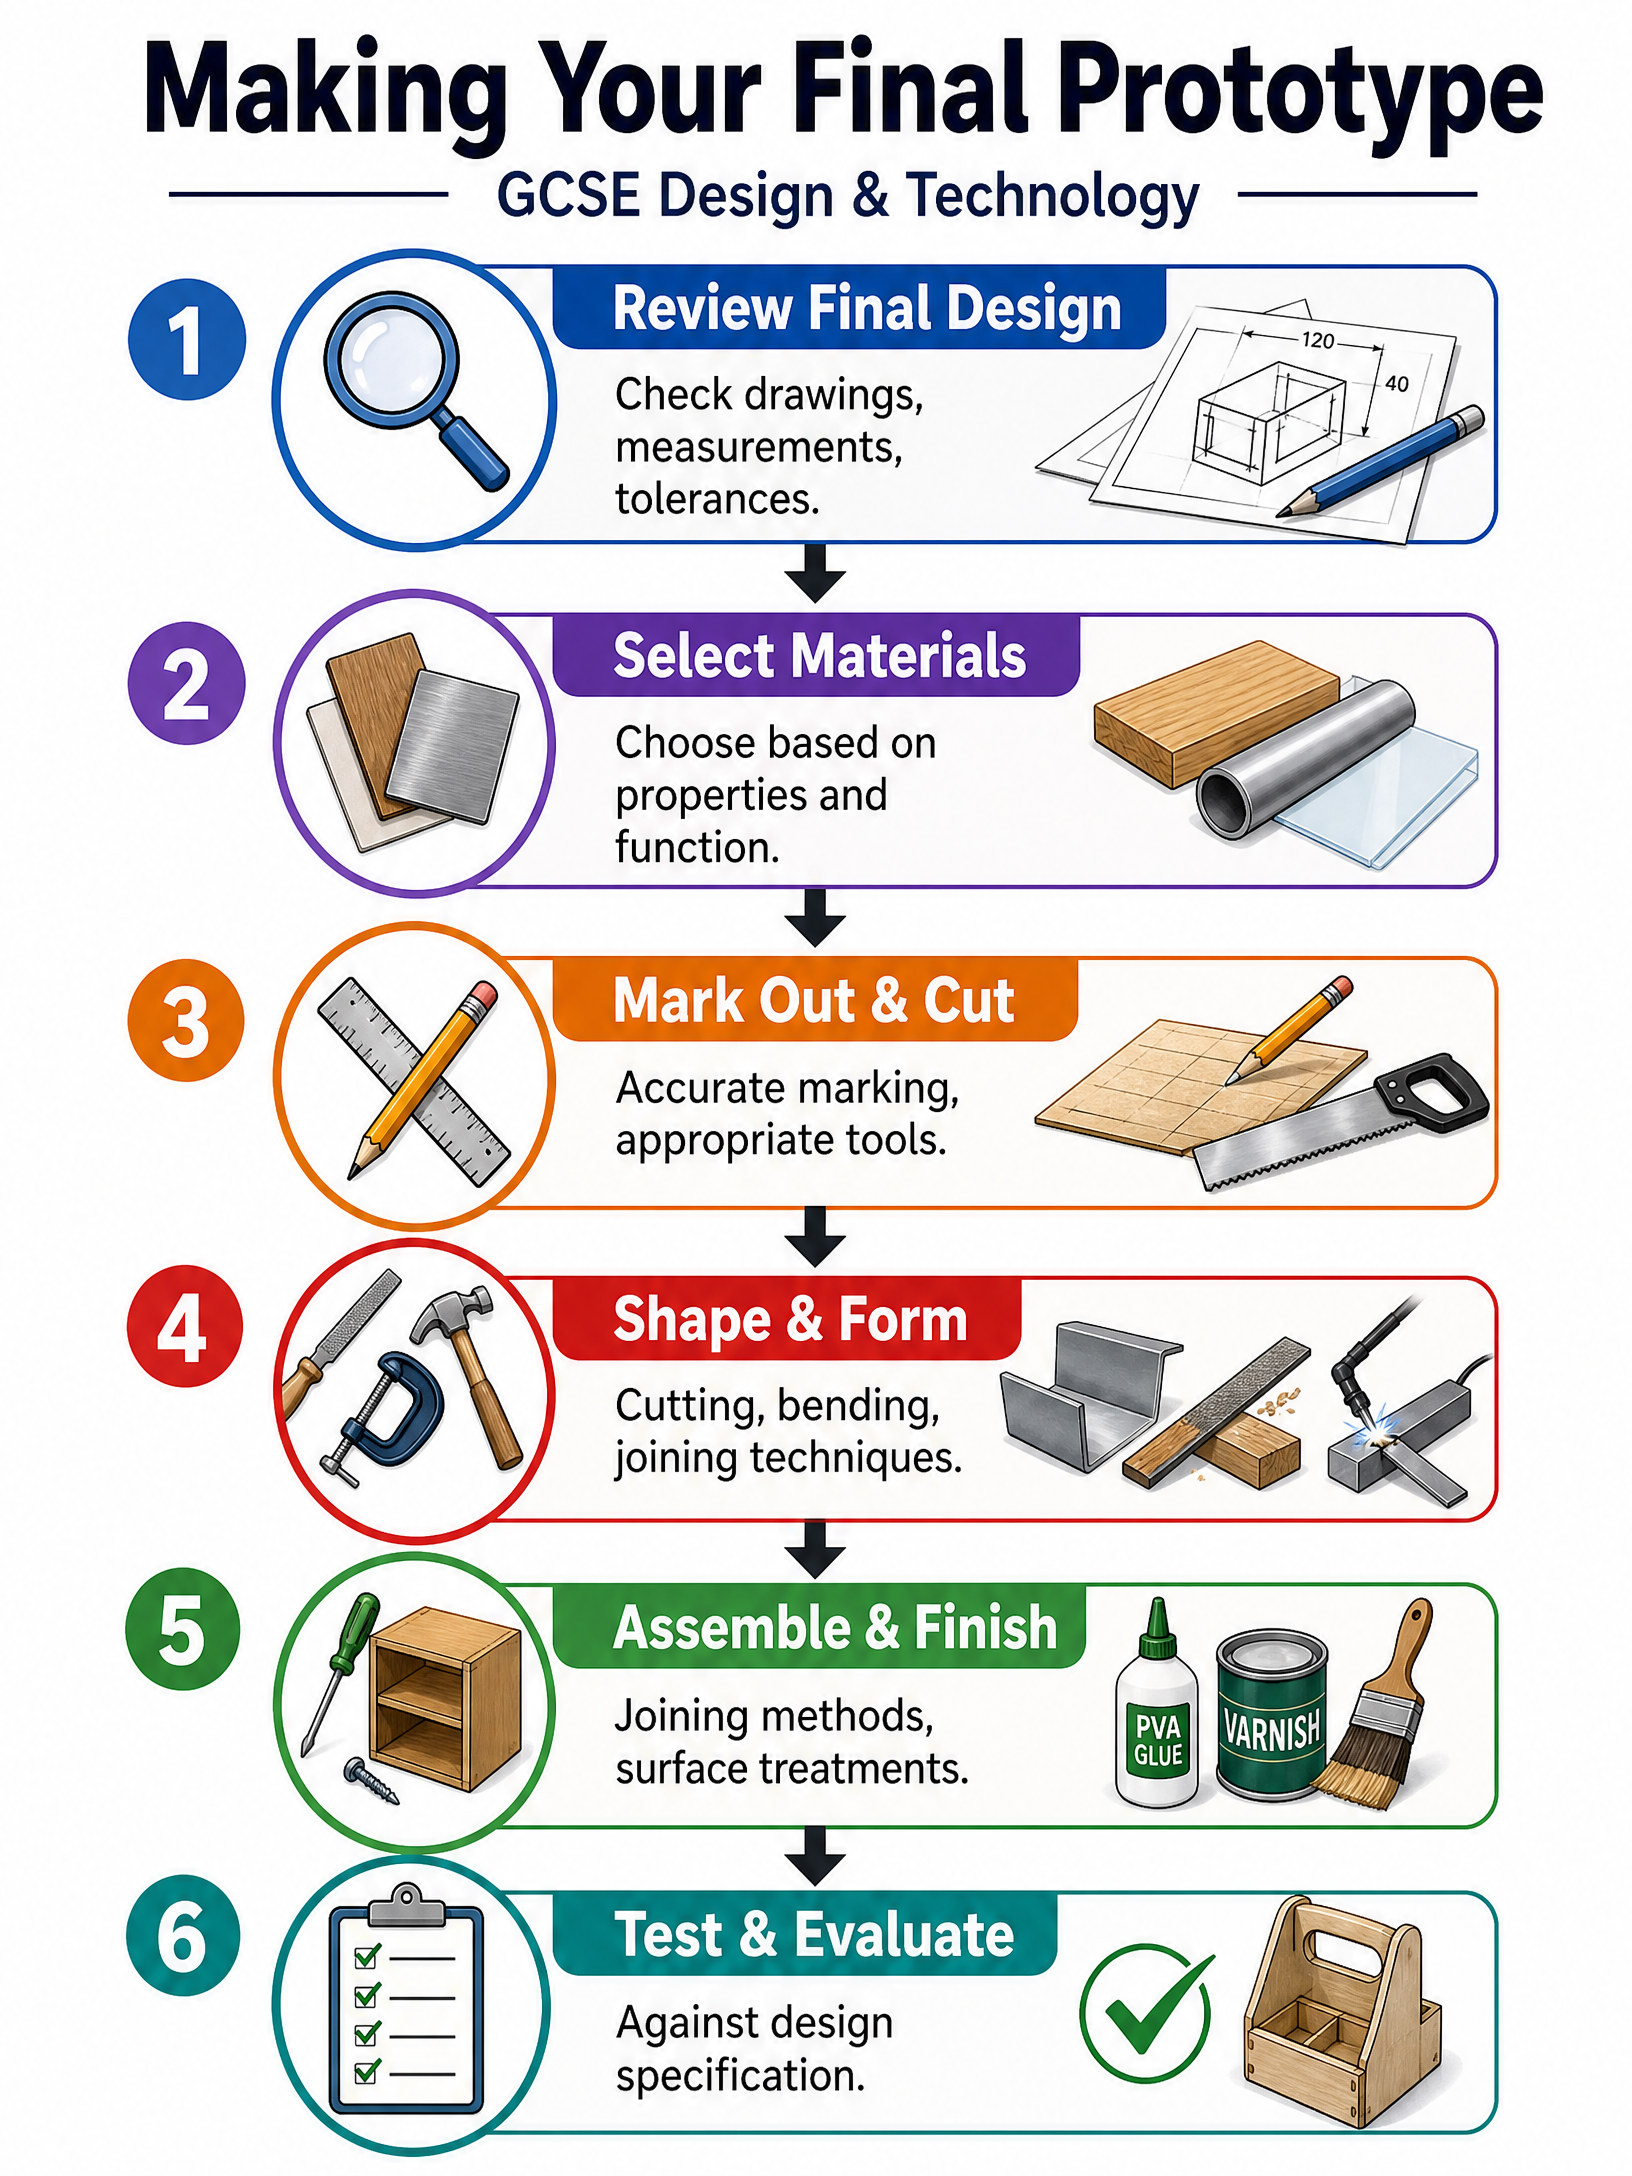
The process of making your final prototype requires precision, planning, and safe working practices.
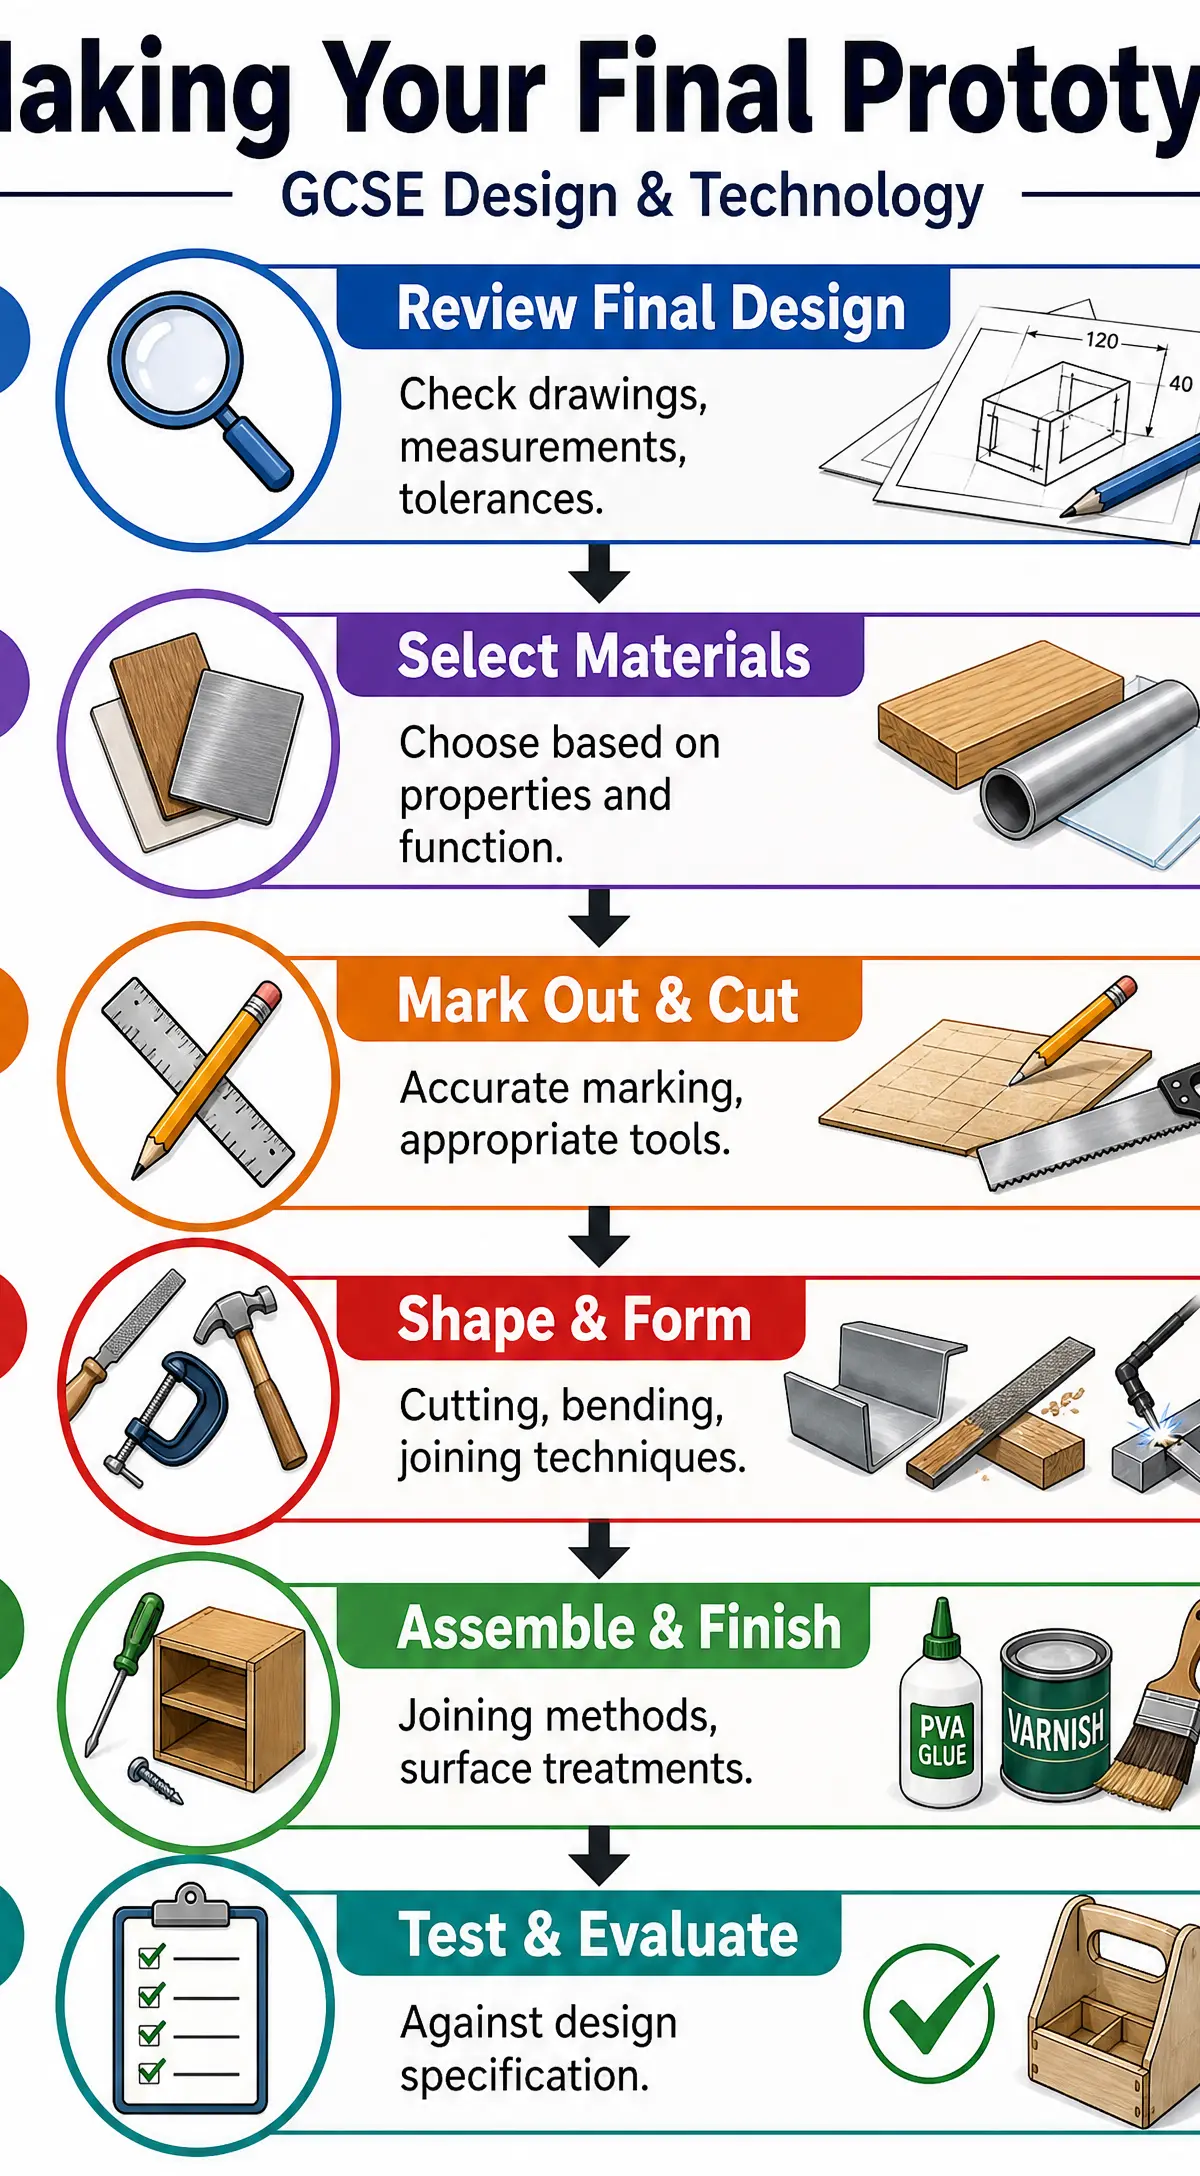
- Review Final Design: Before starting, review your working drawings. Check all dimensions, tolerances, and material requirements.
- Select Materials: Gather your chosen materials, ensuring they match your design specification.
- Mark Out & Cut: Use appropriate marking out tools (e.g., try square, marking gauge, scriber) to ensure accuracy. Select the correct cutting tools (e.g., tenon saw for wood, hacksaw for metal).
- Shape & Form: Use techniques such as filing, sanding, vacuum forming, or line bending to achieve the desired shapes.
- Assemble & Finish: Join components using permanent methods (e.g., PVA glue, welding, brazing) or temporary methods (e.g., screws, nuts and bolts). Apply surface finishes (e.g., varnish, paint, dip coating) to protect the material and enhance aesthetics.
- Test & Evaluate: Compare the final prototype against your initial design specification. Does it function correctly? Is it safe? Does it meet the target market's needs?
Portfolio/Coursework Guidance
Assessment Criteria
In your NEA (Non-Exam Assessment), examiners are looking for clear evidence of your decision-making process. Marks are awarded for:
- Justification: Explaining why you chose specific materials and processes.
- Accuracy: Working within tight tolerances and producing a high-quality finish.
- Safety: Demonstrating an understanding of safe working practices.
- Evaluation: Critically assessing your prototype's success and suggesting improvements.
Building a Strong Portfolio
To build a strong portfolio for the making section:
- Photographic Evidence: Take clear, well-lit photos of every stage of your making process. Do not just show the final product.
- Annotation: Add detailed annotations to your photos. Explain the tools you are using, the challenges you faced, and how you overcame them.
- Quality Control: Document the quality control checks you performed during manufacture (e.g., checking for squareness, measuring tolerances).
Exam Component
Written Exam Knowledge
In the written exam, questions on material properties often take the form of product analysis. You will be shown an image of a product and asked to suggest a suitable material, justifying your choice with reference to specific properties.
Top Tip: Never just state a property. Always link it to the product's function. For example, do not just say "Aluminium is lightweight". Say, "Aluminium has a low density, making it lightweight, which is essential for a bicycle frame so the rider expends less energy."
Practical Exam Preparation
If your course includes a timed practical exam, preparation is key:
- Practice Joints: Master common joints (e.g., finger joint, comb joint) beforehand.
- Tool Selection: Know exactly which tool to use for which material. Using a wood saw on plastic will ruin the finish and lose you marks.
- Time Management: Allocate specific time slots for marking out, cutting, assembling, and finishing.
Visual Resources
2 diagrams and illustrations
Interactive Diagrams
1 interactive diagram to visualise key concepts
Conceptual Flow Outline
Logical process for answering material selection exam questions
Worked Examples
3 worked examples — open one to explore the question and available guidance.
Practice Questions
Test your understanding — click to reveal model answers
State the difference between a ferrous and a non-ferrous metal. (2 marks)
Hint: Think about the element iron and its properties.
Explain why copper is the most suitable material for the wiring inside a household plug. (3 marks)
Hint: Mention two specific material properties related to electricity and shape.
A designer is choosing a material for a reusable travel coffee cup. Compare the use of a thermoplastic (like Polypropylene) with a thermosetting plastic (like Melamine Formaldehyde) for this product. (6 marks)
Hint: Consider heat resistance, washability, and end-of-life sustainability.