Pearson Edexcel · GCSE · Design and Technology
Develop, communicate, record and justify design ideas, applying suitable techniques
This topic covers the essential skills required to develop, communicate, record, and justify design ideas in GCSE Design and Technology. It is a critical component of the coursework portfolio, teaching you how to visually and verbally articulate your design journey from initial concept to final prototype.
- 6 min read
- 3 worked examples
- 3 practice questions
- 6 key terms
Study Notes
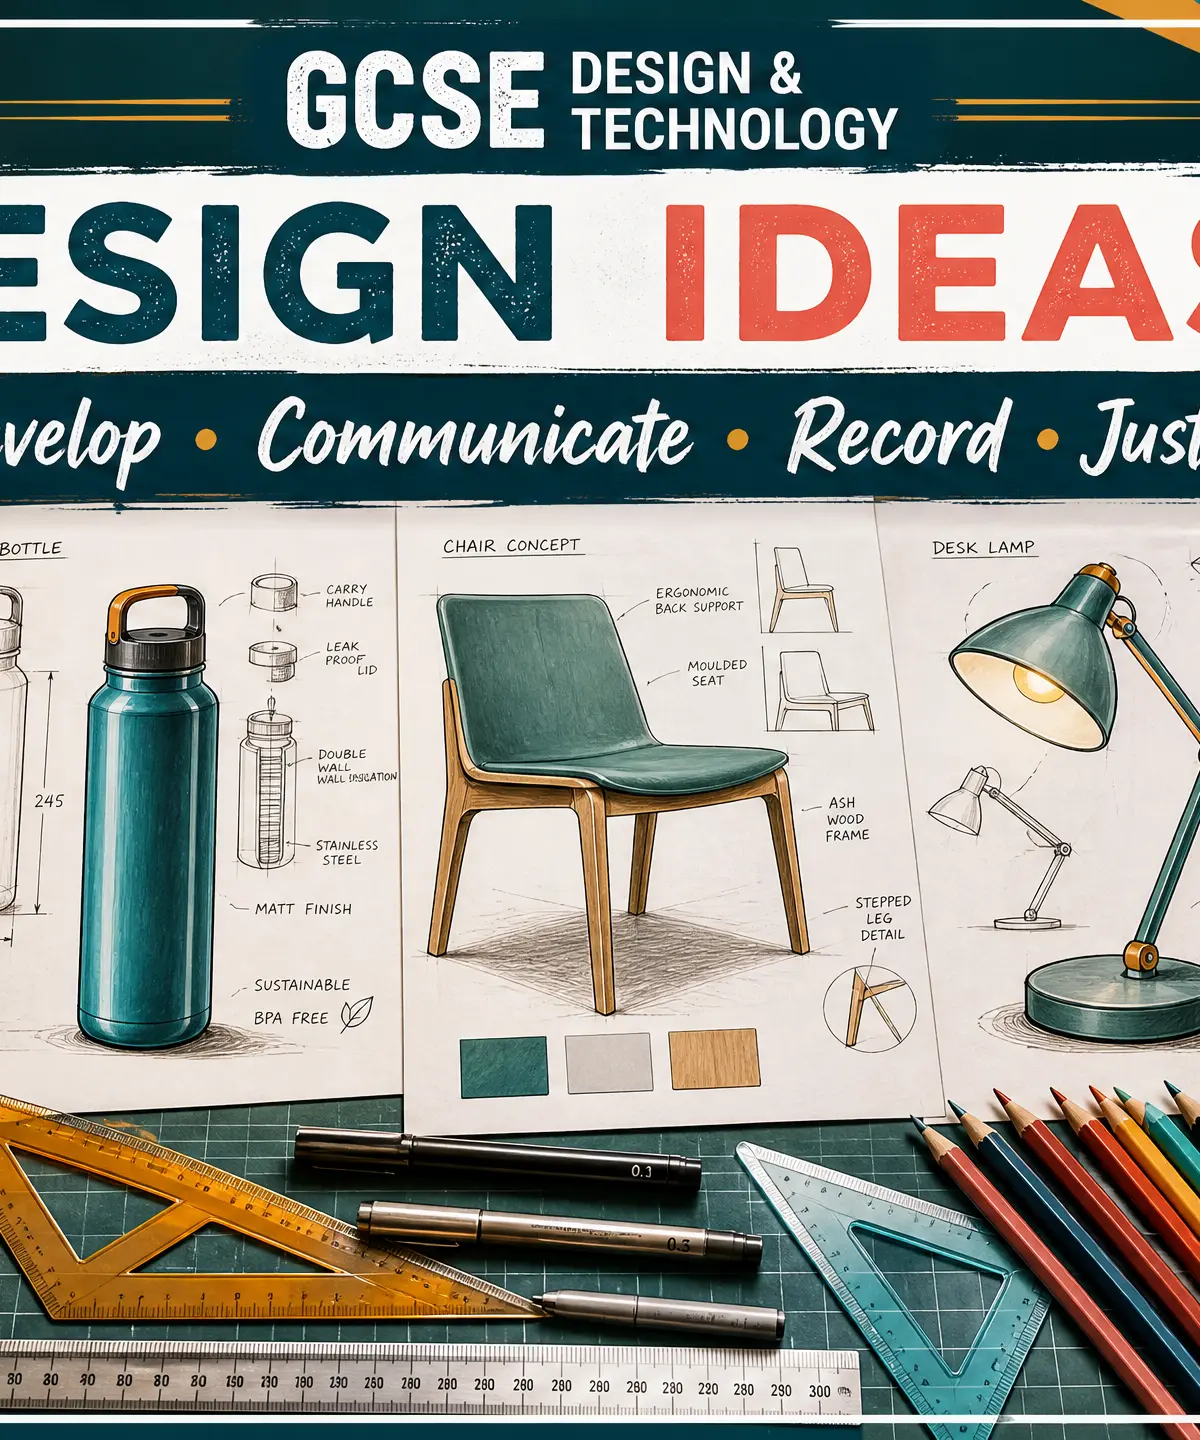
Overview
Welcome to Topic 1.17: Develop, communicate, record and justify design ideas. In GCSE Design and Technology, having a brilliant idea is only half the battle. The other half is proving to the examiner how you arrived at that idea, how it works, and why it is the best solution to the design brief. This topic focuses on the practical skills and theoretical knowledge required to document your creative journey effectively.
Listen to the companion podcast for a detailed breakdown of this topic:
Key Knowledge & Theory
Core Concepts
To succeed in this area, candidates must master four interconnected pillars:
- Development: The iterative process of refining an idea. This involves testing, evaluating, and modifying initial concepts based on the design brief, user needs, and material constraints.
- Communication: The use of visual and written techniques to convey design intent. This ranges from quick gestural sketches to precise, dimensioned technical drawings.
- Recording: Maintaining a chronological, comprehensive log of the design journey. This provides the evidence examiners need to award marks for process.
- Justification: Providing reasoned arguments for design decisions. This requires linking choices back to the specification, target market research, and material properties.
Key Drawing Techniques
| Technique | Description | Best Used For | Relevance |
|---|---|---|---|
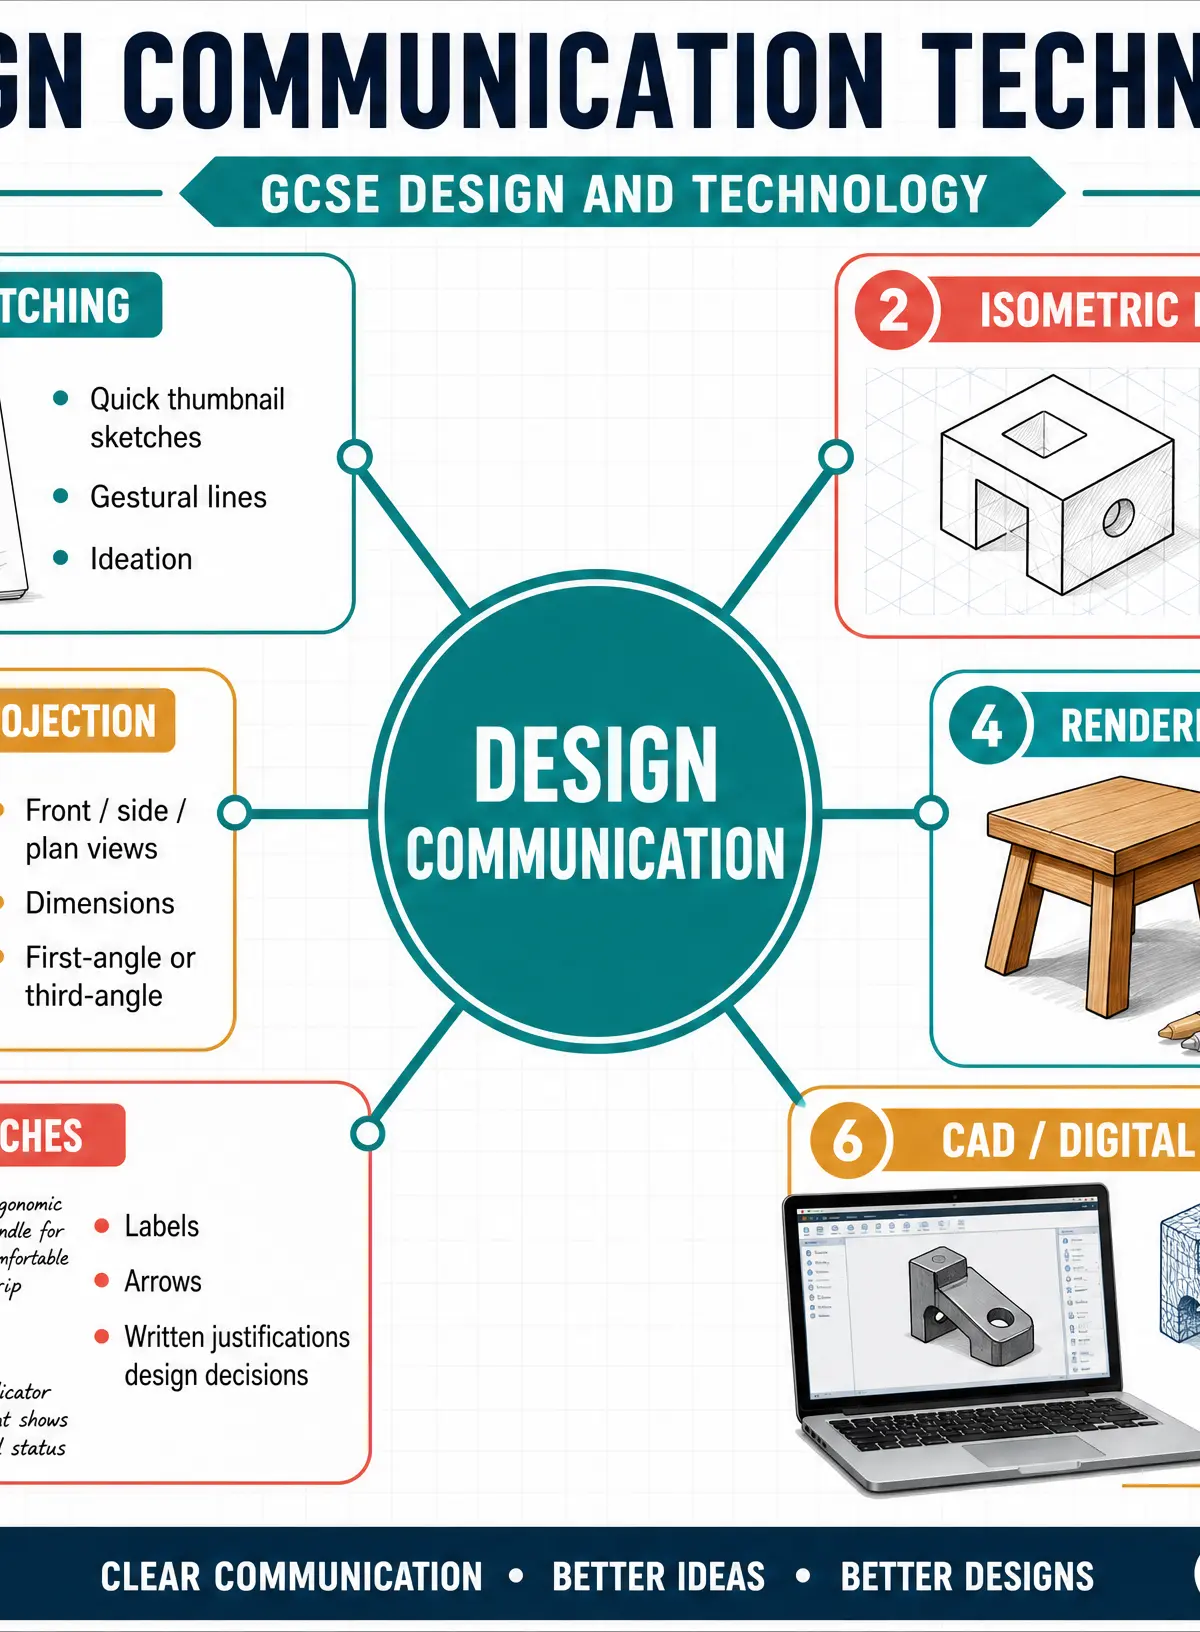
| Freehand Sketching | Quick, unmeasured drawings often done in pen or pencil. | Initial ideation, capturing fleeting thoughts, exploring multiple variations rapidly. | Demonstrates creative flow and the genesis of ideas. |
| Isometric Drawing | 3D drawing on a 30/60-degree grid where vertical lines remain vertical. | Showing the overall form and proportion of a product in three dimensions. | Provides a clear, realistic view of the product without complex perspective rules. |
| Orthographic Projection | 2D technical drawing showing front, plan, and side views. | Providing exact dimensions and hidden details for manufacturing. | Essential for demonstrating technical understanding and readiness for production. |
| Rendered Drawings | Adding colour, tone, and texture to a sketch. | Simulating materials (e.g., wood grain, metallic shine) and showing light/shadow. | Helps the examiner visualise the final aesthetic and material choices. |
| Computer-Aided Design (CAD) | Using software (e.g., Fusion 360, SolidWorks) to create 2D or 3D models. | Creating highly accurate, easily modifiable models that can be tested virtually. | Demonstrates modern industry skills and allows for rapid iteration. |
Technical Vocabulary
Candidates must use specialist terminology throughout their portfolio and exam responses. Terms such as iteration, ergonomics, anthropometrics, sustainability, tolerance, and aesthetics should be embedded in annotations to demonstrate deep subject knowledge.
Practical Skills
Techniques & Processes
The Art of AnnotationAnnotation is not merely labelling parts of a drawing. Effective annotation explains the why. When sketching a design, use arrows to point to specific features and write concise notes explaining their purpose. For example, rather than writing "Rubber grip," write "Textured thermoplastic elastomer (TPE) grip improves ergonomics and ensures safety when the product is wet."
Showing IterationExaminers look for a clear progression. Start with a page of thumbnail sketches (small, quick drawings exploring different shapes). Select the best two or three and develop them further using larger, more detailed sketches. Use 'scamper' techniques (Substitute, Combine, Adapt, Modify, Put to another use, Eliminate, Reverse) to force development, and document this process explicitly.
Materials & Equipment
When justifying ideas, candidates must demonstrate an understanding of materials. If you design a chair, you must justify why you chose beech wood over mild steel, referencing properties like strength-to-weight ratio, workability, and cost. Furthermore, when creating physical models to communicate ideas (e.g., card mock-ups, foam blocks), document the tools used and the health and safety considerations involved.
Portfolio/Coursework Guidance
Assessment Criteria
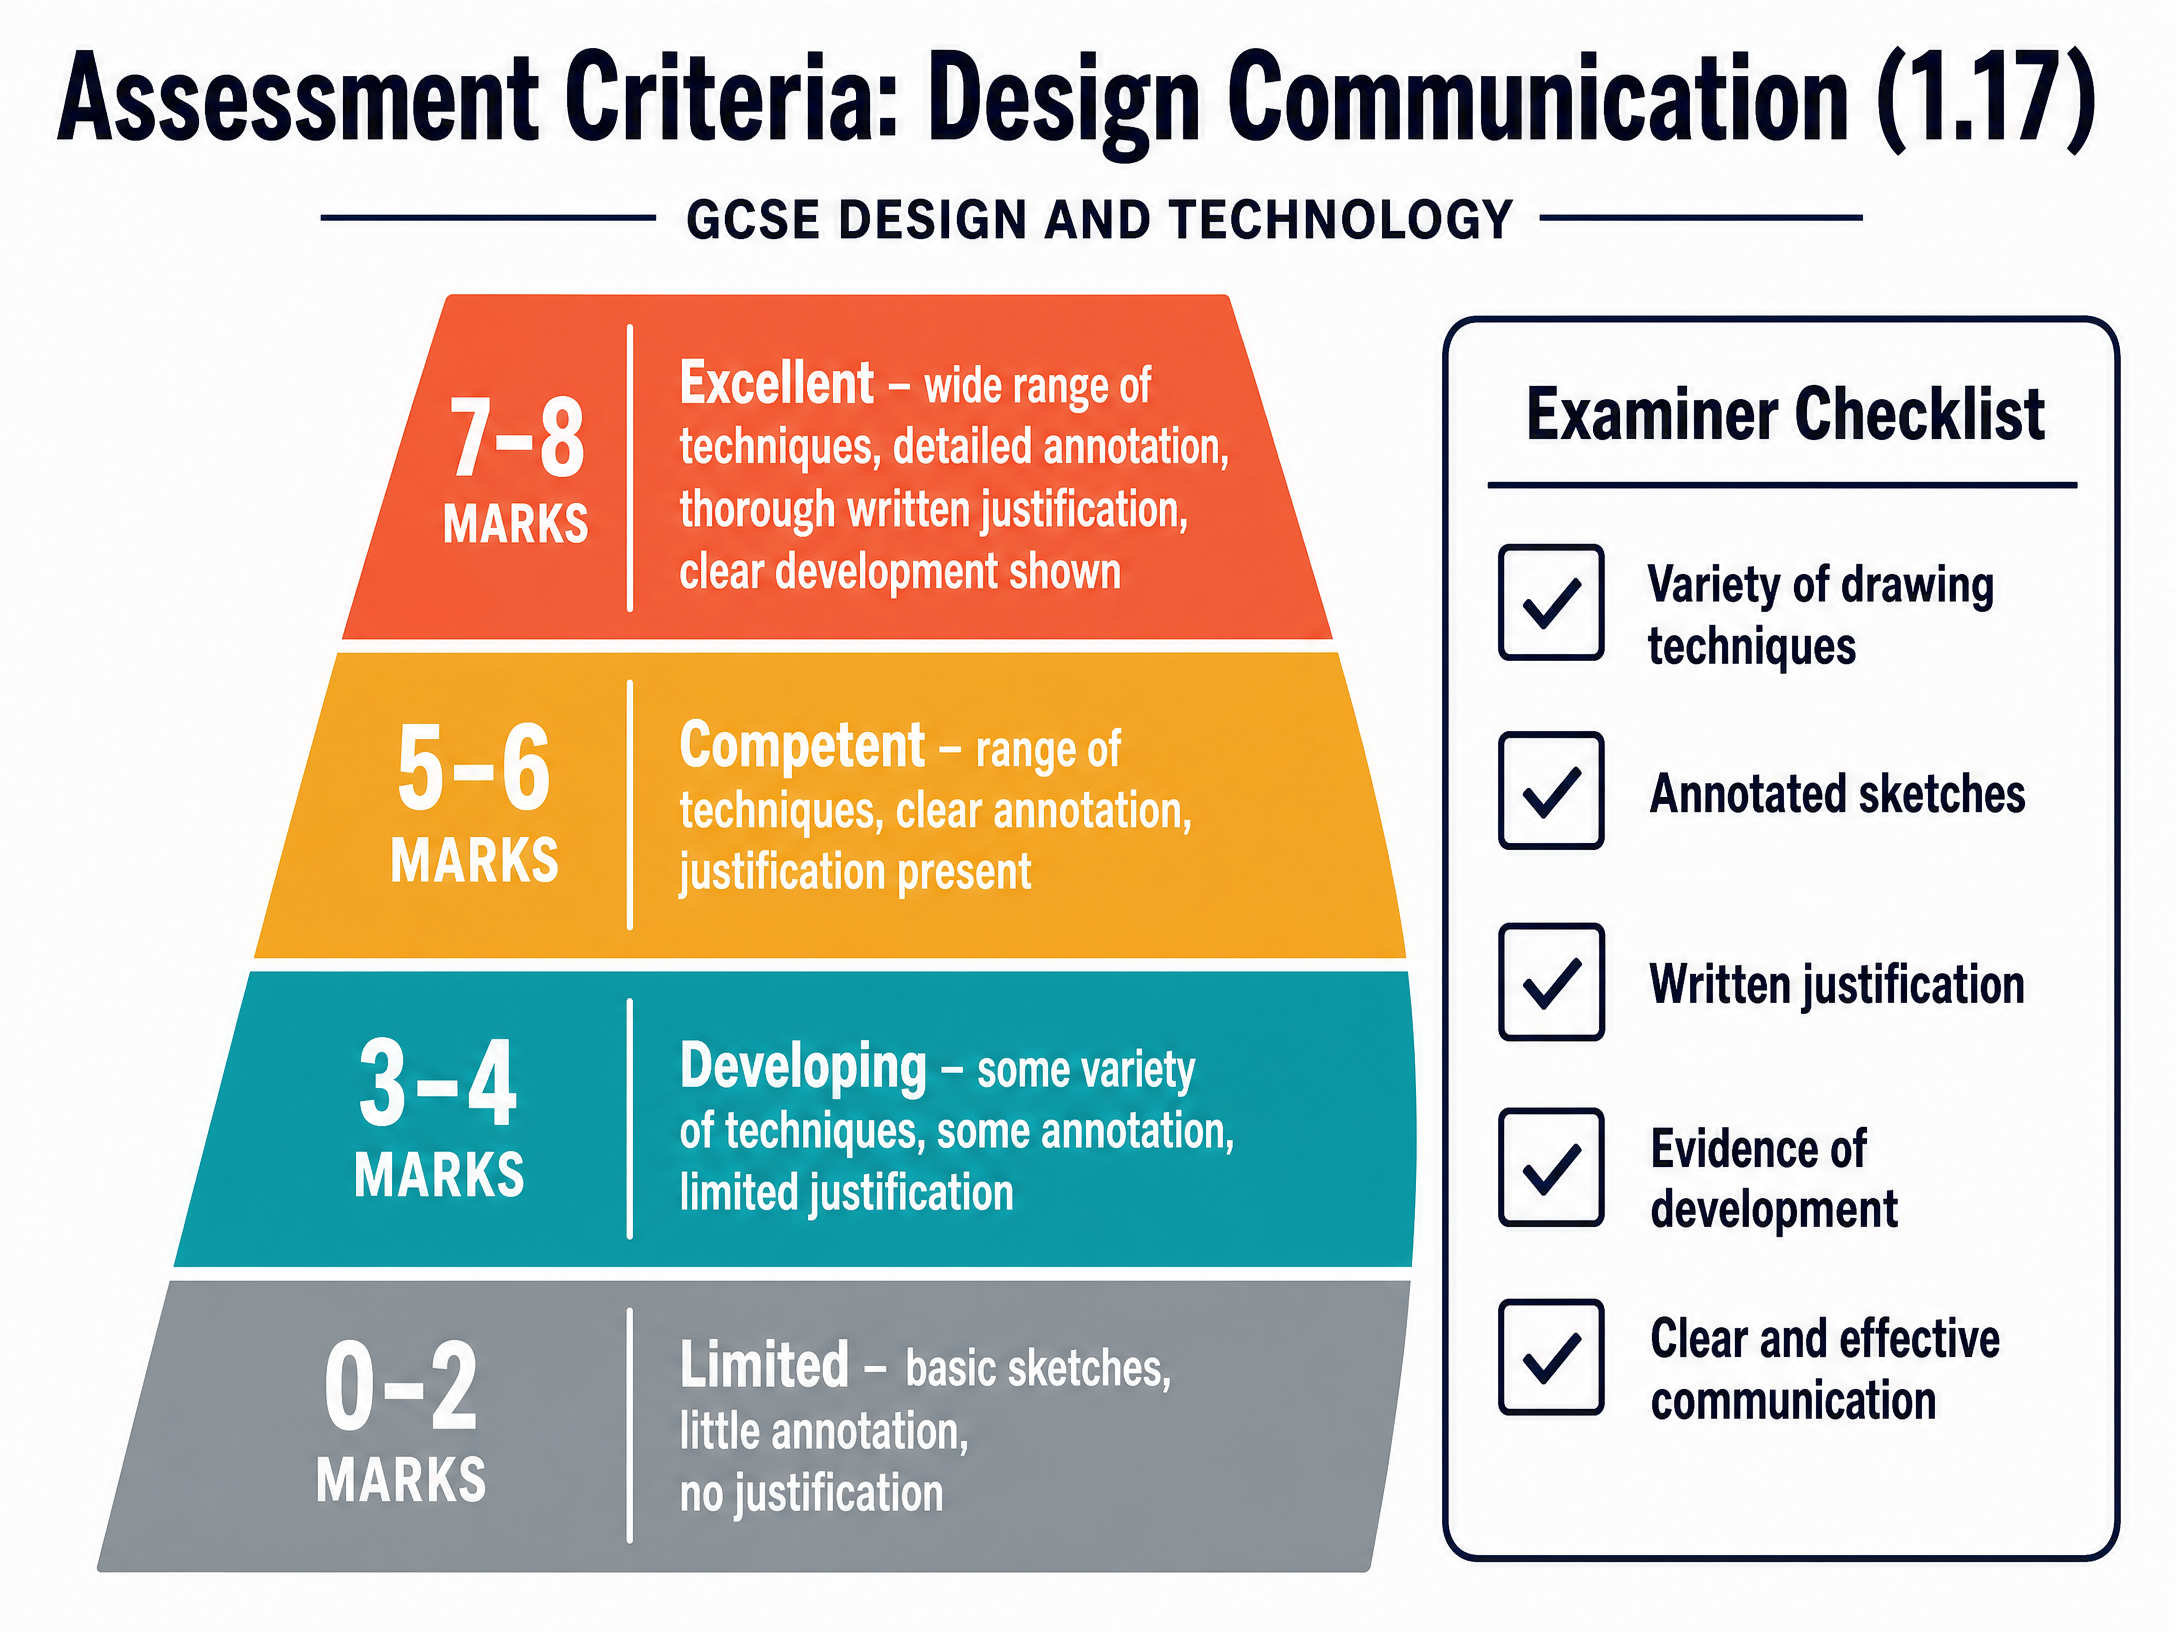
Marks for this section are heavily weighted towards the process rather than just the final outcome. Examiners use a levels-based mark scheme to assess your ability to communicate and justify.
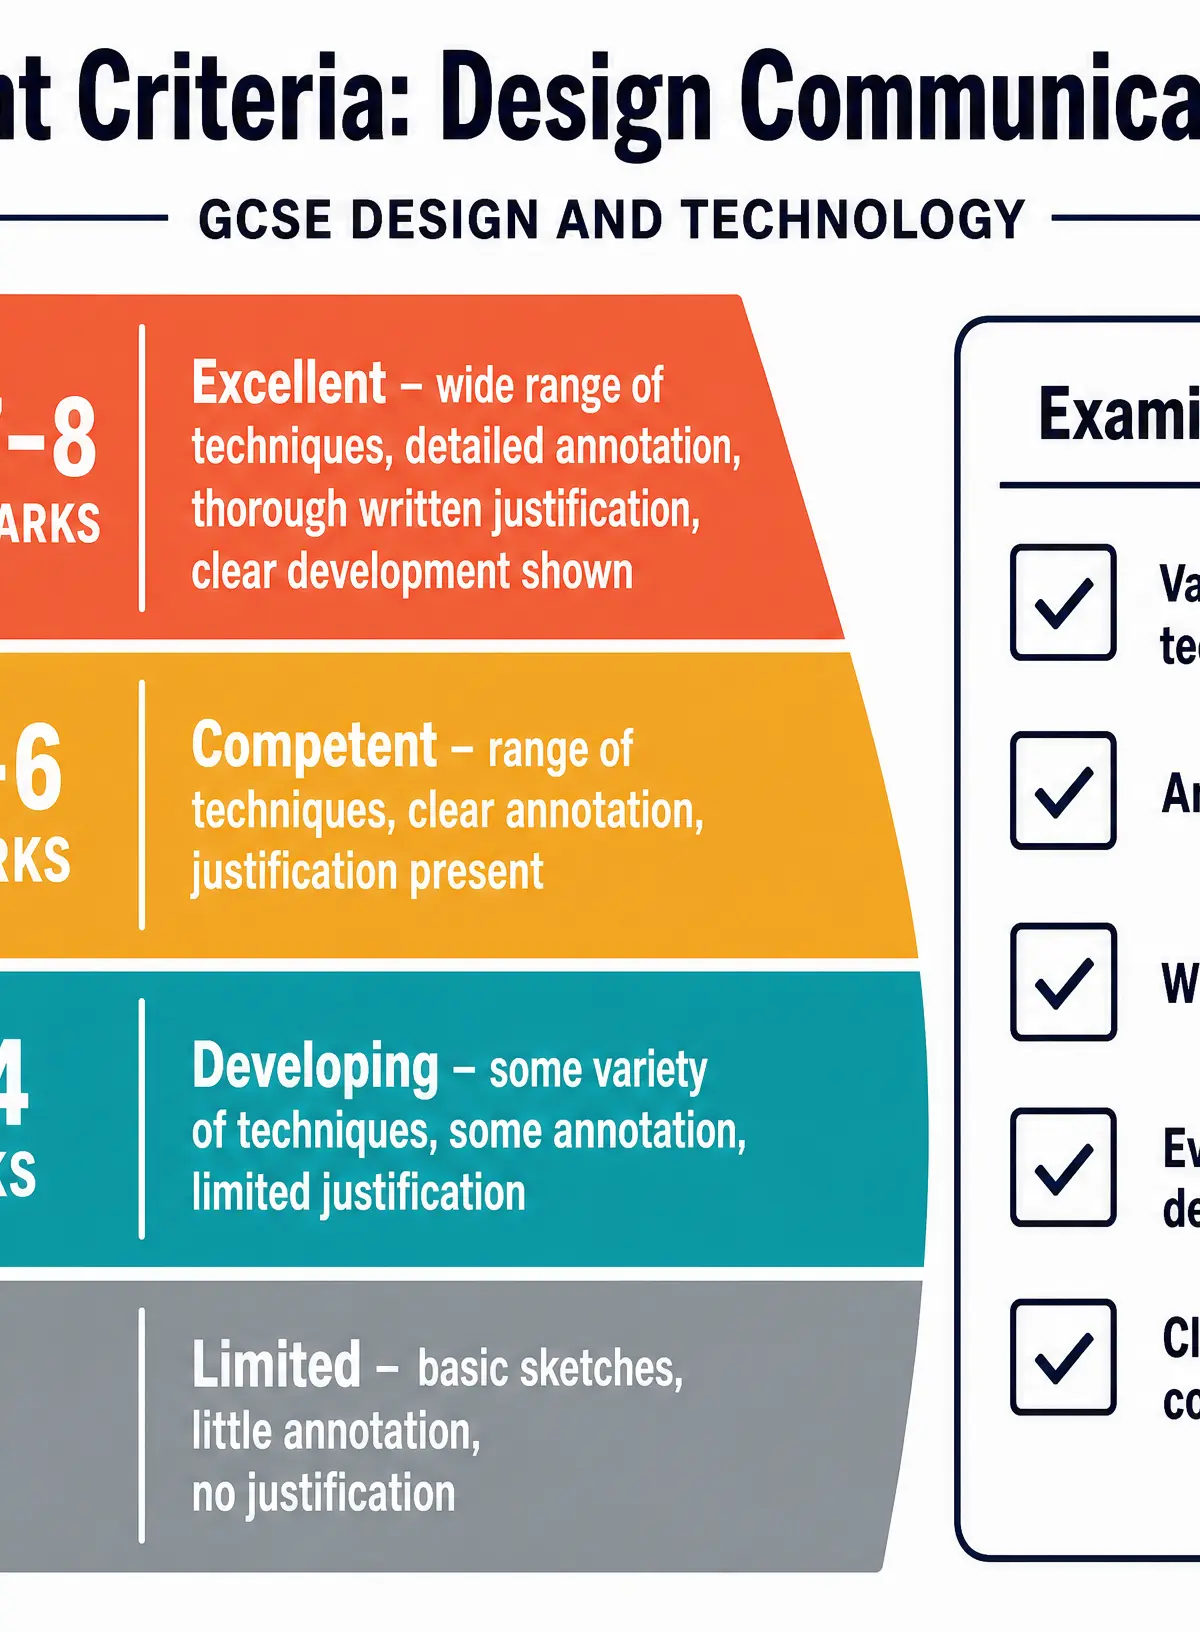
To achieve top marks, candidates must demonstrate:
- A wide variety of communication techniques (e.g., freehand, isometric, CAD).
- Detailed, analytical annotation that justifies decisions against the brief.
- Clear evidence of an iterative development process.
- A chronological and logical recording of the journey.
Building a Strong Portfolio
- Don't throw anything away: Keep all rough sketches, failed models, and material tests. These are valuable evidence of your development process.
- Tell a story: Your portfolio should read like a narrative. Each page should logically follow the previous one. Use headings like "Initial Concept Generation" and "Refining the Ergonomics" to guide the examiner.
- Use a mix of media: Combine hand-drawn sketches with CAD renders and photographs of physical models. This demonstrates a broad skill set.
Exam Component
Written Exam Knowledge
In the written paper, you may be asked to evaluate a given design, suggest improvements, or draw a solution to a specific problem. You will be assessed on your ability to use correct drawing techniques (e.g., "Sketch an isometric view of...") and your ability to justify material or design choices.
Practical Exam Preparation
When faced with a design question in an exam, time management is crucial. Do not spend 15 minutes on a beautiful, shaded drawing if the question only asks for a "quick sketch to show the mechanism." Always read the command word. If asked to justify, ensure you are giving reasons linked to the user or the environment.
Visual Resources
2 diagrams and illustrations
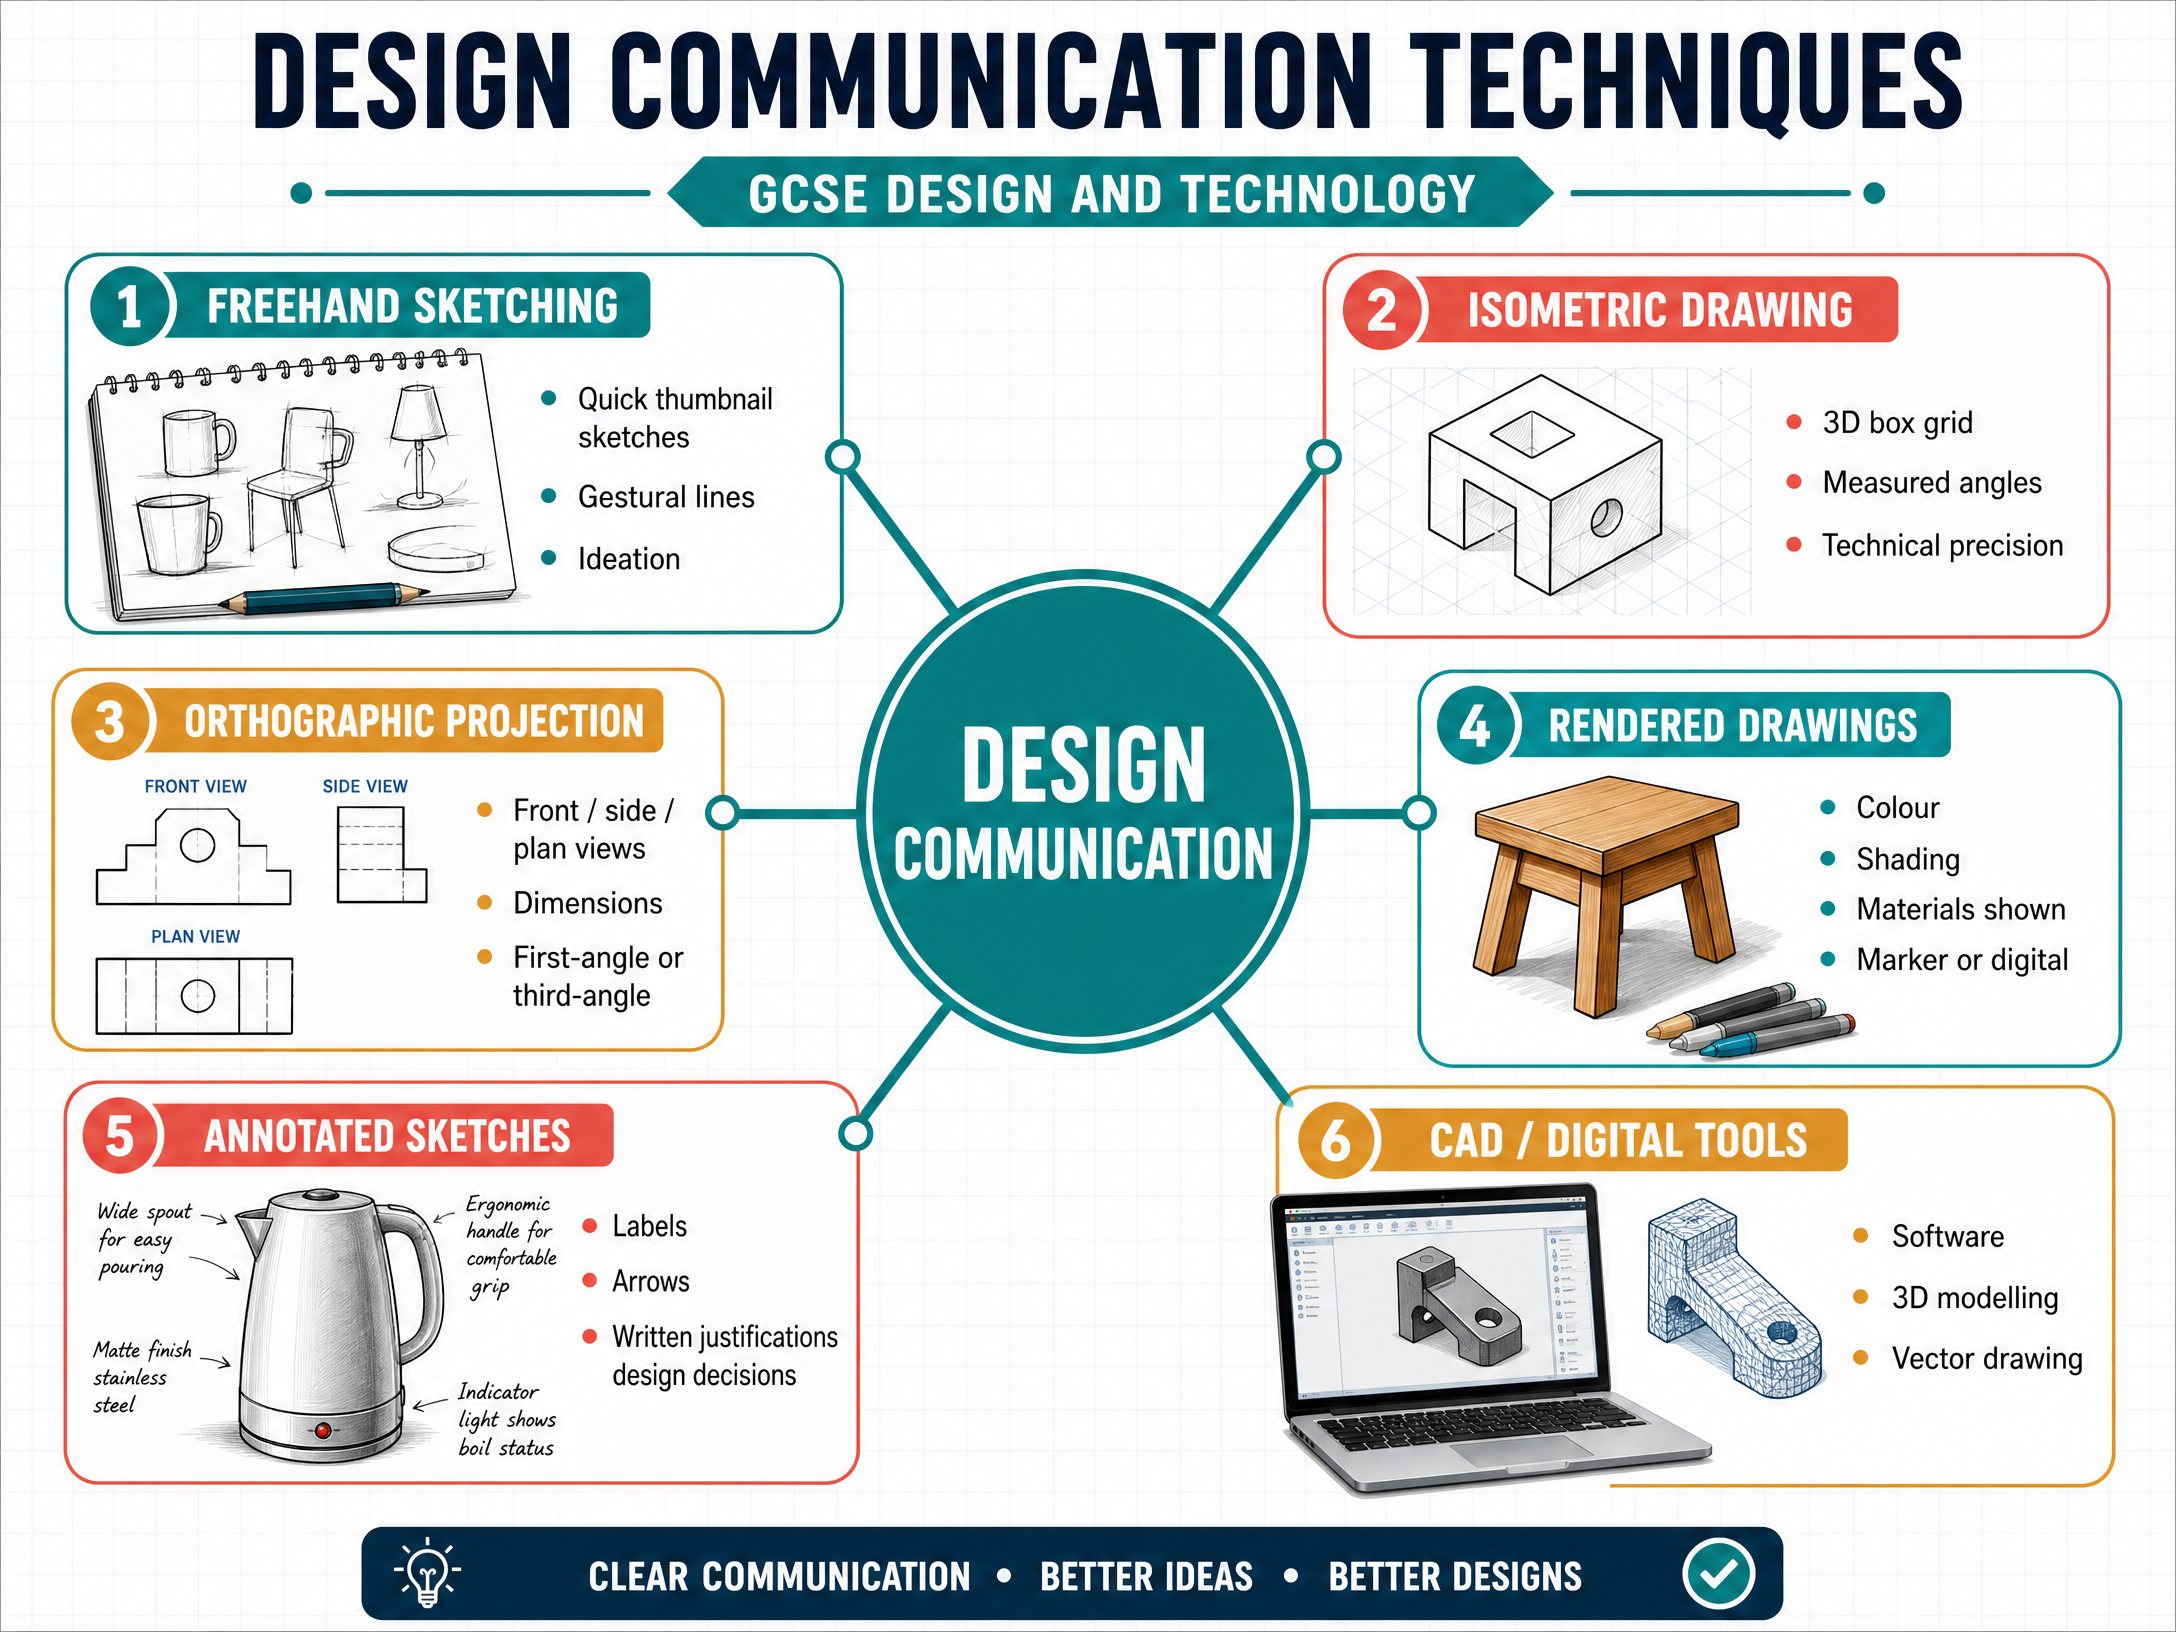
Interactive Diagrams
1 interactive diagram to visualise key concepts
Conceptual Flow Outline
The Iterative Design Communication Process
Worked Examples
3 worked examples — open one to explore the question and available guidance.
Practice Questions
Test your understanding — click to reveal model answers
Identify two different drawing techniques that can be used to show a design in three dimensions. (2 marks)
Hint: Think about techniques that show depth, not just flat sides.
Explain why it is important to include annotated sketches in a design portfolio. (3 marks)
Hint: What does text add that a picture alone cannot convey?
A student has designed a portable Bluetooth speaker. They need to send the final design to a factory for manufacture. Evaluate the suitability of sending only a photorealistic CAD render to the manufacturer. (6 marks)
Hint: What information does a factory need to actually build something? Does a render provide all of that?