Pearson Edexcel · GCSE · Design and Technology
Textiles: Specialist techniques, tools, equipment and processes to shape, fabricate, construct and assemble a high-quality textile prototype
This topic covers the specialist techniques, tools, and processes essential for shaping, constructing, and assembling high-quality textile prototypes. Mastering these practical skills and understanding their theoretical application is crucial for securing top marks in both your Non-Examined Assessment (coursework) and the written exam.
- 7 min read
- 3 worked examples
- 4 practice questions
- 6 key terms
Study Notes

Overview
In GCSE Design and Technology, the ability to translate a two-dimensional fabric into a high-quality, three-dimensional prototype is a core requirement. Topic 6.7 focuses on the specialist techniques, tools, equipment, and processes needed to shape, fabricate, construct, and assemble textile products. This encompasses working with natural, synthetic, woven, non-woven, knitted, blended, and mixed-fibre textiles. Examiners look for precision, appropriate selection of techniques based on material properties, and clear documentation of the making process.
Listen to the Revision Podcast

Key Knowledge & Theory
Core Concepts
To achieve high marks, candidates must understand that construction techniques are not chosen at random; they are selected based on the specific properties of the textile being used and the intended function of the final product.
- Fabric Properties vs. Construction: A lightweight, fray-prone fabric like chiffon requires self-enclosing seams (like a French seam) and fine needles. A heavy, durable fabric like denim requires strong seams (like a felled seam) and heavy-duty machinery.
- Precision and Quality Control: High-quality prototypes demonstrate consistent seam allowances, even gathering, secure fastenings, and meticulous pressing throughout the construction process.
- Health and Safety: Understanding the safe operation of domestic and industrial machinery, including overlockers and steam presses, is a fundamental theoretical requirement.
Key Techniques Overview
| Category | Techniques | Purpose | Relevance |
|---|---|---|---|
| Shaping | Darts, pleats, gathers, tucks, shirring, godets | Adding or reducing fullness | Transforms 2D fabric into 3D forms that fit the body or product requirements. |
| Moulding | Steam, heat, adhesive | Permanently altering shape | Used for structured items like hats, bags, and tailored garments. |
| Structure | Interfacing, boning | Adding rigidity and support | Essential for areas requiring stiffness, such as collars, cuffs, and corsetry. |
| Seams | Plain, French, felled, double-stitched, overlocked | Joining fabric pieces | The foundation of assembly; choice impacts durability and aesthetics. |
| Finishing | Zigzag, bound, rolled, blind hem, overlocked | Preventing fraying | Crucial for the longevity and professional appearance of the prototype. |
Technical Vocabulary
Candidates MUST use these terms in their portfolio annotations and exam answers to access higher mark bands:
- Seam Allowance: The area between the fabric edge and the stitching line.
- Right Side / Wrong Side: The intended visible (right) and hidden (wrong) sides of the fabric.
- Toile: An early version of a garment made in cheap fabric to test the pattern and fit.
- Overcasting: Stitching over a raw edge to prevent unravelling (e.g., using an overlocker or zigzag stitch).
- Bias: The diagonal direction of a woven fabric, which has the most stretch.
Practical Skills
Techniques & Processes
1. Shaping Techniques
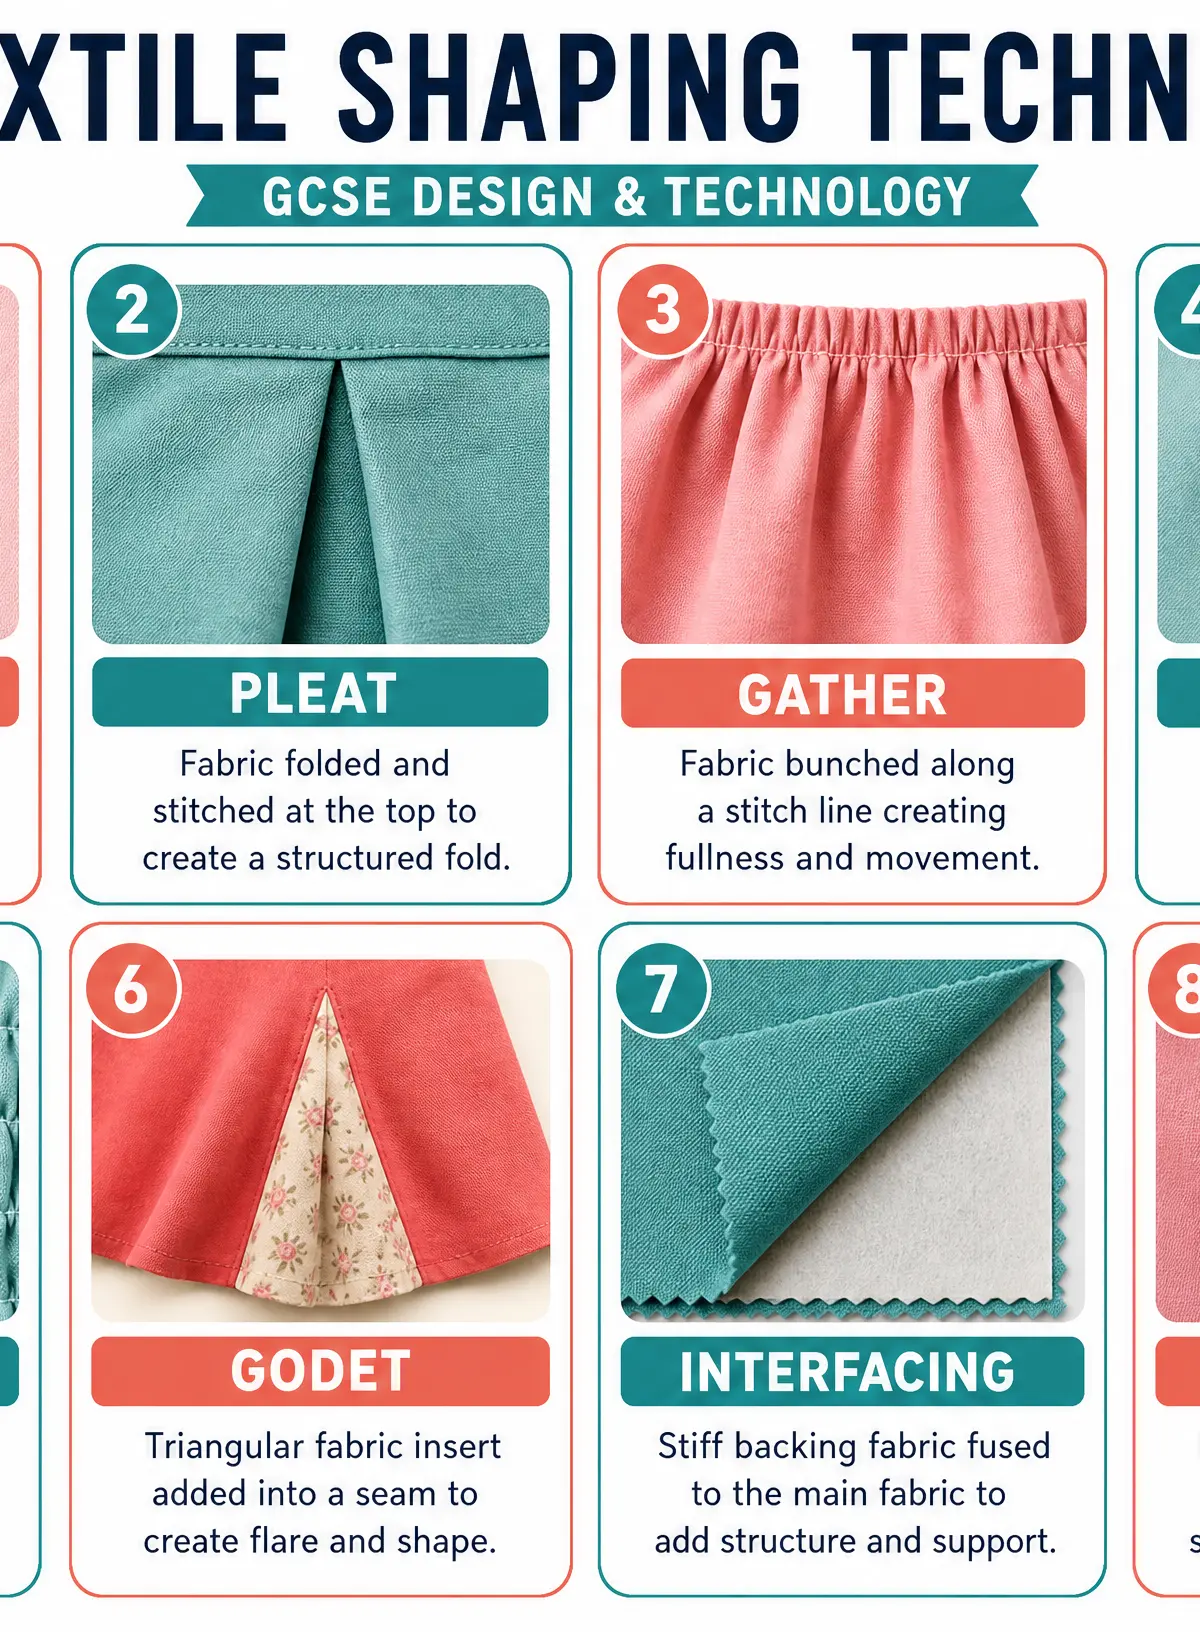
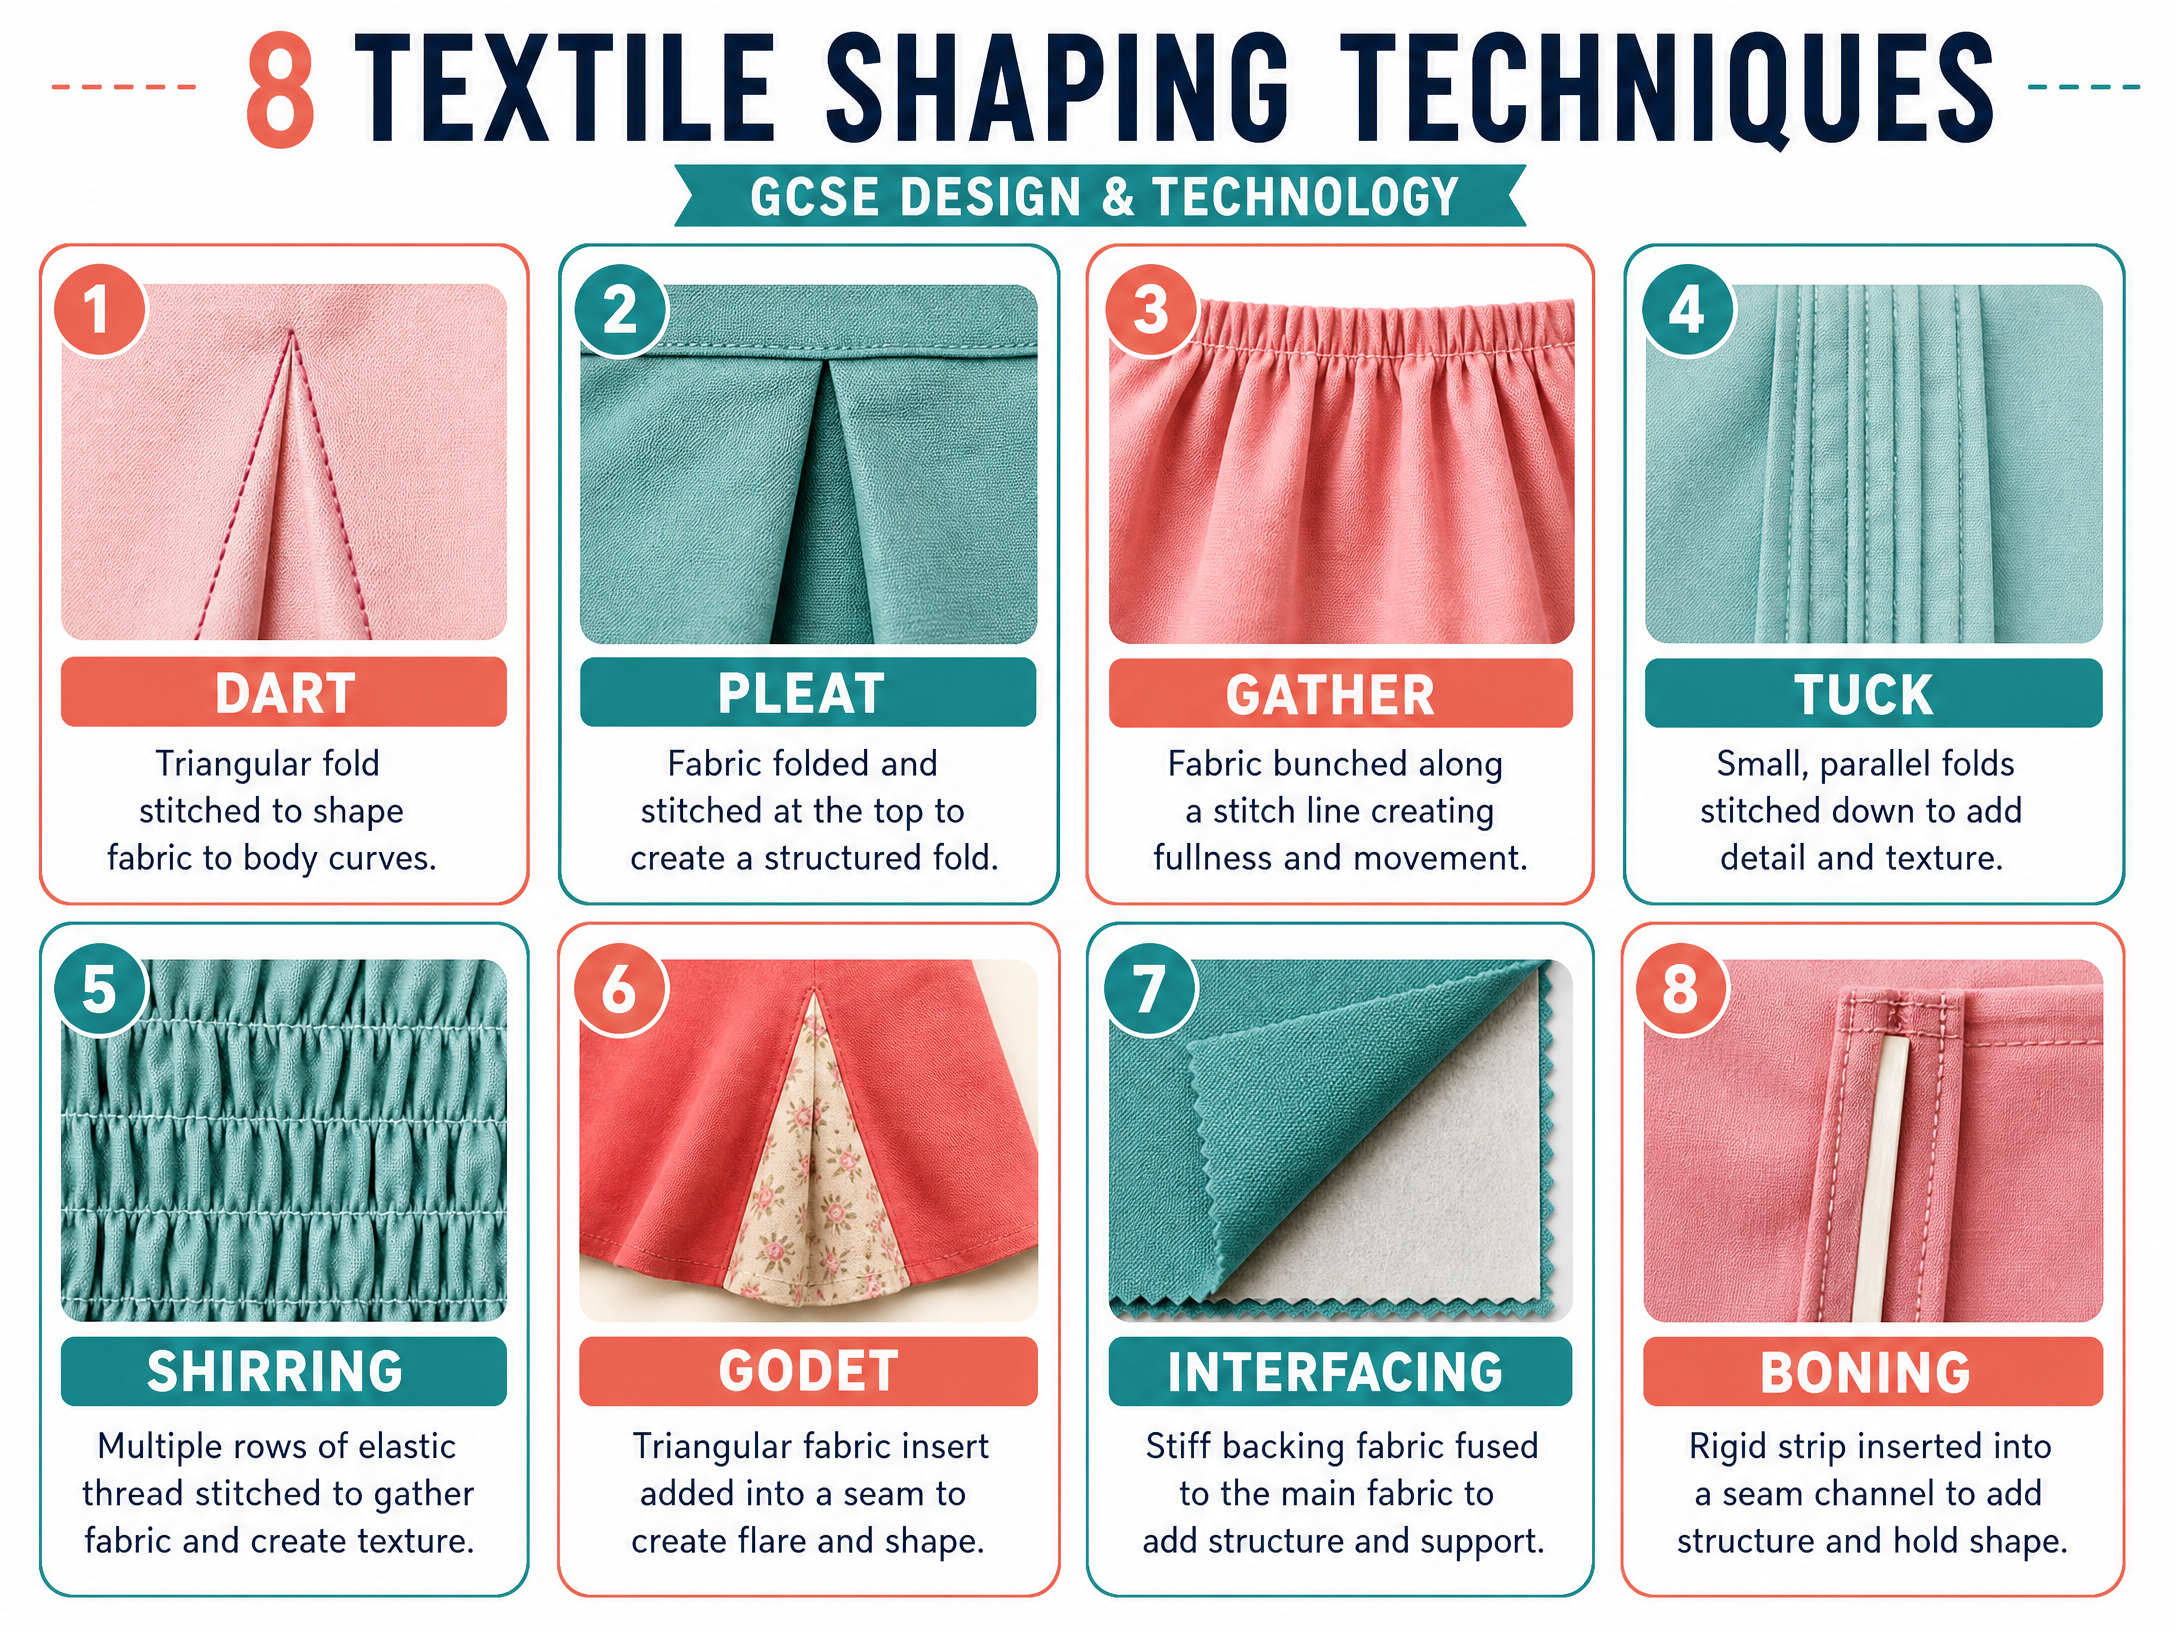
Shaping techniques are vital for manipulating fabric.
- Darts: Triangular folds stitched to a point, used to shape fabric to body curves (e.g., bust or waist darts).
- Gathers: Created by sewing parallel rows of long stitches and pulling the threads to bunch the fabric evenly.
- Pleats: Folds of fabric stitched at the top and left free below to add fullness and movement.
2. Seams and Assembly
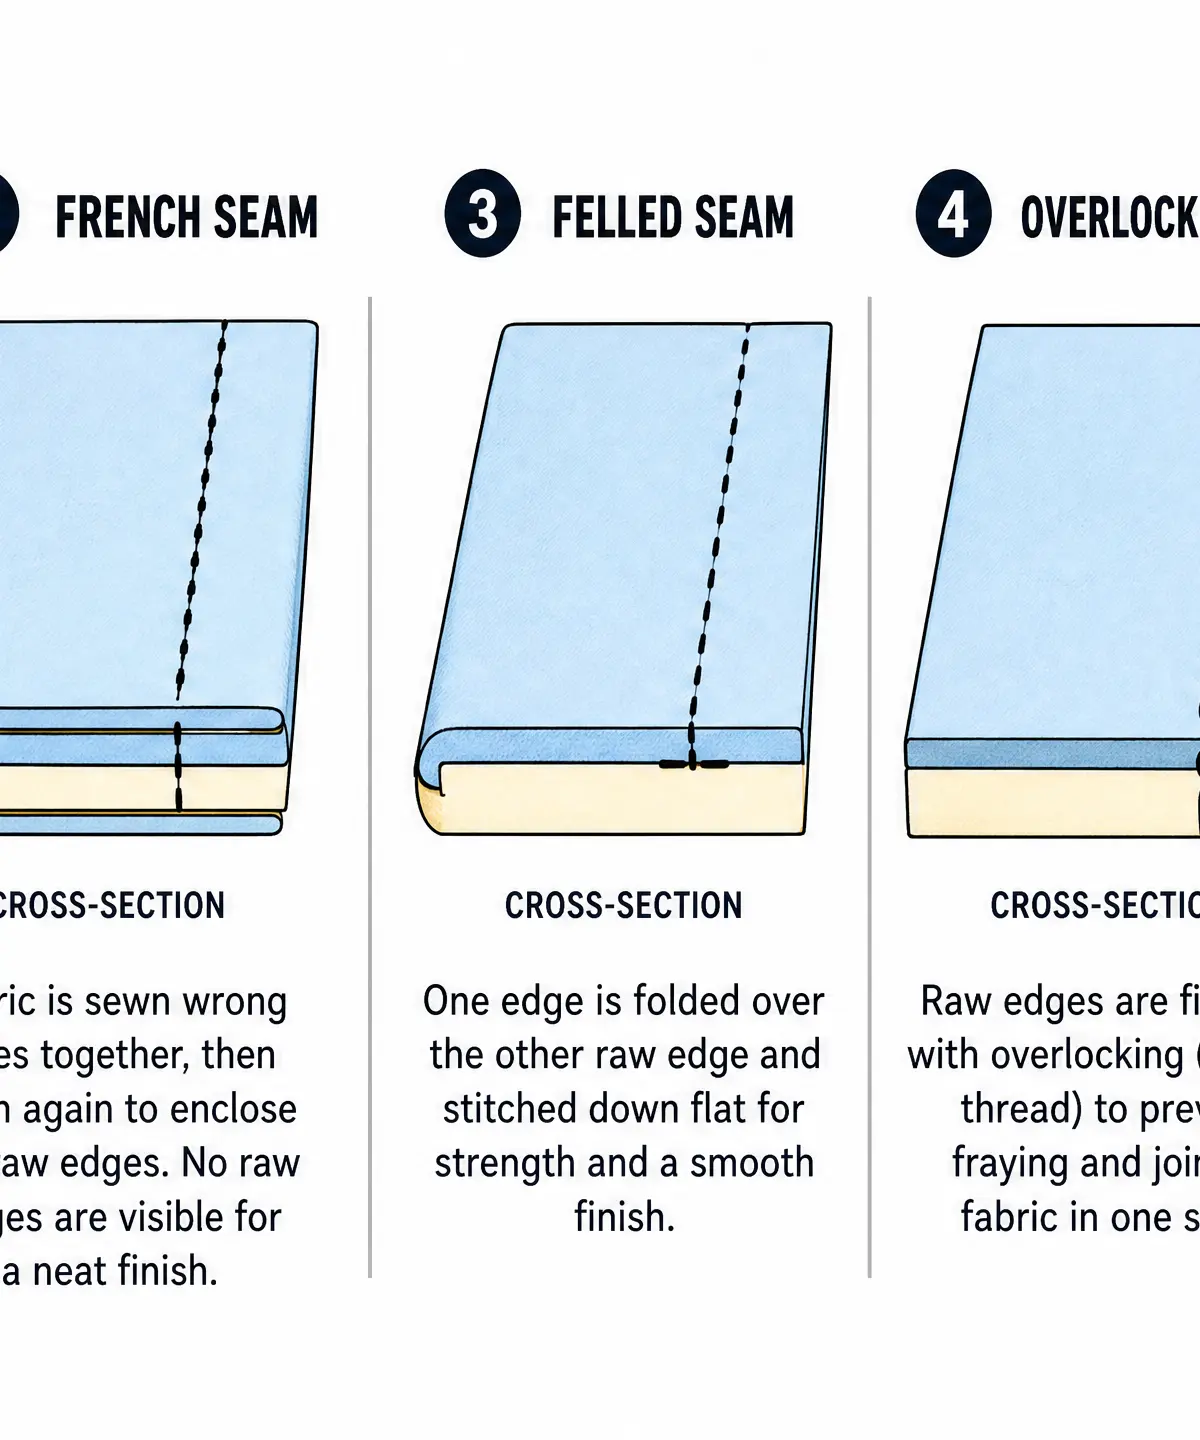
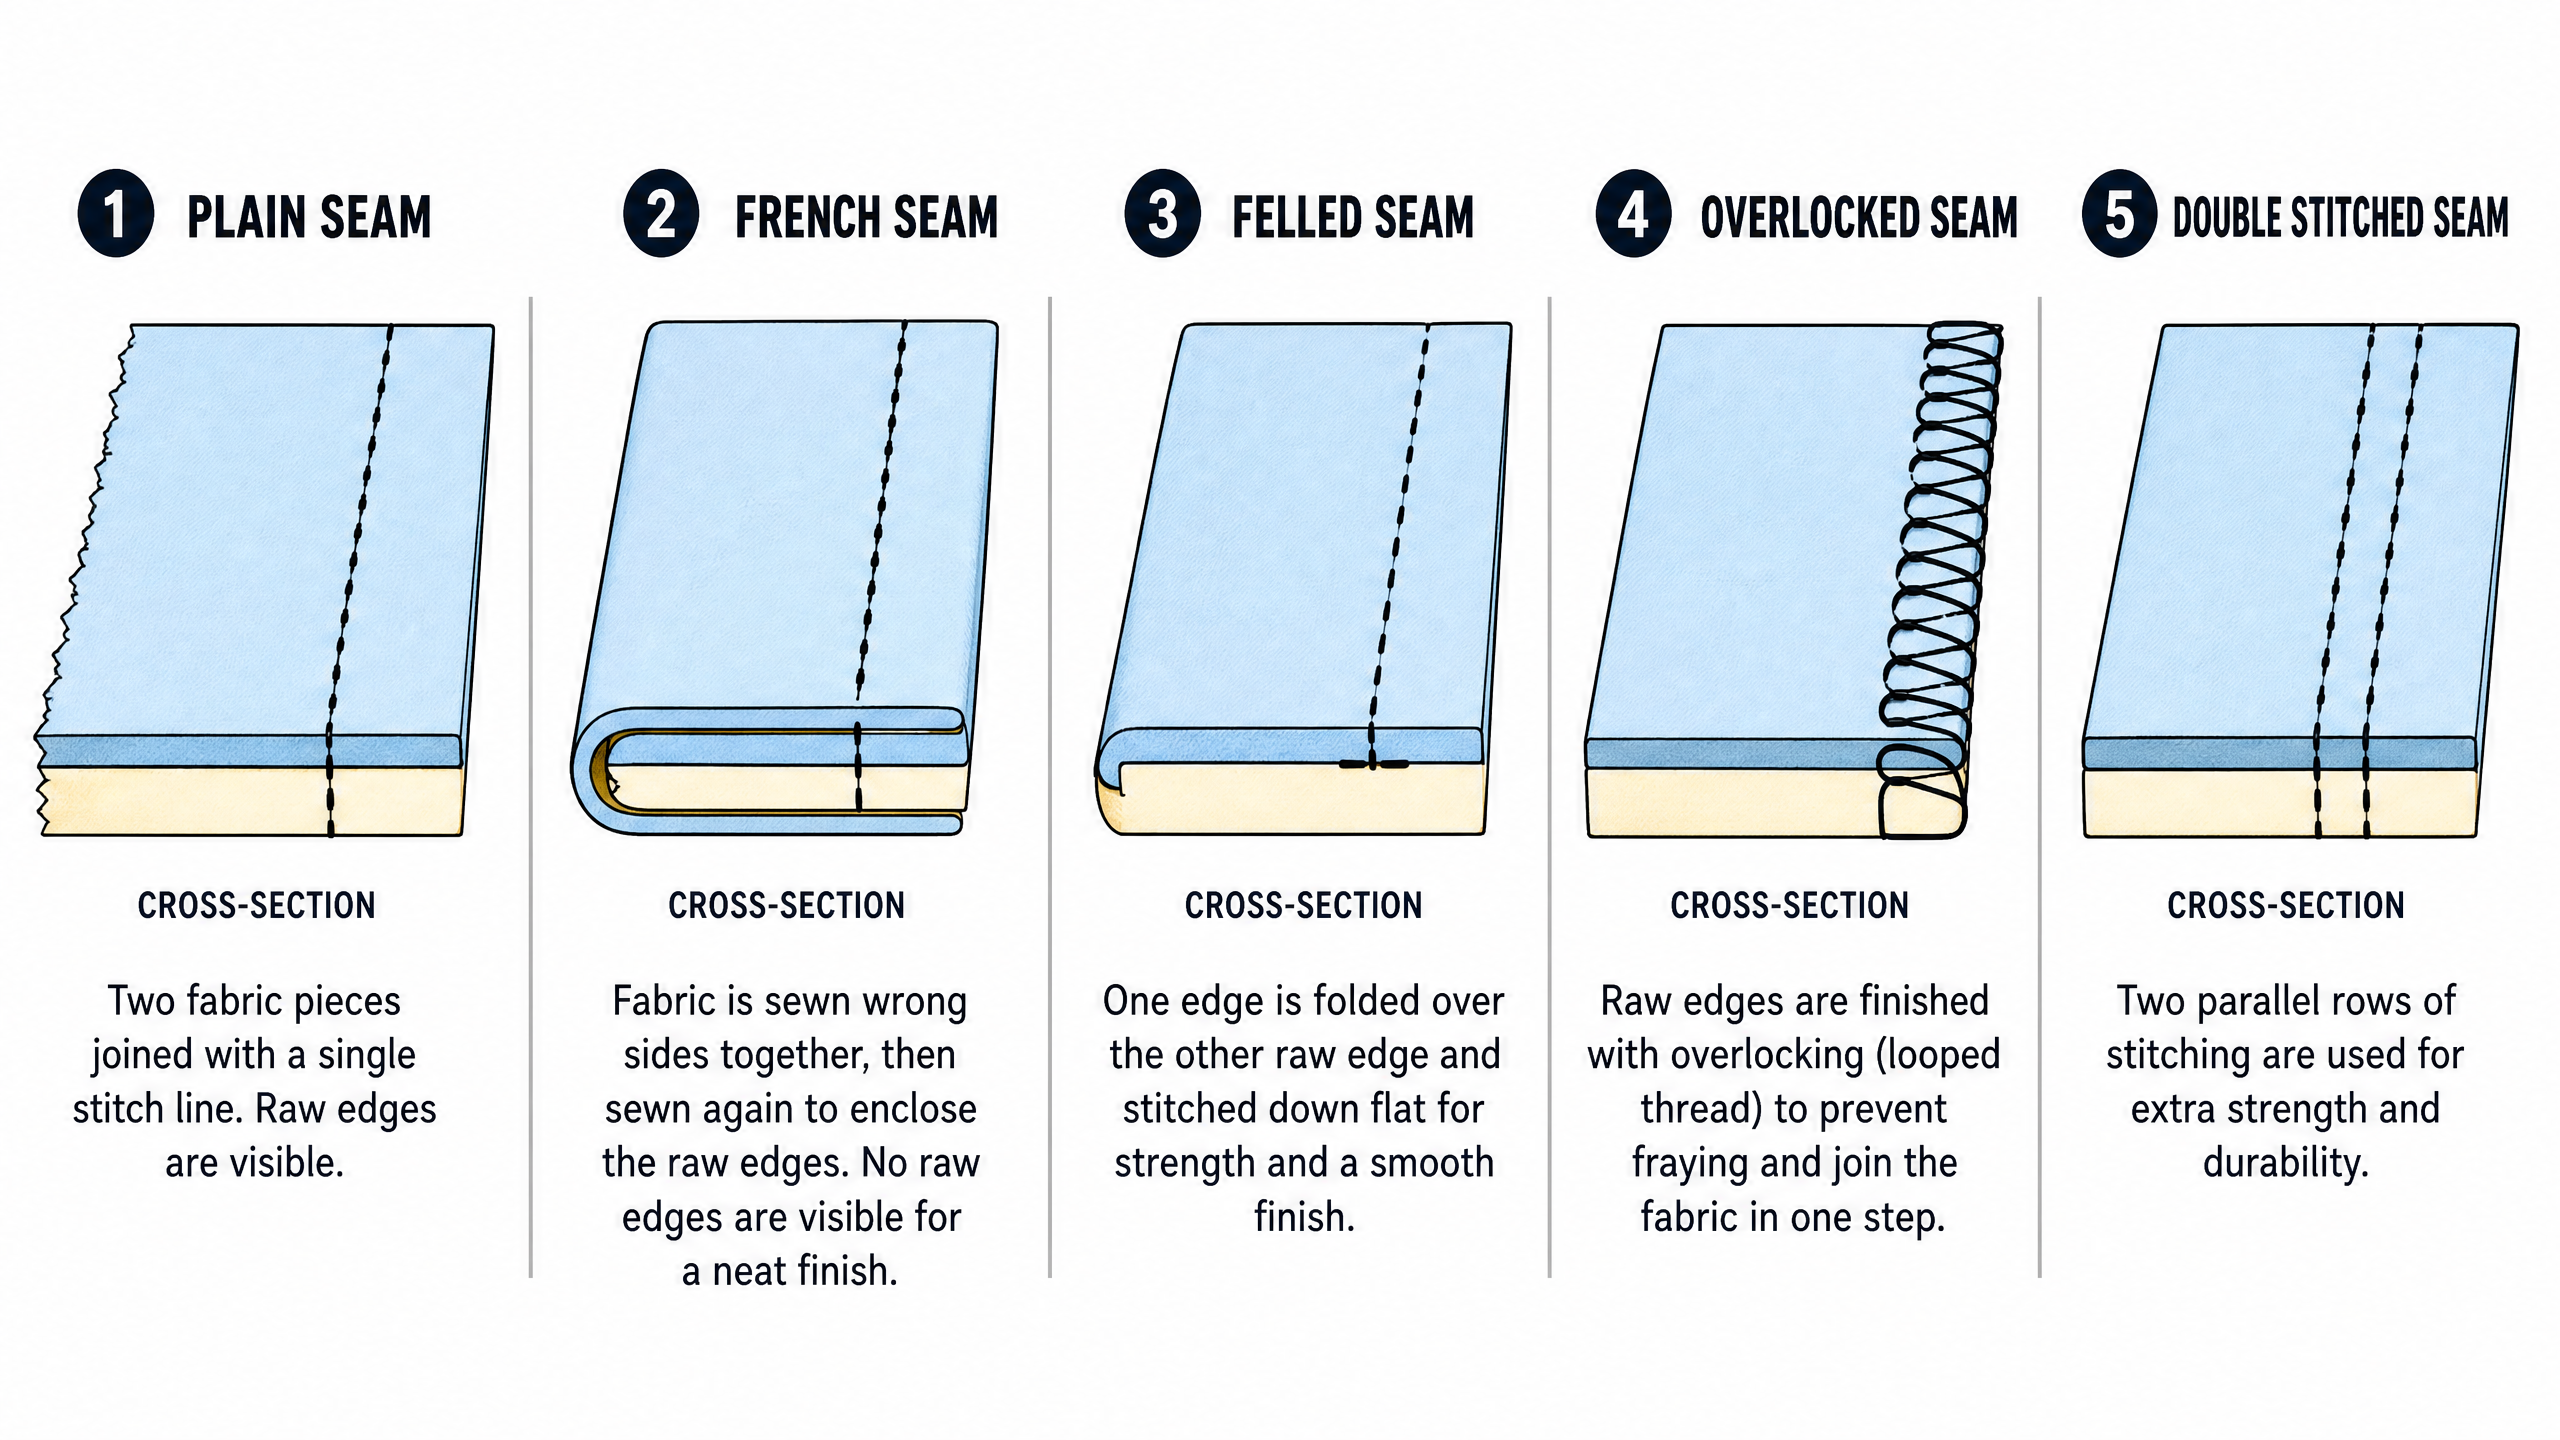
Choosing the correct seam is a frequent assessment point.
- Plain Seam: The standard seam, requiring edge finishing.
- French Seam: Encloses raw edges completely; ideal for sheer fabrics.
- Felled Seam: Exceptionally strong and flat; ideal for workwear and denim.
- Overlocking: Simultaneously trims and finishes the edge with looped thread; the industry standard for garment construction.
Materials & Equipment
- Hand Tools: Dressmaking shears (for fabric only), seam rippers, tailor's chalk, pins, tape measures.
- Machinery: Domestic sewing machines (for straight and zigzag stitching), overlockers (for edge finishing), and steam presses/irons (for moulding and pressing).
- Digital Tools (CAD/CAM): Computer-Aided Design for pattern drafting; Computer-Aided Manufacture for precision tasks like digital embroidery or laser cutting fabric.
Portfolio/Coursework Guidance
Assessment Criteria
Examiners award marks in the Non-Examined Assessment (NEA) for:
- Selection: Choosing appropriate tools, materials, and techniques for the specific prototype.
- Precision: Demonstrating accuracy in cutting, stitching, and finishing (e.g., consistent seam allowances).
- Quality: Producing a functional, high-quality final product with no visible flaws or raw edges.
- Safe Working: Documenting safe use of equipment.
Building a Strong Portfolio
To secure top marks in your Candidate Assessment Booklet (CAB):
- Photographic Evidence: You must include clear, well-lit photographs of the making process from multiple angles. Show the inside of the garment to evidence seam finishes.
- Detailed Annotation: Never just state what you did. Always explain why.
- Weak: "I sewed the side seam."
- Strong: "I used a French seam for the side seams because the organza fabric is sheer and prone to fraying. This technique encloses the raw edges, providing a neat, professional finish visible through the fabric."
- Testing and Iteration: Show evidence of testing techniques on scrap fabric before applying them to the final prototype.
Exam Component
Written Exam Knowledge
In the written paper, questions will test your theoretical understanding of these practical processes. You may be asked to:
- Identify specific tools from images.
- Explain the step-by-step process of a technique (e.g., "Describe how to create a plain seam").
- Evaluate the suitability of a specific technique for a given product (e.g., "Evaluate the use of a felled seam on a pair of denim jeans").
Practical Exam Preparation
While the NEA is coursework-based, understanding the sequence of construction is vital. Always plan your order of work: usually, this involves preparing pieces (e.g., applying interfacing), shaping (e.g., sewing darts), assembling (e.g., sewing seams), finishing edges, and finally adding components (e.g., zips or buttons). Pressing must occur at every stage, not just at the end.
Visual Resources
2 diagrams and illustrations
Interactive Diagrams
1 interactive diagram to visualise key concepts
Conceptual Flow Outline
Standard sequence of construction for a high-quality textile prototype.
Worked Examples
3 worked examples — open one to explore the question and available guidance.
Practice Questions
Test your understanding — click to reveal model answers
Identify two tools that can be used to transfer pattern markings onto fabric. [2 marks]
Hint: Think about hand tools used in the preparation stage before cutting.
Describe how to create a gathered edge on a piece of fabric. [3 marks]
Hint: Think about the stitch length required and what you do with the threads after stitching.
Explain two reasons why an overlocker is frequently used in commercial garment manufacture. [4 marks]
Hint: Consider both the speed of production and the quality of the finish.
A student is designing a structured evening bodice using a lightweight satin. Evaluate the construction techniques they should use to ensure a high-quality outcome. [6 marks]
Hint: Discuss shaping (darts), structure (interfacing/boning), and appropriate seams for delicate fabric.