Pearson Edexcel · GCSE · Design and Technology
Timbers: Specialist techniques, tools, equipment and processes to shape, fabricate, construct and assemble a high-quality timber prototype
This topic covers the essential specialist techniques, tools, and processes required to shape, fabricate, construct, and assemble high-quality timber prototypes. Mastering these practical skills and understanding the theoretical reasoning behind tool selection is critical for success in both the written exam and the Non-Examined Assessment (NEA).
- 6 min read
- 3 worked examples
- 3 practice questions
- 6 key terms
Study Notes
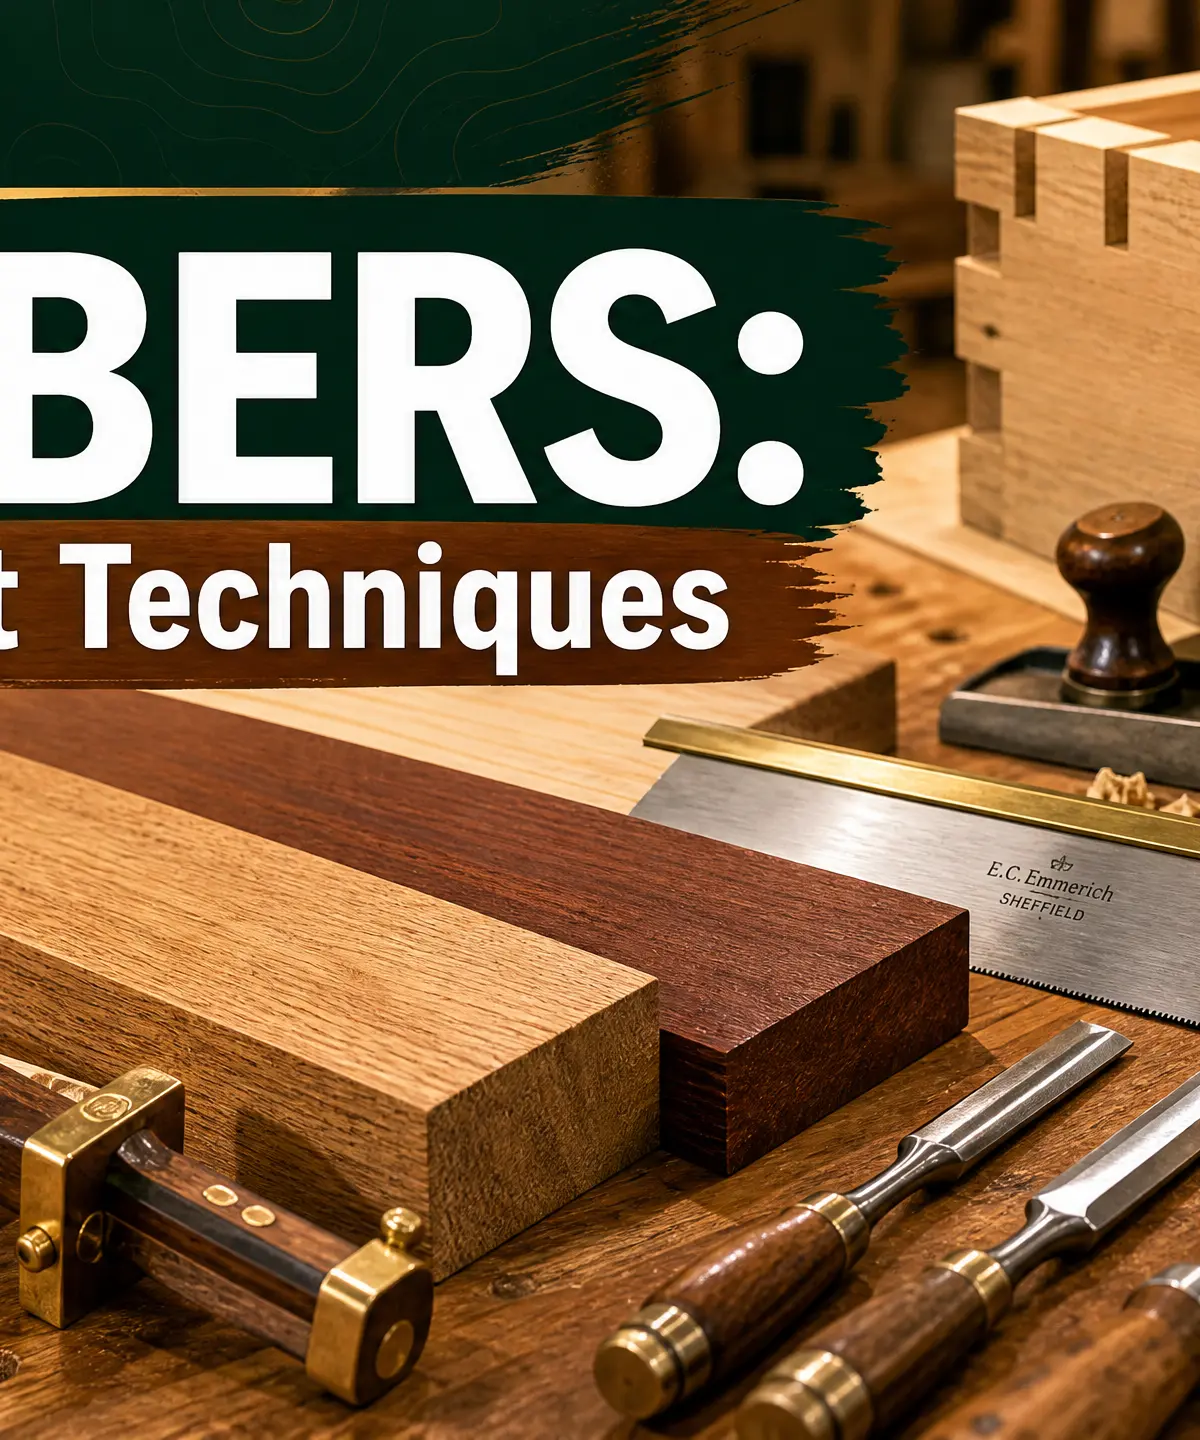
Overview
Topic 7.7 explores the practical application of timber working skills. Examiners expect candidates to not only demonstrate practical competence but also to theoretically justify their selection of tools, equipment, and processes based on material properties and functional requirements. Whether shaping natural hardwoods or assembling manufactured boards, precision and correct methodology are paramount.
Listen to the companion podcast for an in-depth review of these techniques:

Key Knowledge & Theory
Core Concepts
To succeed in this topic, candidates must understand the relationship between the material (natural timber vs. manufactured board) and the manufacturing process. Natural timbers have grain direction, meaning tools like hand planes must be used in specific orientations to avoid tearing the fibres. Manufactured boards (like MDF or plywood) lack directional grain, making them isotropic; however, their edges require different treatment (e.g., sanding rather than planing) and specialized fixings.
Technical Vocabulary
Candidates MUST use specialist terminology to access the higher mark bands:
- Isotropic / Anisotropic: Materials with uniform properties in all directions (MDF) vs. varying properties depending on grain direction (pine).
- Kerf: The width of the cut made by a saw blade.
- Tear-out: The splintering of wood fibres as a cutting tool exits the material.
- Tolerance: The acceptable margin of error in a dimension or joint fit.
- Curing time: The time required for an adhesive to reach its maximum structural strength.
Practical Skills
Shaping Techniques & Processes
Examiners award credit for detailed, step-by-step descriptions of practical processes.
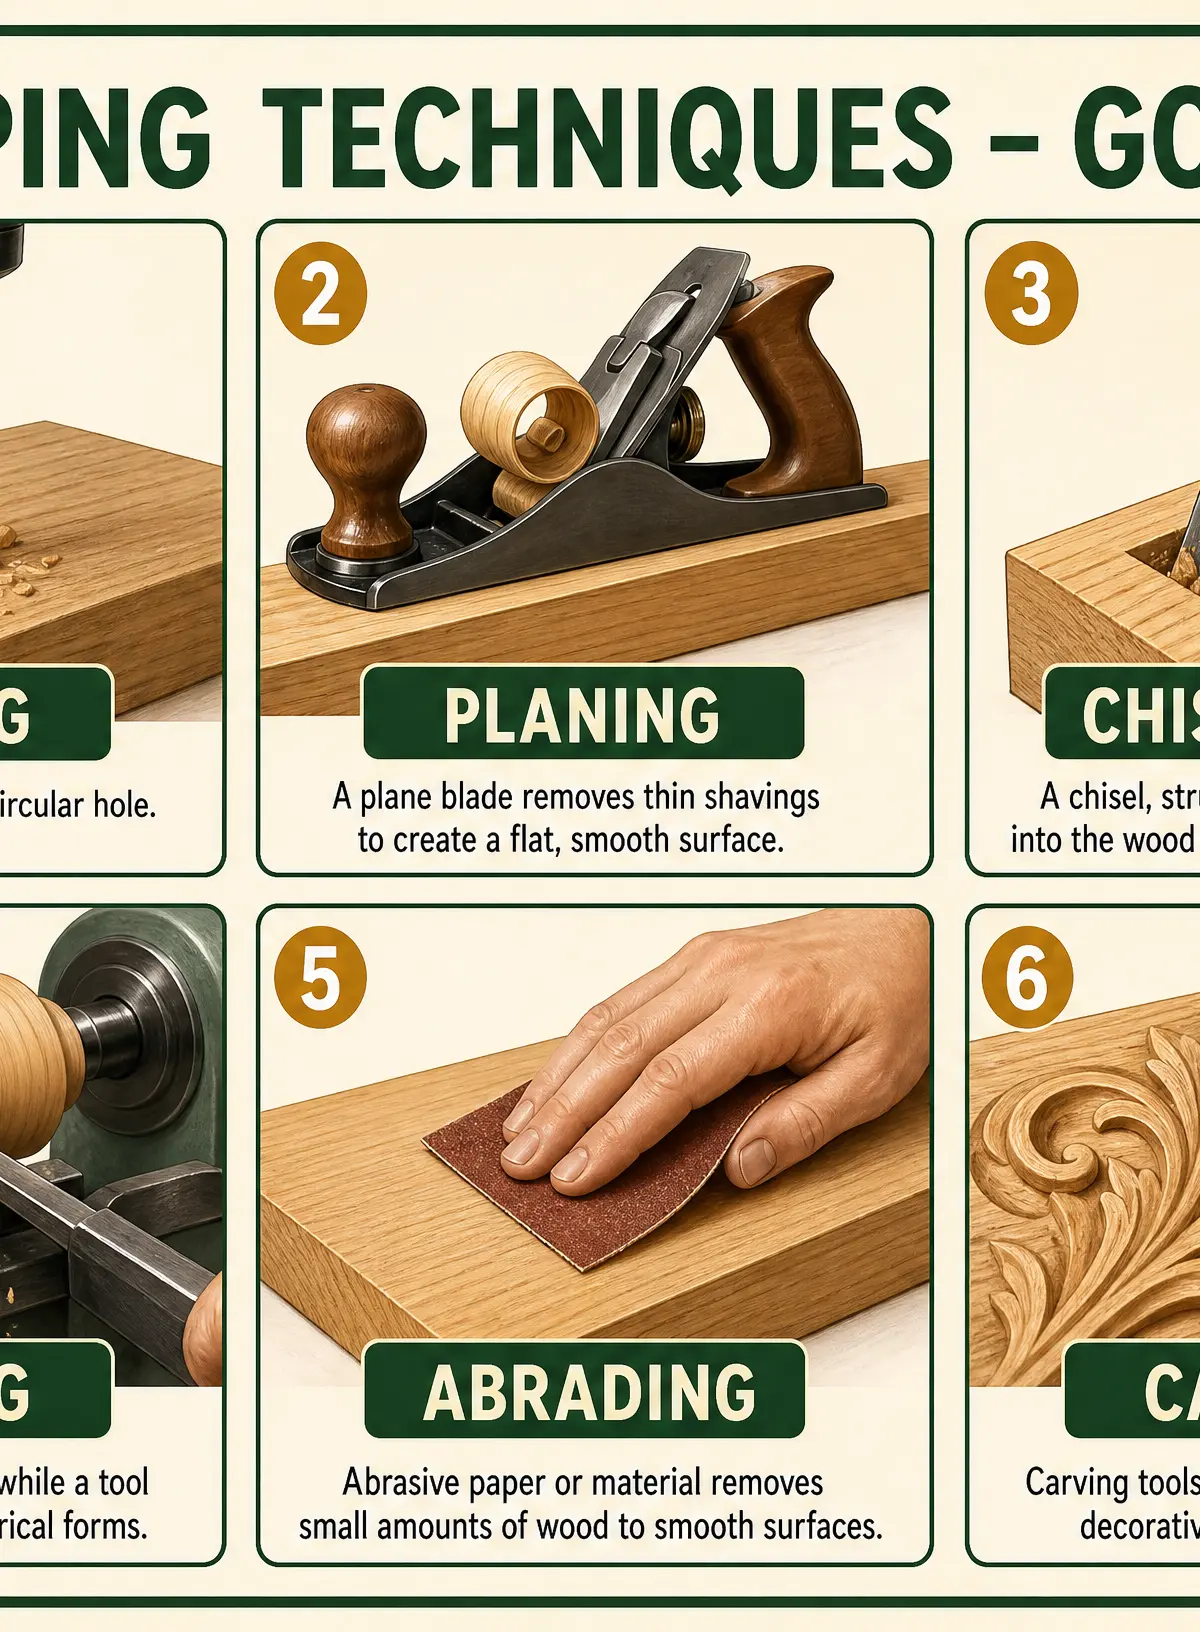
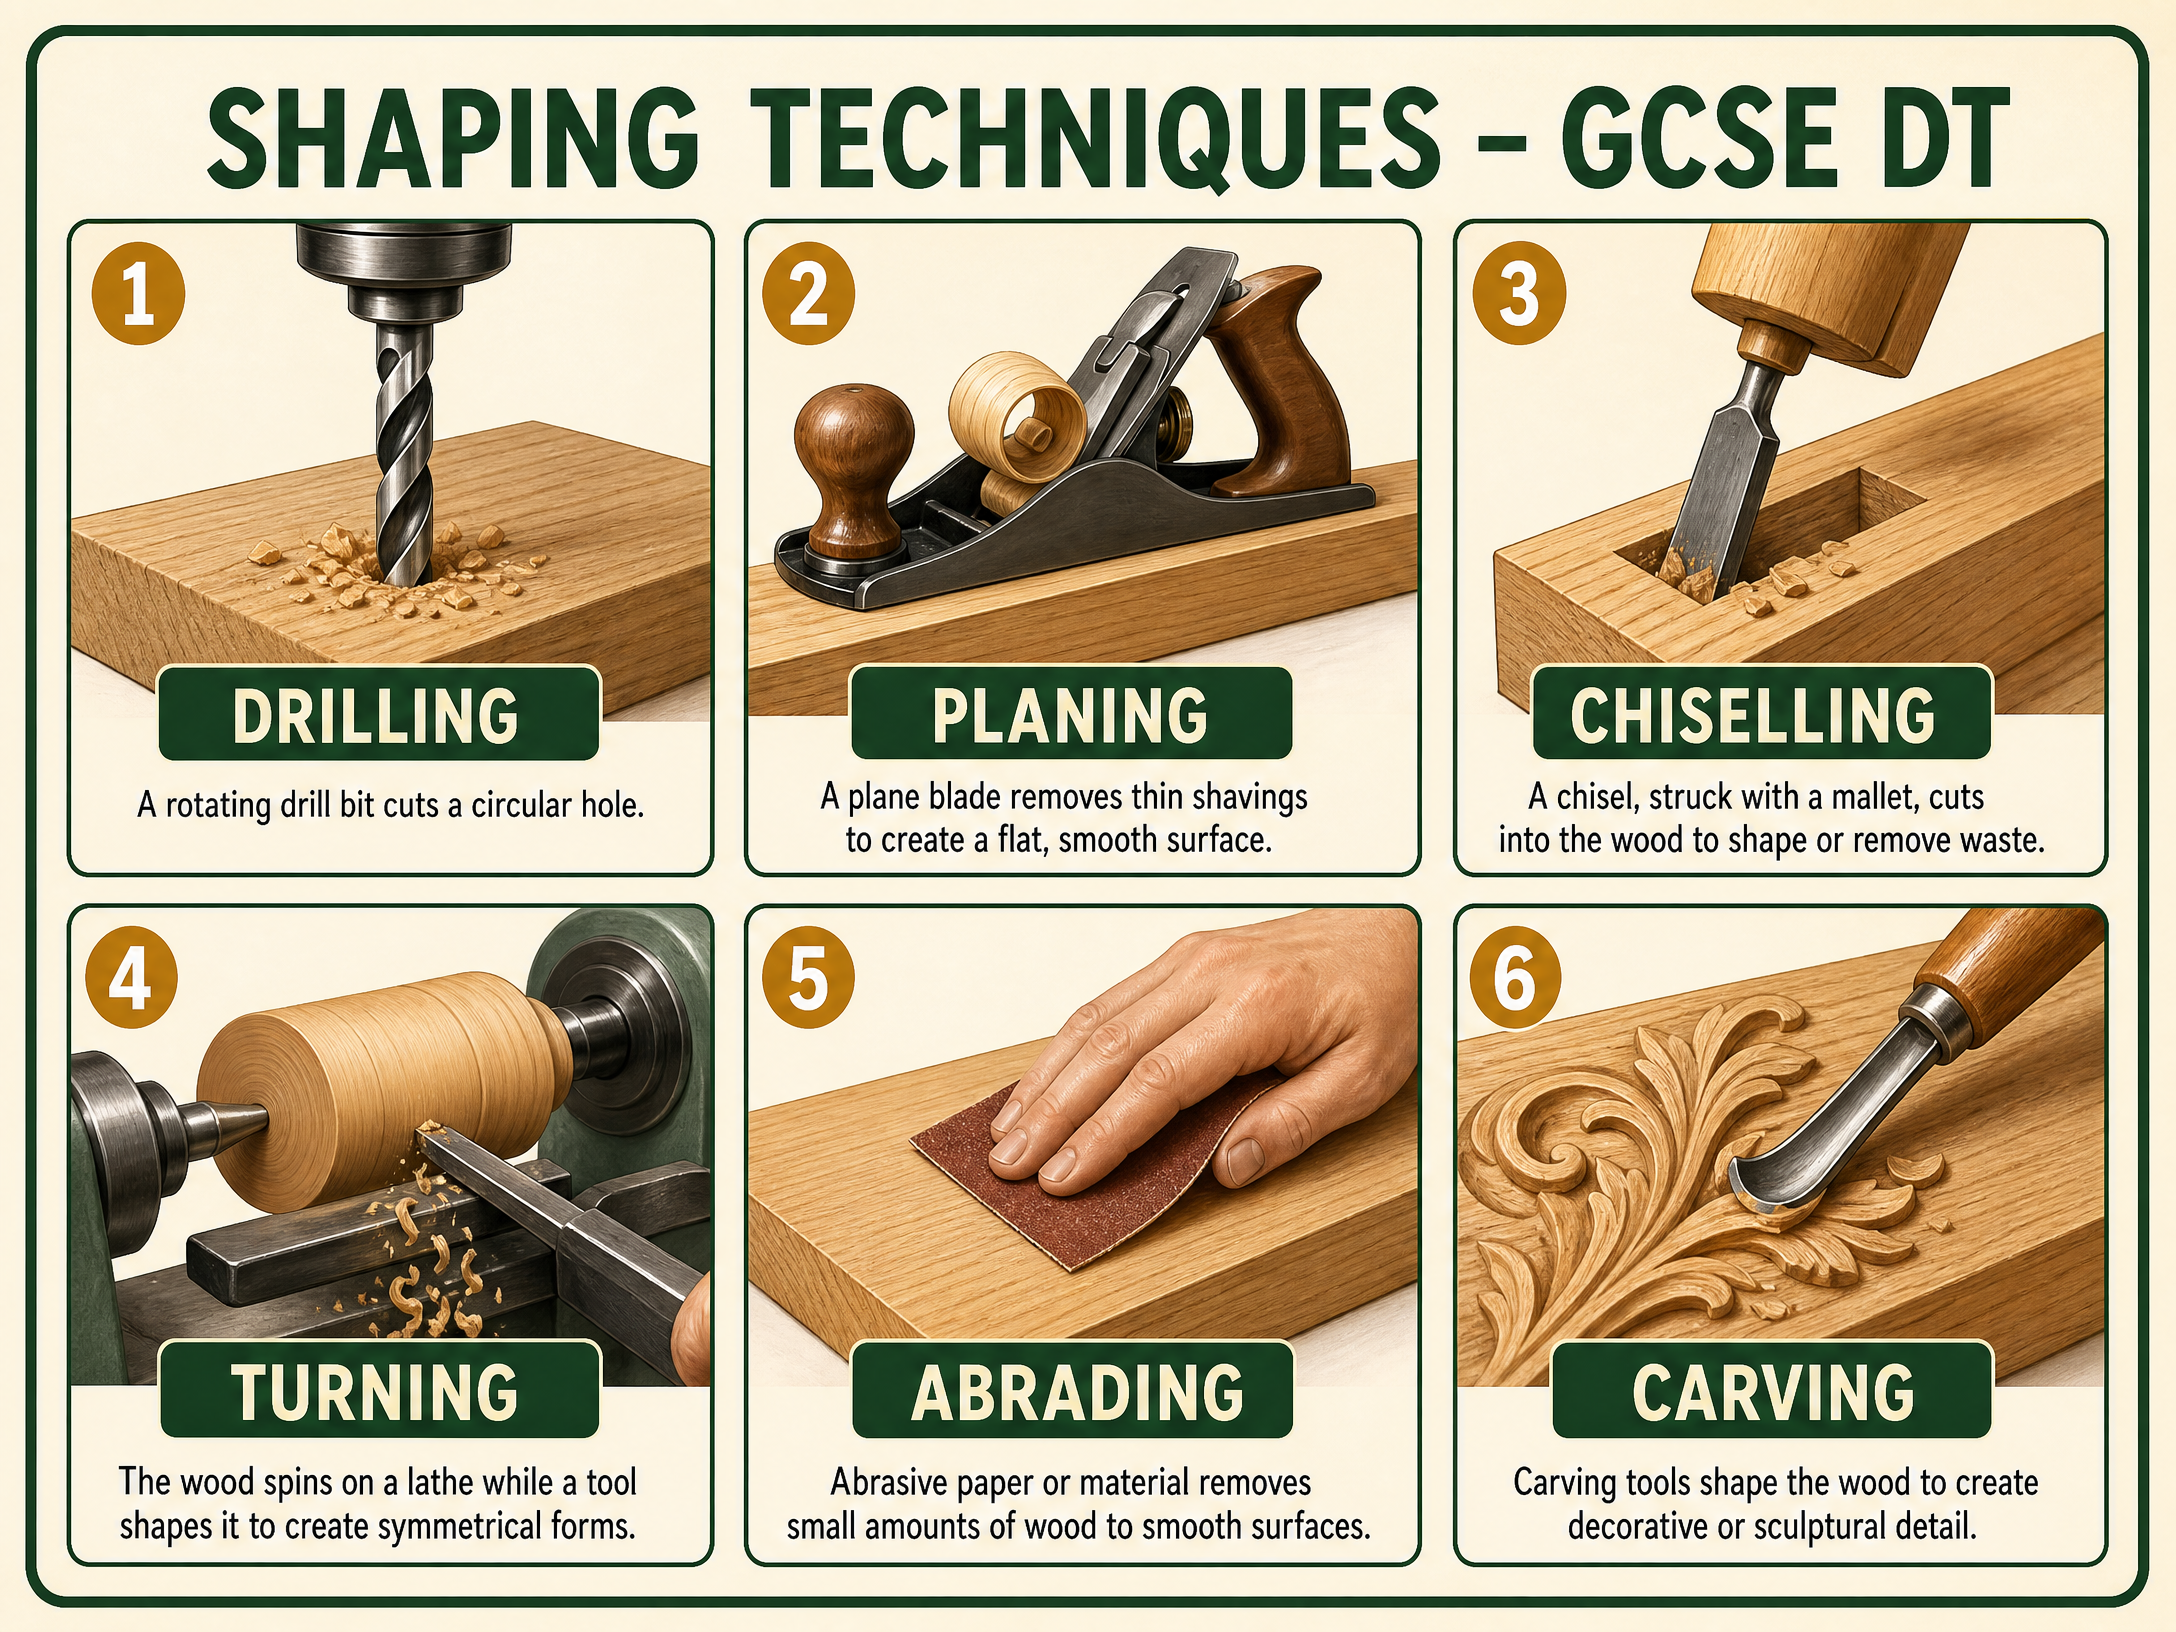
- Drilling: Using twist, flat, or Forstner bits. A Forstner bit is essential for creating clean, flat-bottomed blind holes (e.g., for concealed hinges). Always clamp the workpiece and use a piece of scrap wood underneath to prevent exit tear-out.
- Planing: Using a smoothing plane to remove thin shavings. Candidates must state that planing should occur with the grain.
- Chiselling: Using a bevel-edged chisel and mallet to remove waste. For paring cuts, use hand pressure with the bevel facing down.
- Turning: Shaping timber on a lathe using gouges to create cylindrical or tapered forms.
- Abrading: Smoothing surfaces using glasspaper or garnet paper. Always progress from coarse (e.g., 80 grit) to fine (e.g., 240 grit) grades.
- Cutting: Selecting the correct saw. A tenon saw for straight cuts in joints; a coping saw for tight curves.
Fabrication and Construction (Joints)
Understanding joint geometry and structural integrity is crucial.
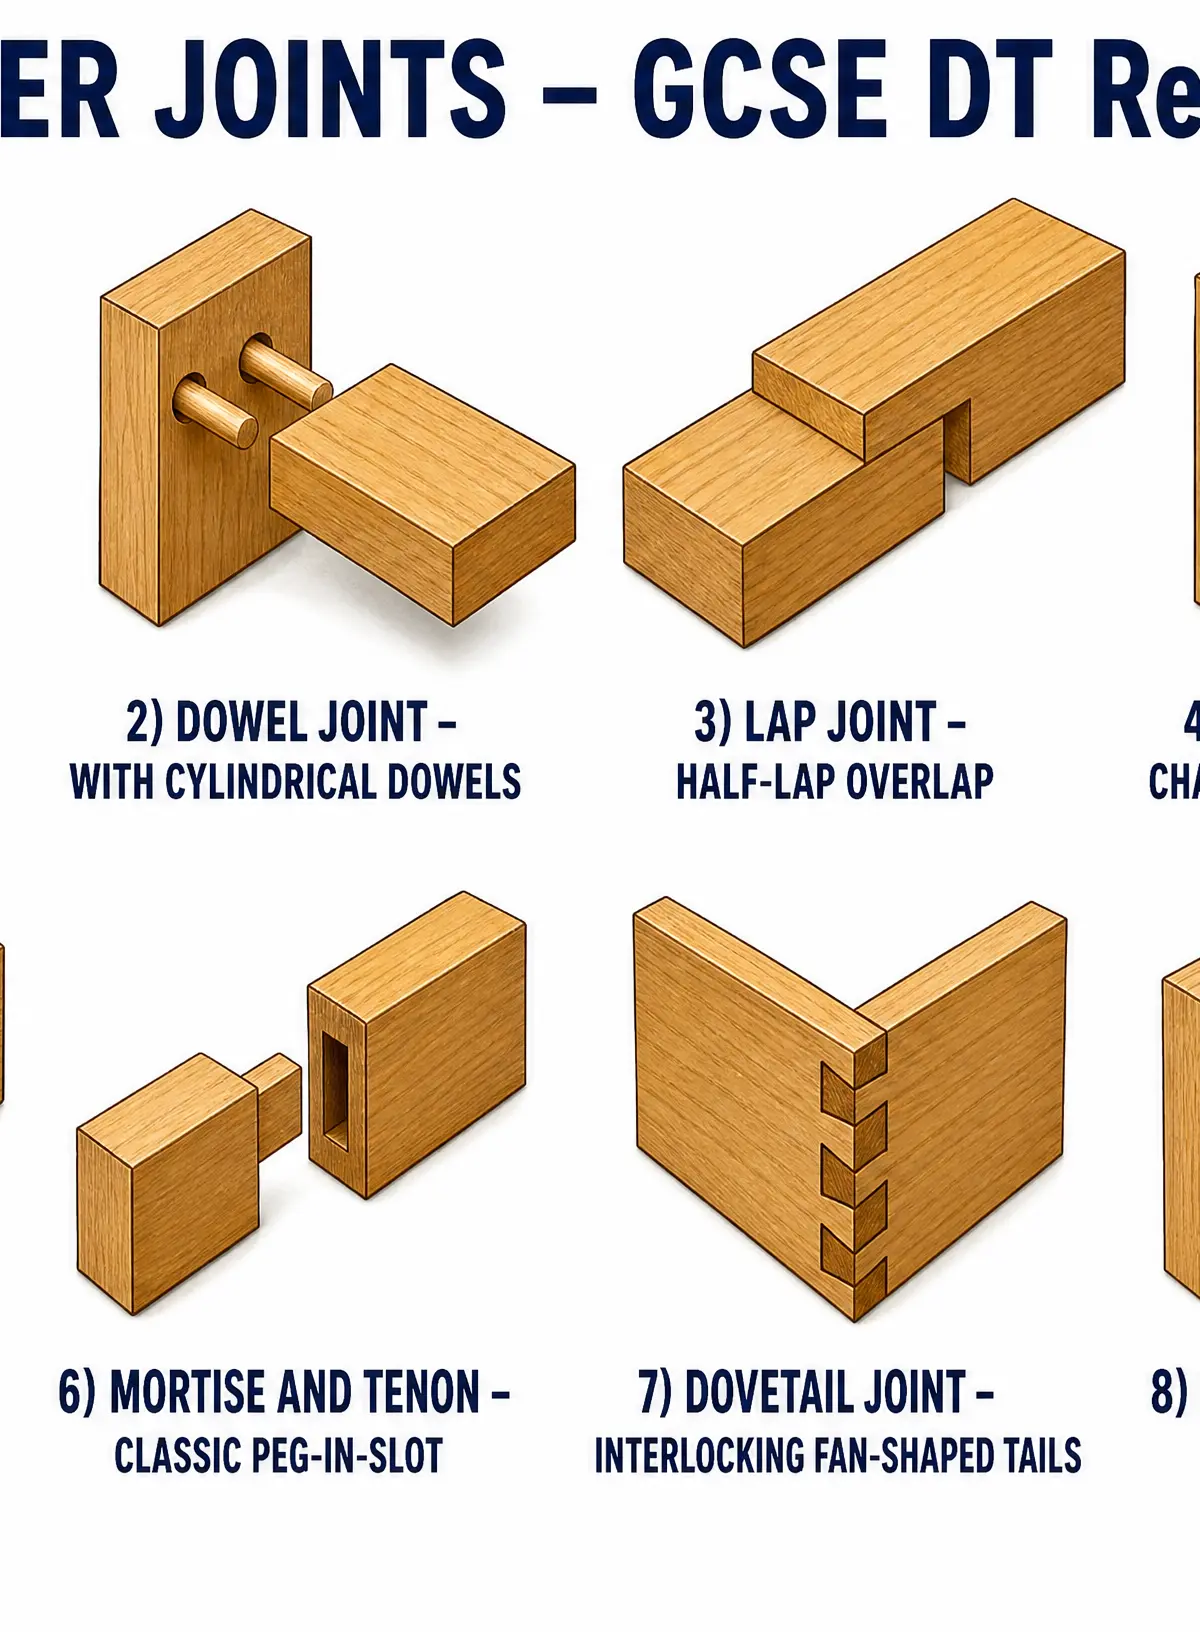
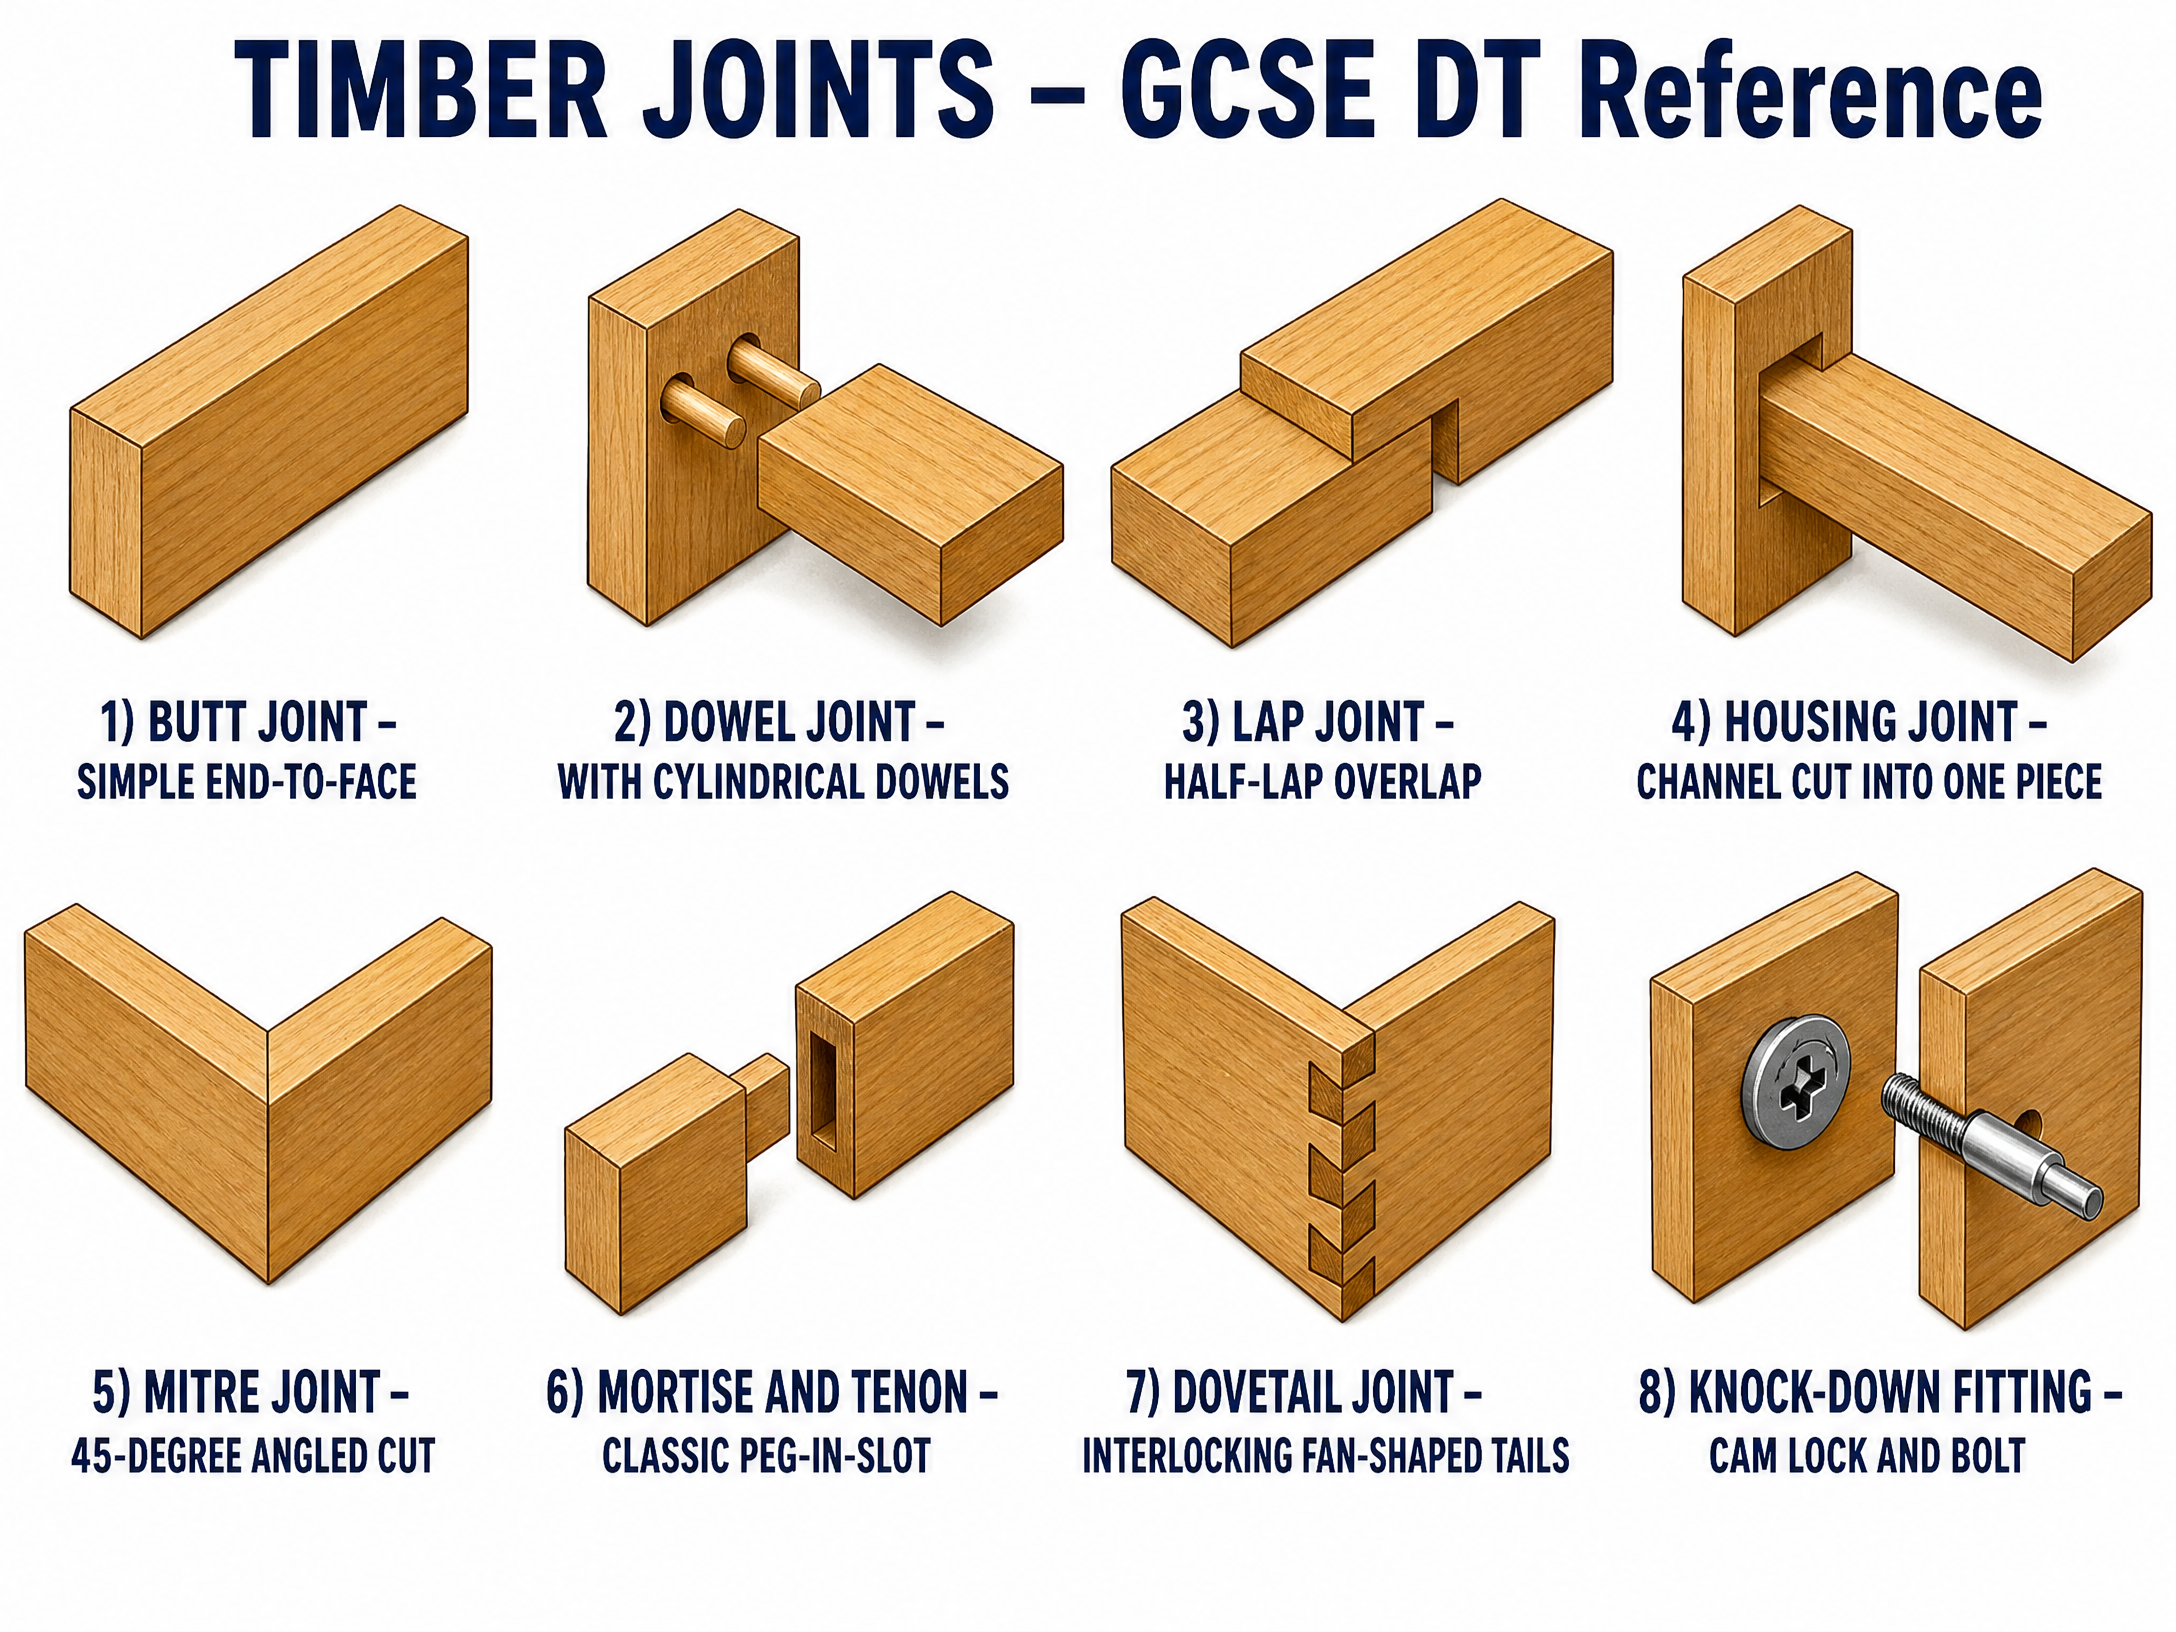
- Butt Joint: Simple but structurally weak due to end-grain gluing. Requires reinforcement (screws/dowels).
- Housing Joint: A channel cut across the grain. Ideal for shelving as it provides mechanical support.
- Mortise and Tenon: Extremely strong joint for frame construction. The tenon (peg) fits tightly into the mortise (slot), maximizing glue surface area and mechanical strength.
- Dovetail Joint: Interlocking pins and tails resist tensile forces. Represents high-quality craftsmanship, typically used in drawer construction.
Assembly & Adhesives
- PVA (Polyvinyl Acetate): Standard water-based wood glue. Requires clamping and 24 hours to fully cure.
- Contact Adhesive: Applied to both surfaces and allowed to become touch-dry before assembly. Bonds instantly on contact; excellent for applying veneers or laminates.
- Knock-Down (KD) Fittings: E.g., cam locks and barrel nuts. Essential for flat-pack furniture, allowing assembly and disassembly without specialist tools or adhesives.
Portfolio/Coursework Guidance
Assessment Criteria
In the NEA, examiners look for evidence of high-level making skills and quality control. Marks are awarded for:
- Selection of materials and tools: Justifying why a specific tool was used.
- Precision and accuracy: Joints that fit tightly without gaps; surfaces that are smooth and blemish-free.
- Safety: Evidence of safe working practices (PPE, machine guards).
Building a Strong Portfolio
Do not simply present a finished product. Document the process. Photograph the cutting of a joint, the clamping of glued components, and the use of jigs. Annotate these photographs using the technical vocabulary outlined above. Explain how you overcame practical challenges (e.g., "The pine showed signs of tear-out when chiselling the mortise, so I sharpened the chisel and took smaller paring cuts").
Exam Component
Written Exam Knowledge
Theory questions frequently present a product (e.g., a wooden chair or flat-pack desk) and ask candidates to evaluate the manufacturing methods used. You must be prepared to compare traditional jointing methods (mortise and tenon) with modern assembly methods (KD fittings), discussing factors like structural strength, ease of transport, and level of skill required.
Practical Exam Preparation
When asked to describe a process in the exam, use bullet points or a numbered list. Include the name of the specific tool, the safety precautions, and the quality control checks (e.g., "Use an engineer's square to check the joint is at exactly 90 degrees").
Visual Resources
2 diagrams and illustrations
Interactive Diagrams
1 interactive diagram to visualise key concepts
Conceptual Flow Outline
Standard Operating Procedure for Cutting a Timber Joint
Worked Examples
3 worked examples — open one to explore the question and available guidance.
Practice Questions
Test your understanding — click to reveal model answers
Name two specific hand tools required to mark out and cut a mortise and tenon joint.
Hint: Think about what you use to draw the lines and what saw is best for straight cuts.
Explain why a manufacturer might choose to use a CNC router rather than hand tools to cut out the curved sides of a wooden rocking horse.
Hint: Focus on speed, accuracy, and the ability to make multiple identical products.
A student is joining two pieces of MDF at a 90-degree angle to make a small cabinet. Discuss the suitability of using a butt joint glued with PVA compared to using knock-down fittings.
Hint: Consider the properties of MDF (especially the edges) and the structural strength of both methods.